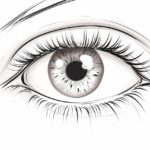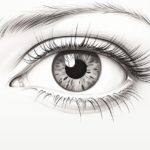
Do you love drawing and want to learn how to sketch a beautiful eye? Drawing eyes can be a challenge, but with the right techniques and practice, you can create stunning and realistic eye drawings. In this step-by-step guide, we will walk you through the process of drawing a pretty eye. So grab your paper, pencils, and let’s get started!
Materials Required:
- Drawing paper
- Pencil (preferably HB or 2B)
- Eraser
- Blending stump or cotton swabs
- Pencil sharpener
- Reference image of an eye (optional)
Now that you have everything you need, let’s begin the process of drawing a pretty eye.
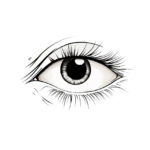
Step 1: Sketching the Basic Shapes
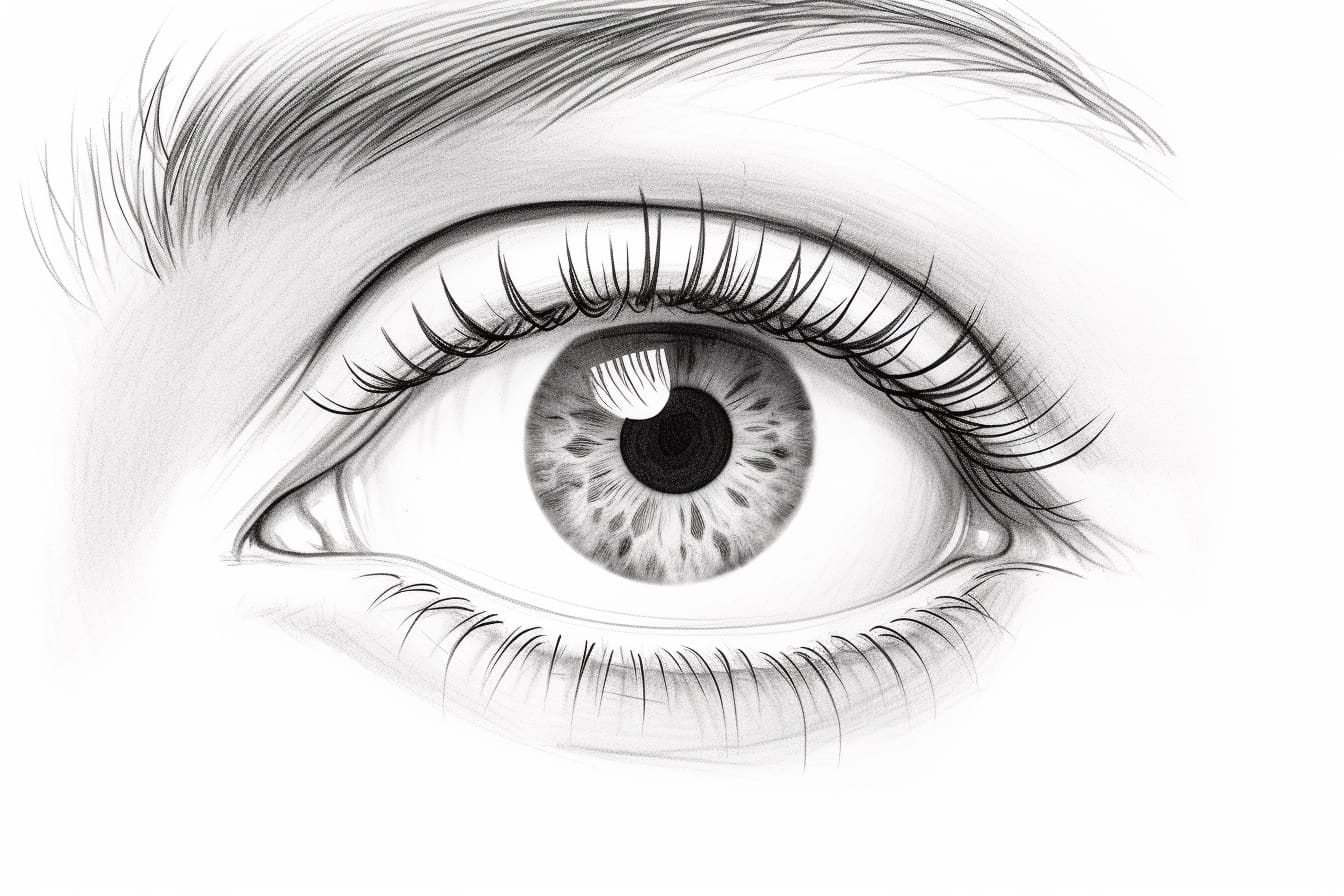
Start by lightly sketching the basic shapes of the eye. Begin with an oval shape for the outline of the eye. Then, draw a smaller circle inside the oval for the iris. Add a smaller circle within the iris for the pupil. Finally, sketch a curved line above the eye for the eyebrow.
Step 2: Adding the Eyelashes and Eyelid
Next, draw the upper and lower eyelids. The upper eyelid should have a slight curve, while the lower eyelid should be a softer, less defined line. Once you have the eyelids in place, add the eyelashes by drawing small lines along the upper and lower lash lines. Make the lashes longer and thicker towards the outer edge of the eye.
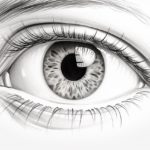
Step 3: Adding Details to the Iris and Pupil
Now it’s time to add more details to the iris and pupil. Begin by adding shading to the iris. Use your pencil to create concentric circles or lines from the outer edge of the iris towards the pupil. This will give the iris depth and texture. Next, darken the pupil, leaving a small highlight for a realistic effect.
Step 4: Shading the Eyelids and Eye Socket
To give the eye more dimension, start shading the eyelids and the area around the eye socket. Use light, gentle strokes to create gradual shading. Pay attention to the light source and make the shadows darker where the eyelid overlaps the eyeball. Blend the shading using a blending stump or cotton swab for a smoother transition between light and shadow.
Step 5: Adding Highlights and Reflections
Highlights and reflections add sparkle and life to the eye. Identify the primary light source and add highlights accordingly. These highlights will appear as small, bright spots on the iris and the edge of the pupil. Use an eraser to lift off the graphite to create the highlights. Be careful not to erase too forcefully, as it can damage the paper.
Step 6: Drawing the Eyebrow
Now let’s work on the eyebrow. Start by lightly drawing the shape of the eyebrow. Remember that eyebrows are not perfectly symmetrical, so embrace the natural variation. Once you have the basic shape, add hair-like lines to give it a realistic texture. Use lighter strokes towards the beginning of the eyebrow and darker strokes towards the end.
Step 7: Blending and Refining
At this point, take a step back and assess your drawing. Use a blending stump or cotton swab to smooth out any harsh lines or transitions. Pay attention to the overall balance and proportions of the eye. Make any necessary adjustments to ensure a realistic and aesthetically pleasing result.
Step 8: Final Touches
To add the finishing touches to your eye drawing, you can darken certain areas to enhance the contrast and depth. Add additional details such as fine lines on the eyelids, more defined eyelashes, or subtle shading around the eye for a more realistic look. Take your time and experiment until you are satisfied with the final result.
Congratulations! You have successfully drawn a pretty eye. With practice, your eye drawings will become more refined and detailed. Remember that every eye is unique, so feel free to experiment and add your own artistic style.
Conclusion
Drawing a pretty eye requires observation, patience, and practice. By following these step-by-step instructions and using the right techniques, you can create beautiful eye drawings. Remember to sketch the basic shapes, add details and shading, and refine your drawing with blending and final touches. Have fun exploring different eye shapes, colors, and expressions. Happy drawing!