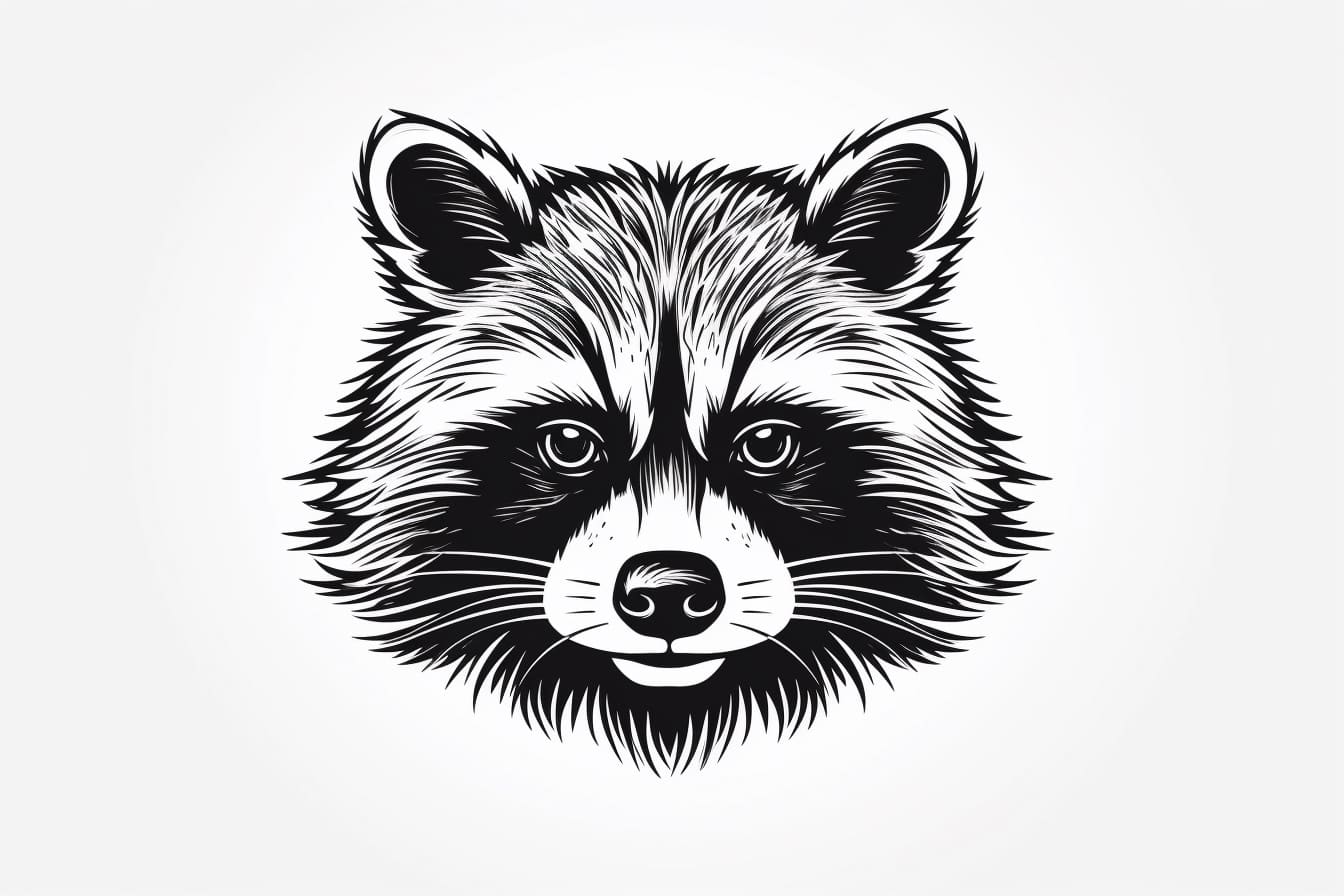
Welcome to this step-by-step guide on how to draw a raccoon face! Whether you’re a beginner or an experienced artist, this tutorial will help you create a detailed and adorable raccoon face drawing. Raccoons are known for their distinctive features, such as their masked face and ringed tail, making them an interesting subject to draw.
Before we begin, let’s gather the materials needed for this drawing:
- Drawing Paper: Choose a smooth and sturdy paper suitable for drawing. A size of around 9×12 inches should work well.
- Pencils: Have a range of pencils, such as a 2H (hard), HB (medium), and 2B (soft). These will allow you to vary the pressure and achieve different shades.
- Eraser: Use a kneaded eraser or a vinyl eraser to correct mistakes and lighten pencil marks.
- Sharpener: Keep a pencil sharpener handy to maintain a sharp point on your pencils.
- Reference Image: Find a clear and detailed reference photo of a raccoon face to guide you throughout the drawing process. You can use a printed photo or have one open on your computer or mobile device.
Now that you’re all set, let’s dive into creating a raccoon face drawing!
Step 1: Basic Shapes
Start by lightly sketching the basic shapes that will serve as the foundation for your raccoon face. Begin with an oval shape for the head and add a pointed snout at the bottom. Then, draw a vertical line down the center of the oval, dividing it into two halves.
Step 2: Eyes and Mask
Using the centerline as a guide, draw two almond-shaped eyes slightly tilted towards the sides. Leave some space between them to create a bridge for the raccoon’s mask. Next, add the mask by drawing a rounded shape that extends from the eyes towards the sides of the face, resembling a bandit’s mask.
Step 3: Ears
Raccoons are known for their prominent ears, so let’s draw them next. Starting from the top of the head, draw two curved lines that meet at a point to create the first ear. Repeat this process on the opposite side to create the second ear.
Step 4: Nose and Mouth
Below the eyes, draw a small triangular shape for the raccoon’s nose. Add two curved lines coming down from the nose to create the mouth. Make the mouth slightly curved upwards to give your raccoon a mischievous smile.
Step 5: Facial Details
Now it’s time to add some facial features. Begin by drawing a small circle inside each eye to represent the pupils. Add some small dots around the eyes and mask to indicate fur texture. Draw a slightly curved line above each eye to create the eyebrows, giving your raccoon a playful expression.
Step 6: Fur and Shading
To add depth and dimension to your raccoon face, it’s important to create texture and shading. Start by lightly sketching short and feathery strokes around the mask, ears, and top of the head to represent the fur. Gradually darken the strokes to create shadows and volume. Use the 2B pencil for this step.
Step 7: Refine and Add Details
Now that you have the basic structure and shading, go over the lines and shapes with a darker pencil, such as 2B or even 4B, to make them more defined. Pay attention to the contours of the face, the shape of the mask, and the details of the ears. Add any additional details you see in your reference image.
Step 8: Erase and Clean Up
Using an eraser, gently lighten any unnecessary guidelines and overlapping lines. Be careful not to erase the important parts, such as the outline of the face, eyes, nose, and mouth. This step helps clean up the drawing and make it neater.
Step 9: Final Touches
Take some time to assess your drawing and make any final adjustments or additions. Check the proportions and symmetry of the face, and add any necessary shading or details to enhance the overall appearance. Be mindful of the reference image and try to capture the unique features of a raccoon.
Conclusion
Congratulations! You have successfully learned how to draw a raccoon face. By following these step-by-step instructions and using your creativity, you’ve created a charming and realistic raccoon drawing. Remember, practice makes perfect, so keep honing your skills and exploring different subjects. Now, go ahead and show off your raccoon drawing skills!