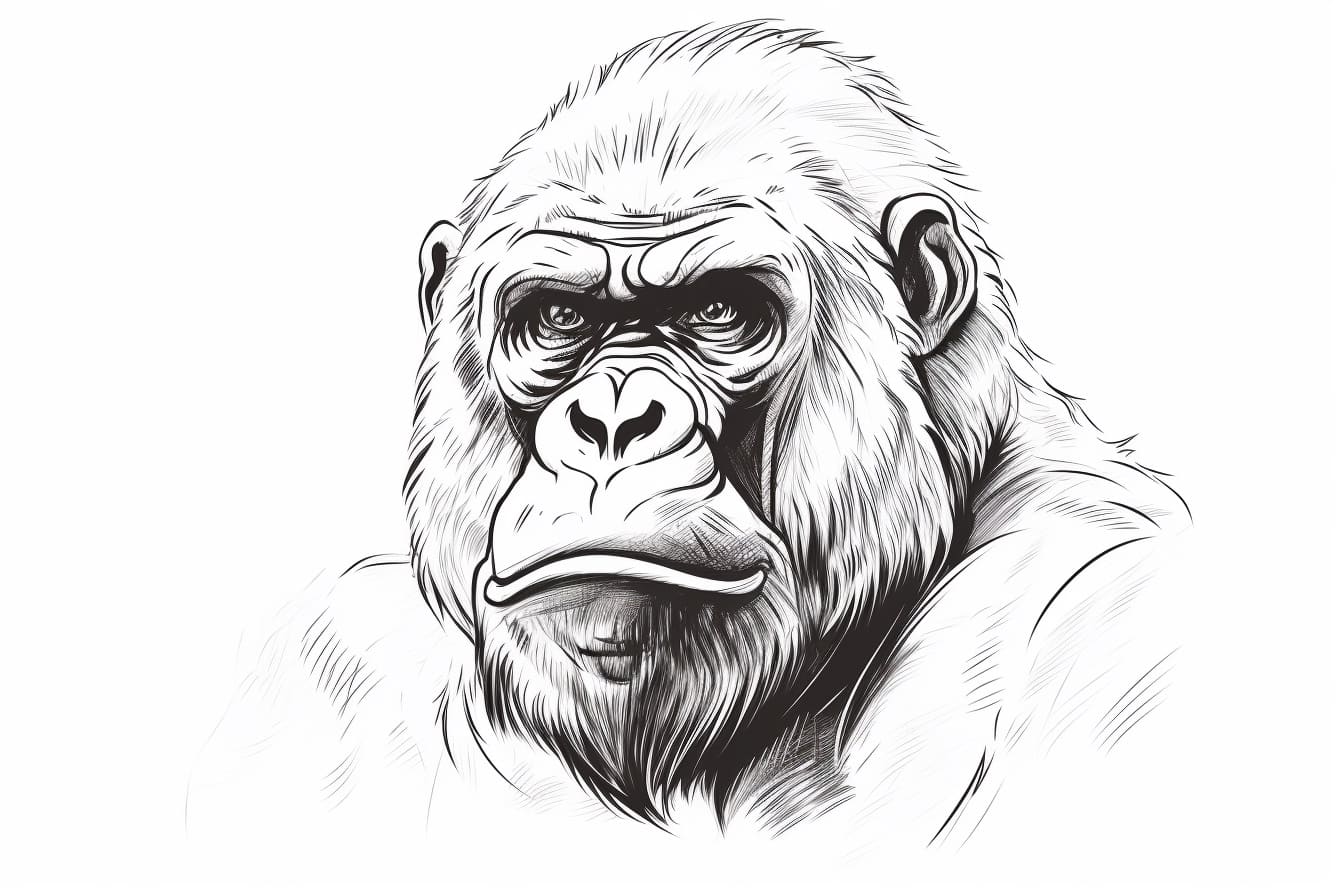
Drawing a gorilla face can be challenging, but with a little guidance and practice, you can create a stunning representation of this magnificent animal. Gorillas are known for their strength and charisma, and capturing their essence in a drawing requires attention to detail and understanding of their unique features. In this step-by-step guide, we will walk you through the process of how to draw a gorilla face, from the initial sketch to the finished artwork. So grab your pencils and let’s get started!
Materials Required
- Drawing paper
- Pencils (HB, 2B, 4B, and 6B)
- Eraser
- Blending stump or tortillon
- Reference photo of a gorilla
Step 1: Basic Sketch
Start by lightly sketching the basic shapes that make up a gorilla’s head. Begin with an oval for the head and add a smaller circle for the snout. Position these shapes in the center of your paper to ensure there is enough space for the rest of the gorilla’s features.
Step 2: Facial Features
Using your reference photo as a guide, sketch the eyes, nose, and mouth of the gorilla. Pay close attention to the placement and proportions of these features. Gorillas have small, deep-set eyes, a broad nose, and a wide mouth. Use light pencil strokes to ensure easy erasing and adjustments later on.
Step 3: Fur Details
Gorillas have a unique texture to their fur, so it’s important to capture those details in your drawing. Using short, curved lines, lightly sketch the direction of the fur all over the gorilla’s face. Pay attention to the areas where the fur is longer and where it appears shorter and more dense.
Step 4: Shading
Now it’s time to add depth and dimension to your gorilla drawing through shading. Start by using a soft pencil (2B or 4B) to shade the areas of the face that are darker, such as the eyes, nose, and mouth. Gradually build up the layers of shading, using darker pencils (4B or 6B) for areas that require more contrast.
Step 5: Detailing the Eyes
The eyes are the windows to the soul, and that holds true for gorilla drawings as well. Use a sharp pencil (HB) to carefully add the details to the eyes. Pay attention to the shape of the iris, the reflections, and the dark areas surrounding the eyes. This will bring your gorilla to life.
Step 6: Refine the Nose
The nose is a prominent feature of a gorilla’s face, so it’s crucial to get it right. Using a combination of light and dark pencil strokes, add texture and shading to the nose. Gorillas have a wrinkled and textured nose, so take your time to capture those details.
Step 7: Define the Mouth
The mouth of a gorilla is wide and expressive. Using a combination of light and dark pencil strokes, carefully define the shape of the mouth. Pay attention to the curves, wrinkles, and shading that give the mouth its character. Adjust and refine as needed until you are satisfied with the result.
Step 8: Finalize the Fur
Return to the fur details you sketched earlier and start adding more depth and definition. Use a combination of short, curved lines and shading techniques to create the illusion of fur. Pay attention to the direction of the fur and the overall shape of the gorilla’s head.
Step 9: Refine and Erase
Take a step back and evaluate your drawing. Use an eraser to gently lighten any areas that need adjusting, such as highlights or stray marks. Take your time to refine the details and make any necessary corrections.
Conclusion
Drawing a gorilla face requires patience, attention to detail, and a love for capturing the essence of these incredible creatures. By following these step-by-step instructions and practicing regularly, you can improve your drawing skills and create stunning gorilla portraits. Remember to always observe and study gorillas in their natural habitat, as it will help you better understand their unique features and characteristics. So grab your pencils and let your imagination run wild as you bring these majestic animals to life on paper.