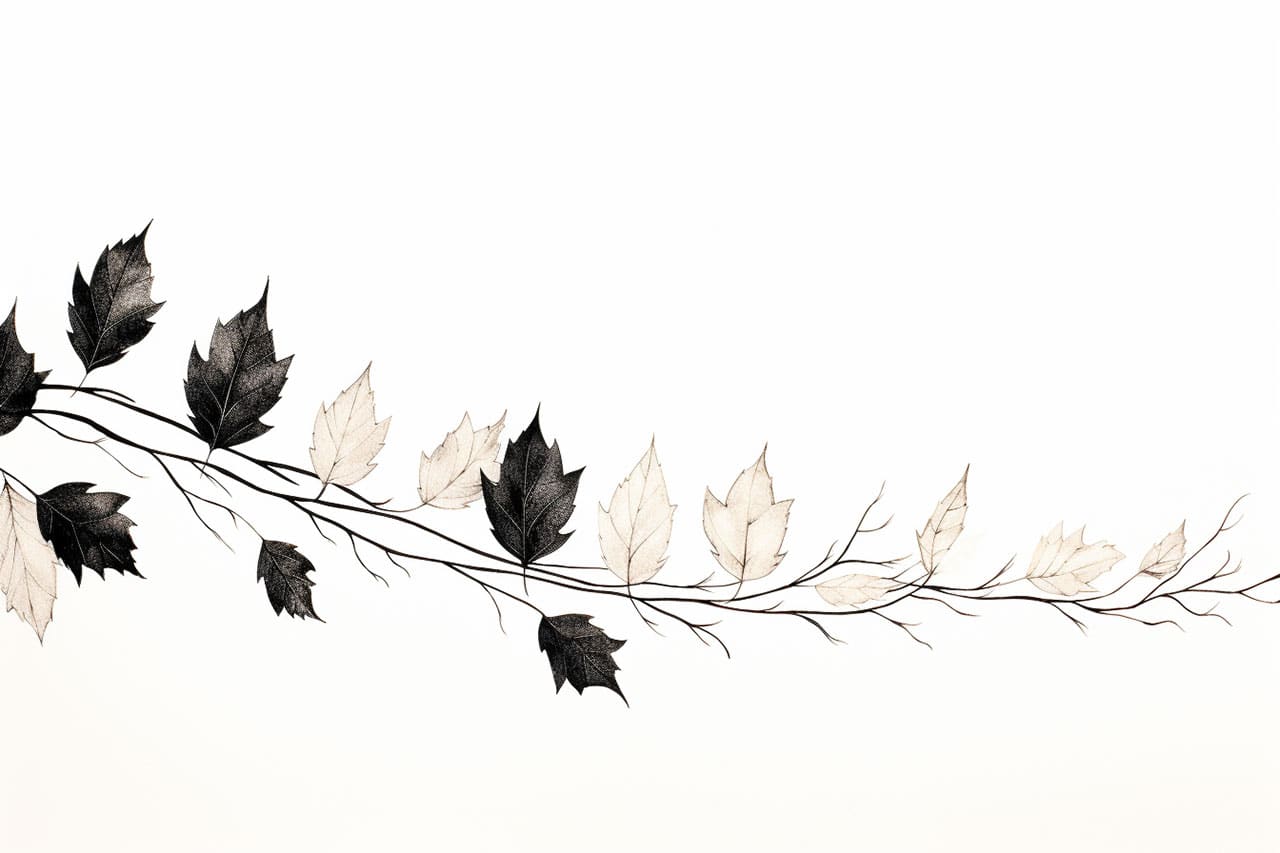
Welcome to this step-by-step guide on how to draw fall leaves! As an expert artist and drawing instructor, I will take you through the process of capturing the beauty and intricate details of autumn foliage on paper. Whether you are a beginner or an experienced artist looking to refine your skills, this tutorial will provide you with the techniques and tips you need to create stunning fall leaf drawings.
Materials Required
Before we begin, let’s gather all the materials you will need for this drawing tutorial:
- Drawing paper: Choose a high-quality paper that is suitable for your chosen medium.
- Pencil: Select a range of graphite pencils, preferably in the H to 2B range, to achieve varying shades of gray.
- Eraser: Have a good quality eraser on hand for making corrections and highlights.
- Colored pencils or watercolor pencils (optional): If you wish to add color to your artwork, have a set of colored pencils or watercolor pencils ready.
- Fine-tip markers or pens (optional): These can be used to add fine details and define the edges of your leaves.
With your materials ready, let’s dive into the step-by-step process of drawing fall leaves.
Step 1: Observe and Study Fall Leaves
Before you start drawing, spend some time observing and studying real fall leaves. Pay attention to their shapes, colors, and the veins that run through them. Take note of the various textures and patterns you see. This observation will help inform your drawing and make it more realistic.
Step 2: Start with Basic Shapes
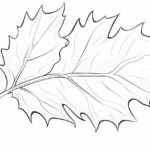
Begin by sketching the basic shapes of the leaves on your drawing paper using a light pencil. Remember that fall leaves come in various shapes, including maple, oak, and birch. Start with a simple shape, such as an oval or teardrop, and gradually add more complexity as you gain confidence.
Step 3: Add Veins and Texture
Next, add the veins and texture to your leaves. Look closely at the observed leaves and replicate the intricate network of veins on your drawing. Use light, flowing strokes to create a sense of movement. Add texture by drawing small lines or dots on the surface of the leaves. This will give them a realistic and three-dimensional appearance.
Step 4: Refine the Contours and Shapes
Now, it’s time to refine the contours and shapes of your leaves. Remove any unnecessary guidelines and use your eraser to clean up the drawing. Pay attention to the edges of the leaves and make sure they are well-defined. If you want to add depth, you can create a subtle shadow along the edges by shading lightly.
Step 5: Add Color (Optional)
If you want to add color to your fall leaf drawing, now is the time to do so. Use colored pencils or watercolor pencils to carefully layer the colors onto your leaves. Start with the lightest shades and gradually build up the colors using light, feathery strokes. Blend the colors together smoothly to create a seamless transition.
Step 6: Fine-Tune the Details
In this step, focus on adding the finer details to your fall leaf drawing. Use a fine-tip marker or pen to define the edges of the leaves and emphasize the veins. Pay attention to the subtle variations in tone and texture. Add highlights with an eraser to create a sense of depth and dimension.
Step 7: Final Touches and Finishing
Take a moment to evaluate your fall leaf drawing. Make any necessary adjustments or additions to enhance its overall appearance. Add any additional details or highlights to bring the drawing to life. Once you are satisfied with your artwork, remove any smudges or unwanted marks and sign your name.
Conclusion
Congratulations! You have successfully learned how to draw fall leaves. By following these step-by-step instructions, you have captured the essence of autumn and created a beautiful piece of artwork. Remember to practice regularly to refine your skills and explore different techniques. Now, go out and enjoy the vibrant colors of the fall season as you continue your artistic journey.