Welcome to this step-by-step guide on how to draw Cinderella. In this tutorial, I will walk you through the process of creating a beautiful and accurate representation of the beloved Disney princess. With a few simple materials and some patience, you’ll be able to bring Cinderella to life on paper. So let’s get started!
Materials Required
Before we begin drawing, let’s gather the materials you will need:
- A pencil (preferably an HB or 2B for smooth lines)
- Eraser (either kneaded or vinyl eraser)
- Paper (A4 or sketch paper)
- Fineliner or pen (optional, for outlining)
- Colored pencils or markers (optional, for coloring)
Now that you have your materials ready, let’s dive into the step-by-step process of drawing Cinderella.
Step 1: Basic Shapes
Start by drawing a rough circle for Cinderella’s head, followed by a smaller oval shape for her body. Add two intersecting lines to mark the position of her facial features. These lines will help guide you in placing her eyes, nose, and mouth accurately.
Step 2: Facial Features
Using the guidelines from the previous step, draw Cinderella’s eyes, nose, and mouth. Pay attention to the size and placement of these features, as they greatly contribute to capturing her likeness. Cinderella is known for her big, expressive eyes, so be sure to emphasize that in your drawing.
Step 3: Hair and Headband
Next, draw Cinderella’s flowing hair and her iconic headband. Start by sketching the general shape of her hair, keeping in mind the classic hairstyle she is known for. Add some loose strands and curls to make her hair look more natural. Then, draw a simple headband across her forehead, making sure to leave some space for her crown.
Step 4: Crown
Cinderella’s crown is an essential part of her look. Draw a small curved line across the top of her head, and then add three triangular shapes on top of it. These triangles will represent the peaks of her crown. Add some small details to make the crown appear more intricate and regal.
Step 5: Neck and Torso
Now, move on to drawing Cinderella’s neck and torso. Use curved lines to connect her head to her body, creating a graceful and elegant pose. Pay attention to the proportions of her neck and shoulders, keeping in mind that Cinderella has a slender and delicate physique.
Step 6: Arms and Hands
Next, draw Cinderella’s arms and hands. Start by adding simple curved lines for her arms, and then draw the basic shapes of her hands. Remember to maintain the proportions and pose of her arms, keeping in mind the position you would like her to be in.
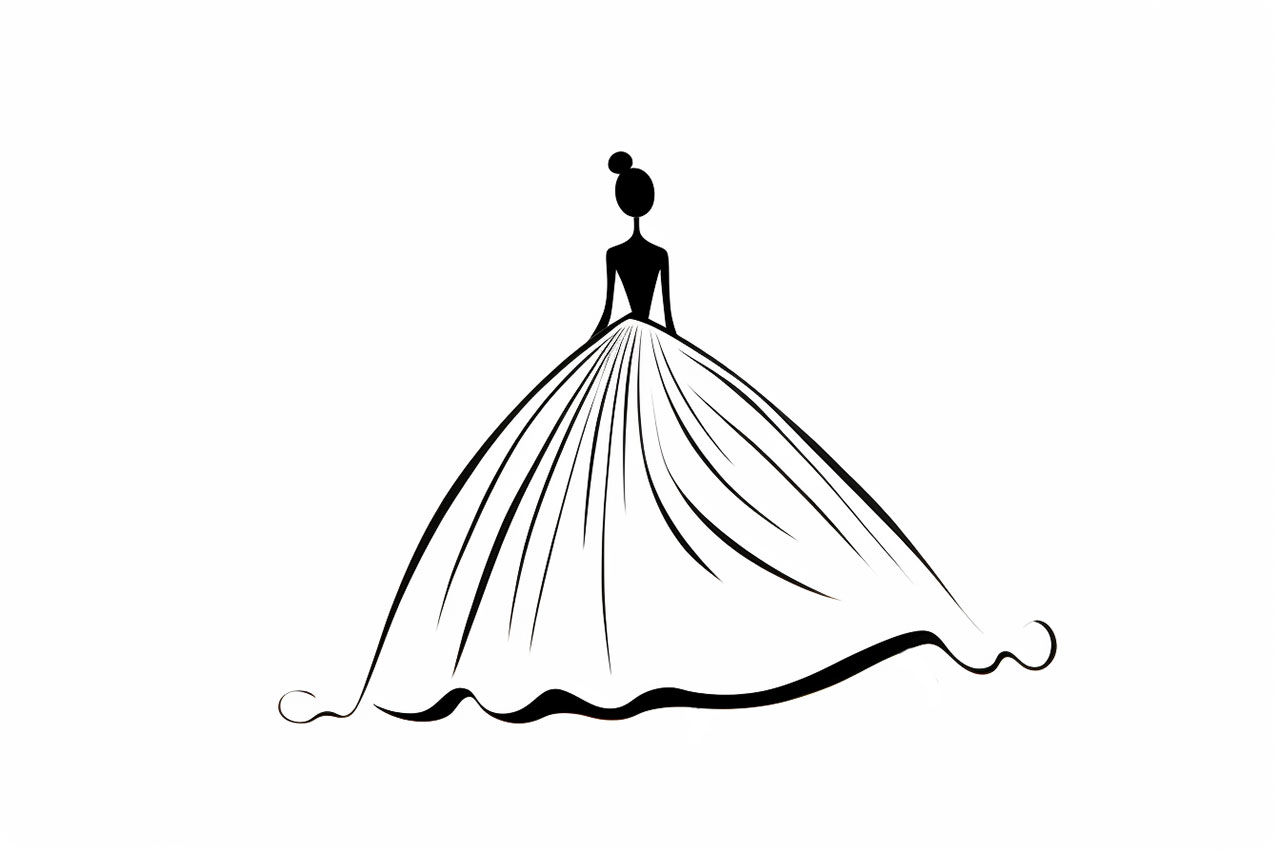
Step 7: Dress
Cinderella is known for her beautiful ball gown, so let’s draw that next. Start by defining the shape of her dress, using flowing lines to give it a sense of movement. Pay attention to the folds and creases in the fabric, as they add realism and depth to the drawing. Don’t forget to draw the puffed sleeves and the neckline of her dress as well.
Step 8: Details and Accessories
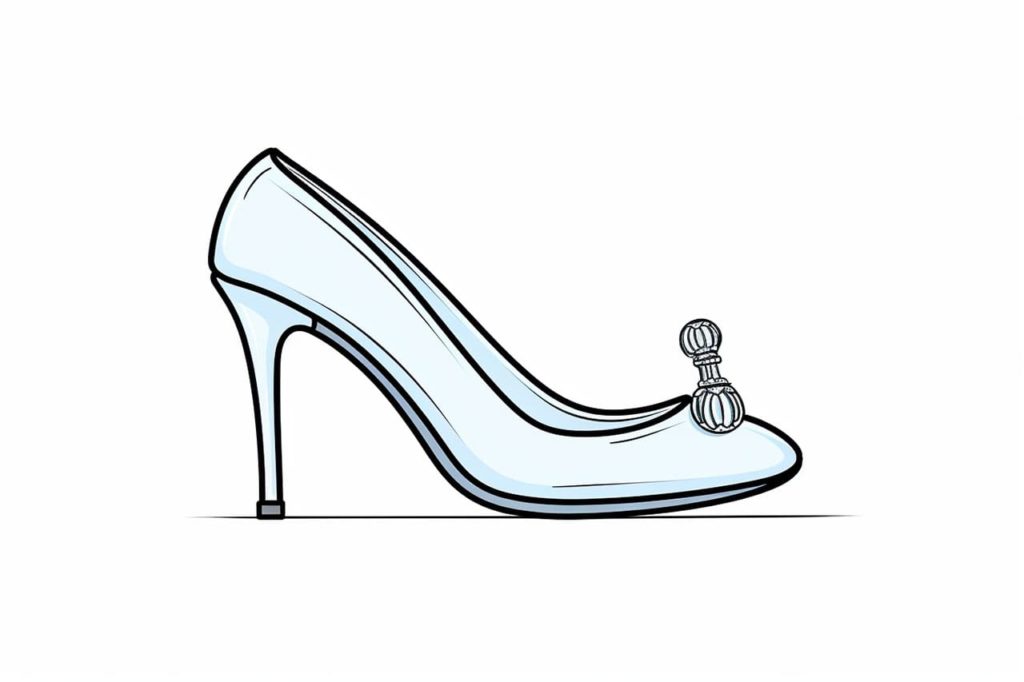
Now that the basic outline of Cinderella’s body is complete, it’s time to add some details and accessories. Draw her shoes and add some decorative elements to her dress, such as ruffles or patterns. You can also include her glass slipper and any additional accessories you’d like to include.
Step 9: Finalizing the Drawing
Take a moment to review your drawing and make any necessary adjustments. Erase any unwanted lines and refine the details. If you prefer, you can use a fineliner or pen to outline the final drawing, giving it a clean and finished look.
Step 10: Coloring (Optional)
If you’d like to add color to your drawing, now is the time to do so. Use colored pencils or markers to bring Cinderella to life. Pay attention to the colors and tones, aiming for a palette that captures the essence of the character. Feel free to get creative and add your own personal touch to the coloring process.
And there you have it! You have successfully drawn Cinderella, the enchanting Disney princess. I hope you enjoyed this tutorial and that it has inspired you to continue exploring the world of art. With practice, you’ll be able to create stunning drawings of all your favorite characters.
Conclusion
In this step-by-step guide, we have learned how to draw Cinderella. By breaking down the process into simple steps, we were able to create a beautiful representation of this beloved princess. Remember to have patience and enjoy the journey of drawing. With practice, your skills will continue to grow, and you’ll be able to create even more amazing artwork. So grab your pencil, paper, and let your imagination soar as you create your own masterpiece of Cinderella.
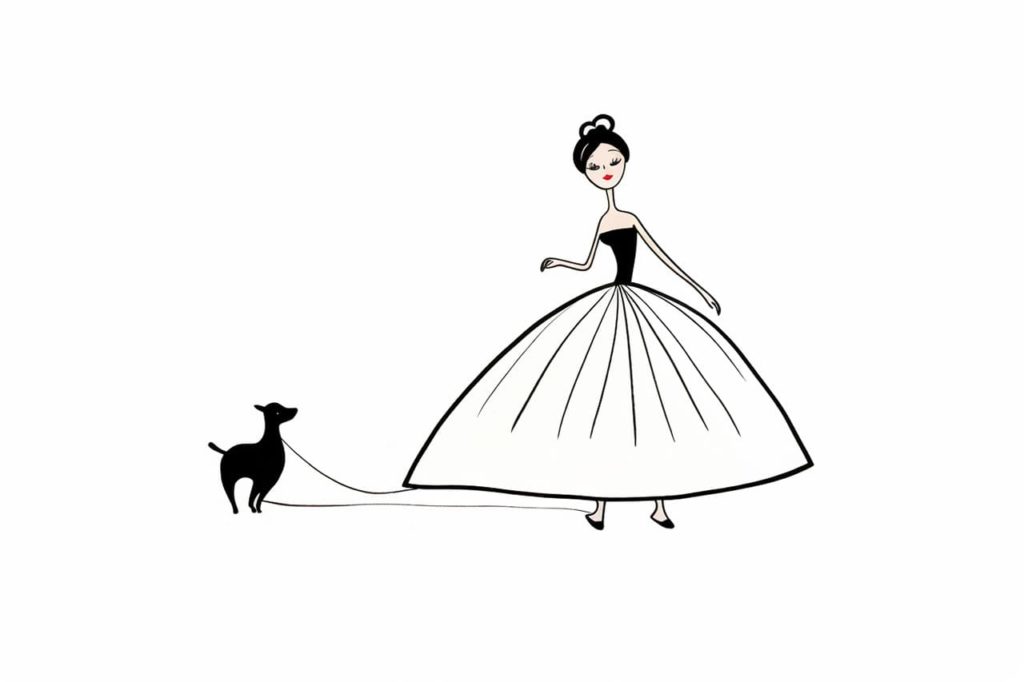
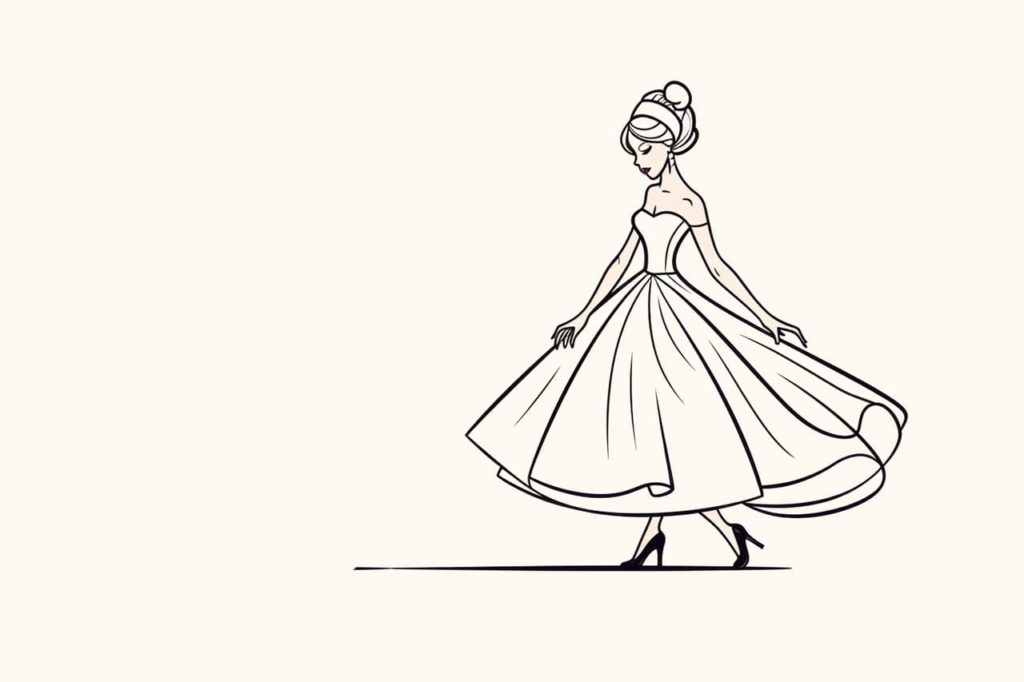
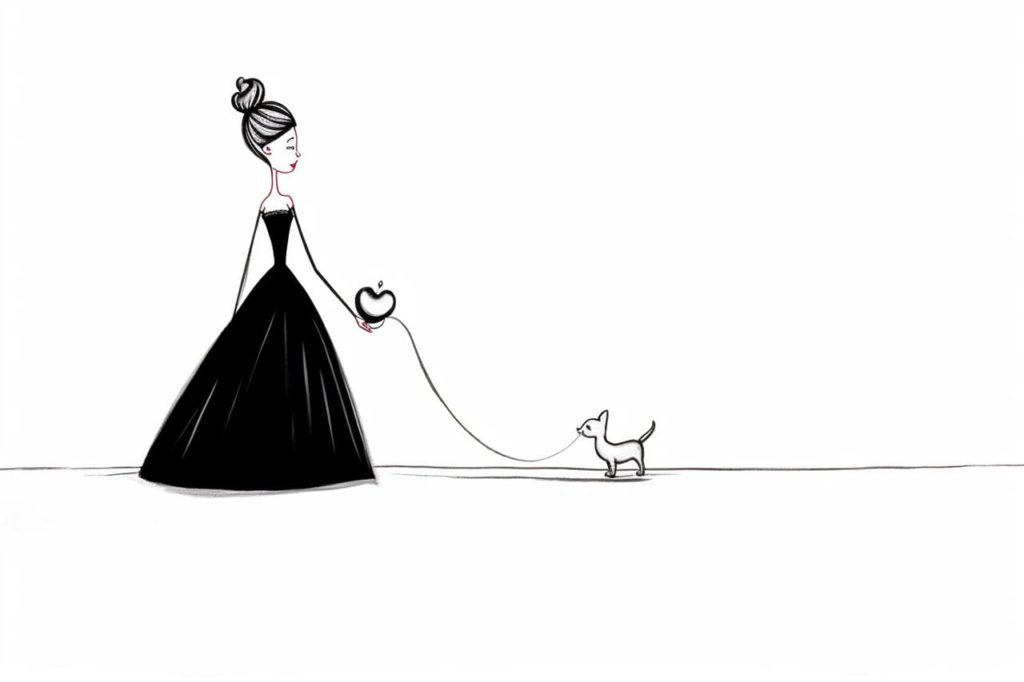
Gallery of Cinderella Drawings