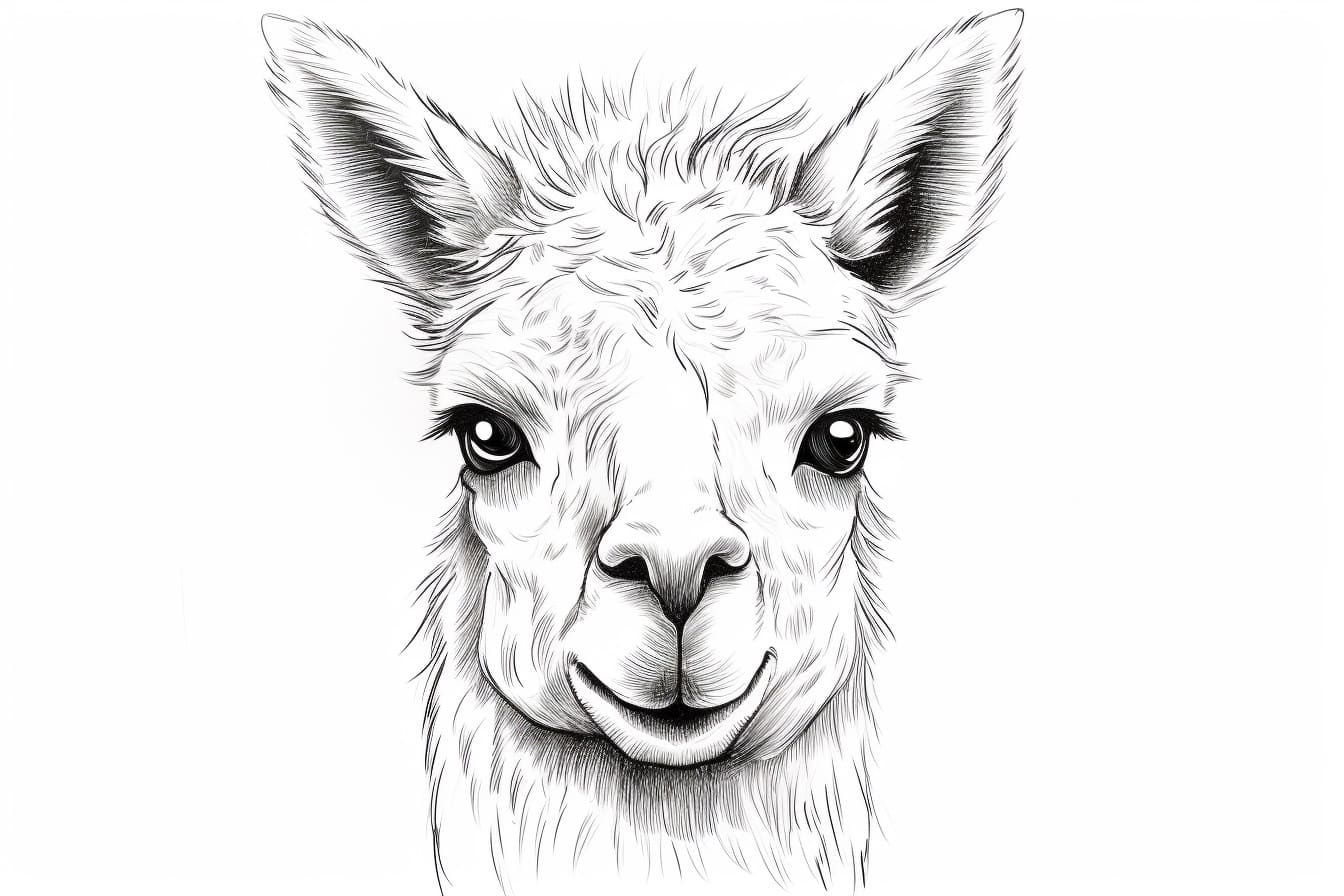
Welcome to this step-by-step tutorial on drawing a llama face! Whether you are an aspiring artist or just looking for a fun and creative activity, learning to draw a llama face can be a wonderful experience. In this guide, we will break down the process into easy-to-follow steps, so grab your pencils and let’s get started!
Materials Required
Before we begin, let’s gather all the materials you’ll need to draw a llama face:
- Drawing paper or sketchbook
- Pencils (HB, 2B, and 4B)
- Eraser
- Black fine-tip marker
- Colored pencils or markers (optional)
Make sure you have all these materials ready before moving forward with the tutorial. Now, let’s jump right into the steps!
Step 1: Draw a Basic Head Shape
Start by drawing a slightly tilted oval shape on your paper. This will be the base of your llama’s head. Don’t worry about making it perfect, as you can always adjust it later.
Step 2: Add Ears
On the top sides of the head shape, draw two long and slightly curved lines that meet at a point on both ends. These will be the llama’s ears. Make them as tall or short as you like, as llamas have a variety of ear sizes.
Step 3: Draw the Eyes
Now, let’s work on the llama’s expressive eyes. Draw two large oval shapes within the head shape, leaving some space in between for the nose and mouth. Add smaller ovals inside the eyes to represent the pupils. Leave a small white highlight in each eye to give them a lively look.
Step 4: Sketch the Nose and Mouth
Below the eyes, draw a small rectangular shape for the nose. Add a curved line for the mouth just below it, connecting to the sides of the nose. Llamas have a cute, smiling mouth, so make sure to capture that in your drawing.
Step 5: Add the Face Details
Let’s give our llama more character by adding some facial details. Draw two small ovals on each side of the face, slightly above the eyes, for the llamas’ distinctive cheeks. Then, add two curved lines that start from the side of the head and connect to the top of the cheeks, forming the fur lines on the face.
Step 6: Outline the Head and Ears
Using a darker pencil or a fine-tip marker, carefully trace over the lines of the head and ears to make them stand out. You can also add more details, such as longer fur lines on the ears, to give your llama a more realistic texture.
Step 7: Add Llama’s Hair
Llamas are known for their majestic hair, so let’s capture that in our drawing. Outline the hair on top of the head, following the basic shape of the head but with some wavy lines to give it a fluffy look. Don’t forget to add some longer hair strands hanging in front of the ears.
Step 8: Draw the Llama’s Neck
Extend two slightly curved lines from the bottom of the head shape to create the llama’s neck. You can make it as long or as short as you like, depending on the desired proportions of your llama’s face.
Step 9: Sketch the Fuzzy Chest
Llamas have a fuzzy chest that adds to their adorable appearance. Draw a curved line below the neck, starting from one side and ending on the other, to represent the chest. Add some short, vertical lines along this curve to indicate the fur.
Step 10: Time for Details
Now that we have the basic structure of our llama face, it’s time to add some finer details. Draw a small curved line on each side of the nose to represent the nostrils. Then, sketch some fur lines on the cheeks, neck, and chest to give the llama a more textured look.
Step 11: Erase Unnecessary Lines
Take an eraser and carefully remove any unnecessary lines that might still remain from the initial sketch. Pay close attention to the guidelines that are no longer needed, such as the oval shape for the head.
Step 12: Color Your Llama (Optional)
If you’d like to add some color to your drawing, grab your colored pencils or markers. Llamas come in various shades, so let your creativity shine and choose any combination that you like. Remember to color the fur in small strokes to create a textured effect.
Conclusion
Congratulations! You have successfully drawn a llama face. By following these simple step-by-step instructions, you learned how to capture the unique features and cute expressions of a llama. This artwork can be a great addition to your sketchbook or a lovely gift for llama enthusiasts. Keep practicing and exploring your artistic skills. Enjoy the process and have fun bringing llamas to life on paper!