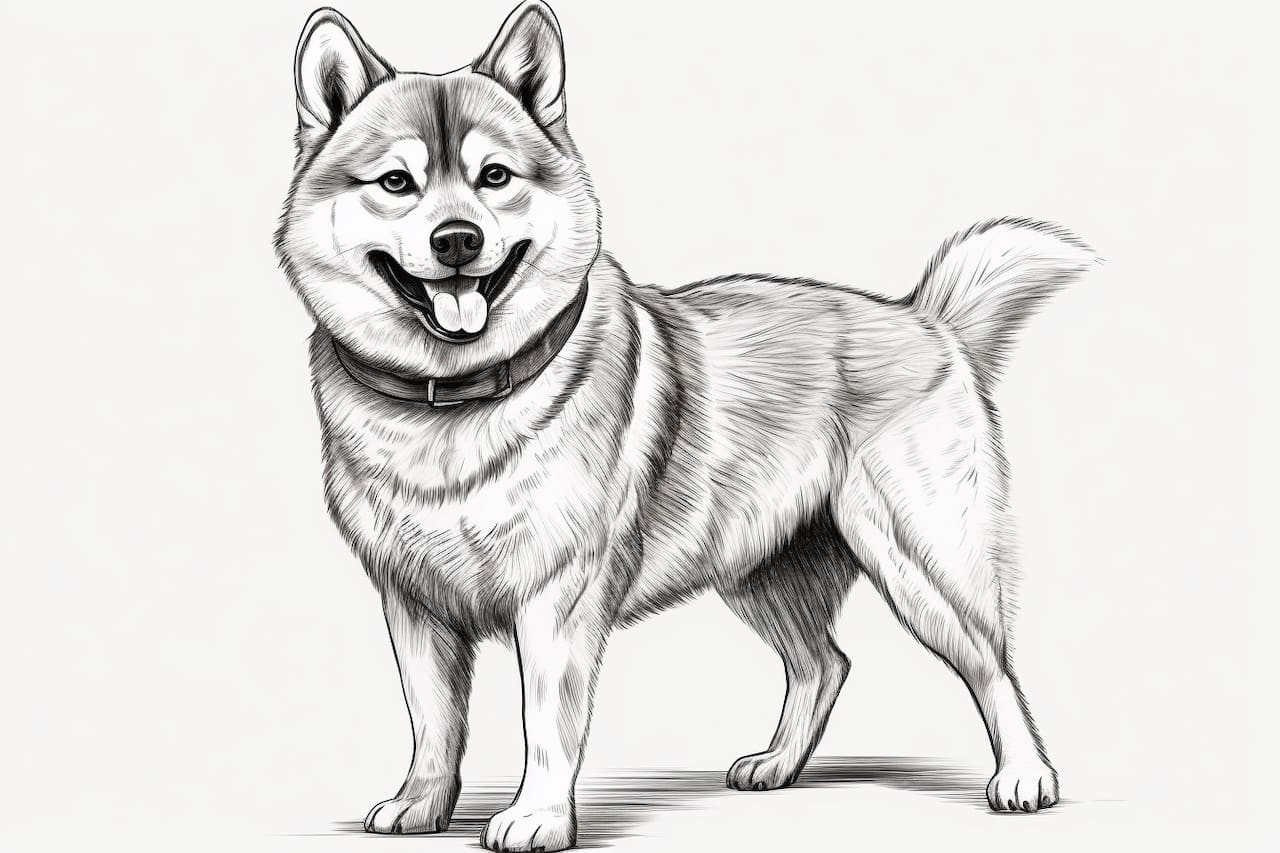
Shiba Inus are a popular breed of dog known for their adorable appearance and spirited personalities. If you’ve ever wanted to capture the charm of a Shiba Inu in your artwork, you’re in luck! In this step-by-step guide, I will walk you through drawing a Shiba Inu from start to finish. Whether you’re a beginner or an experienced artist, grab your pencils and paper, and let’s get started!
Materials Required
Before we dive into the drawing process, let’s make sure you have all the materials you’ll need:
- Pencils: I recommend using a range of pencils with different lead hardness, such as HB, 2B, and 4B.
- Paper: Choose smooth, sturdy paper that can handle pencil shading. A sketchbook or drawing pad will work perfectly.
- Eraser: A kneaded eraser is ideal for easily correcting mistakes and lightening pencil marks.
- Pencil Sharpener: Keep your pencils sharp for precise lines and details.
- Reference Image: Find a clear photo of a Shiba Inu that you can use as a visual reference. This will help you accurately capture the unique characteristics of the breed.
Now that your materials are ready, let’s draw a Shiba Inu!
Step 1: Basic Guidelines
Start by lightly sketching the basic structure of the Shiba Inu. Begin with a circle for the head and add a rounded triangle shape beneath it for the body. Connect these shapes with gentle curves to create the neck. Remember to keep your lines loose and light at this stage, as you will refine them later.
Step 2: Facial Features
Next, let’s focus on the facial features of the Shiba Inu. Draw two oval shapes for the eyes, leaving a small space between them. Add a dot inside each eye to represent the pupils. Above the eyes, draw small triangular shapes for the ears, pointing slightly outward.
Between the eyes, create a small triangular shape for the nose and add a curved line beneath it for the mouth. Shiba Inus are known for their expressive faces, so pay attention to the placement of these features to capture their characteristic expression.
Step 3: Refine the Head
Now that we have the basic facial features in place, it’s time to refine the shape of the head. Add fur details around the ears, giving them a furry texture. Create a gentle curve for the top of the head and add short strokes to suggest fur. Use your reference image to guide you in capturing the unique shape and contours of a Shiba Inu’s head.
Step 4: Body and Legs
Moving on to the body, use long, curved lines to define the back and sides of the Shiba Inu. Make sure to maintain a graceful shape and pay attention to the proportions. Add short, vertical lines to indicate the legs, making them slightly thicker towards the body and tapering towards the paws.
Step 5: Tail and Paws
Shiba Inus have distinctive curled tails, so let’s draw that next. Start by lightly sketching a curved line from the base of the body, then gradually make it thicker and add some fur details to depict the tail’s texture. For the paws, draw small ovals at the ends of the legs, adding a hint of fur texture around them.
Step 6: Refine Details and Fur
Now that you have the main body structure, it’s time to add more details and capture the texture of the Shiba Inu’s fur. Use short, curved strokes to outline the shape of the face, paying attention to the areas around the eyes and mouth. Add short strokes all over the body to suggest fur, making them more concentrated in some areas to create a sense of depth and volume.
Step 7: Shadows and Shading
To make your drawing more realistic and three-dimensional, adding shadows and shading is important. Analyze your reference image to identify areas of light and shadow. Use your pencils with different lead hardness to create different tonal values. Start with light shading and gradually build darker tones to add depth and dimension to your drawing. Pay attention to the direction of the fur and blend your pencil strokes accordingly.
Step 8: Final Touches
Congratulations, you’re almost done! Take a step back and evaluate your drawing. Make any necessary adjustments and refine any areas that require more attention. Use your eraser to lift stray marks or lighten spots that need highlighting. Take your time with these final touches to ensure you’re happy with the overall result.
Conclusion
Drawing a Shiba Inu can be a fun and rewarding experience. Following these step-by-step instructions and using a reference image can create a beautiful and lifelike depiction of this beloved breed. Remember to be patient with yourself and enjoy the process. With practice, you’ll continue to improve your artistic skills and capture the essence of the Shiba Inu in your drawings.
So, grab your pencil and start sketching your Shiba Inu masterpiece today!