Drawing a glass may seem challenging due to its transparent and reflective nature, but with the right techniques and practice, you can achieve stunning results. In this step-by-step guide, I will walk you through the process of how to draw a glass, from understanding its basic forms to capturing its transparent qualities. So grab your favorite drawing supplies and let’s get started!
Materials Required
To draw a glass, you will need the following materials:
- Drawing paper
- Pencil (HB or 2B)
- Eraser
- Ruler
- Blending stump or cotton swabs
- Optional: Colored pencils, markers, or watercolor pencils for adding color
Now that you have your materials ready, let’s begin the process of drawing a glass!
Step 1: Start with Basic Shapes
Begin by lightly sketching the basic shapes that make up the glass. Most glasses have a cylindrical shape with a wider base and a narrower top. Use your pencil to draw an elongated oval for the base and a smaller oval or circle for the top opening. These shapes will serve as the foundation for your glass drawing.
Step 2: Refine the Outline
Using the basic shapes as a guide, refine the outline of the glass. Pay attention to any specific details or curves that make your glass unique. Take your time and use light strokes to create a clean and accurate outline. Remember, it’s always easier to erase and make adjustments at this stage than later on.
Step 3: Add Thickness
Next, add some thickness to the outline you’ve created. A glass usually has a thin wall that separates the inner and outer surfaces. To achieve this, draw a parallel line to the outer outline, following its curves. Ensure that this line is slightly offset and does not touch the outer outline directly.
Step 4: Create the Base
Move on to drawing the base of the glass. Using your ruler, draw straight lines from the bottom of the glass towards a central point. These lines should converge and form a triangle. Make sure the lines are evenly spaced and aligned with the shape of the glass.
Step 5: Add Details
Now, it’s time to add some details to make your glass look more realistic. Pay attention to any intricate designs or patterns on the glass. You can include these by gently sketching them in or by using hatching or cross-hatching techniques for shading.
Step 6: Define the Reflections
One of the defining characteristics of glass is its reflective nature. To capture this, carefully observe the objects and surroundings reflected in the glass. Lightly sketch these reflections using curved lines and shapes. Keep in mind that these reflections will appear distorted due to the shape of the glass.
Step 7: Shade the Glass
To create the illusion of transparency, we need to add shading to the glass. Start by identifying the light source in your drawing. The light source determines where the highlights and shadows will be. Using your pencil, shade the areas of the glass that are farther away from the light source, leaving the highlighted areas untouched.
Step 8: Blend and Add Texture
To enhance the smoothness and transparency of the glass, use a blending stump or a cotton swab to blend the shaded areas gently. This will create a gradual transition between light and shadow, adding realism to your drawing. If desired, you can also add texture to the glass by lightly hatching or cross-hatching specific areas.
Step 9: Optional – Add Color
If you prefer to add color to your drawing, you can use colored pencils, markers, or watercolor pencils. Start by applying a light base color to represent the transparency of the glass. Then, layer darker shades to create the illusion of depth and form. Blend the colors smoothly using a blending stump or a brush, depending on the medium you’re using.
Conclusion
Drawing a glass requires careful observation of its form, reflections, and transparency. By following these step-by-step instructions and practicing regularly, you can master the art of drawing a glass. Remember to start with basic shapes, refine the outline, add thickness, and include the details that make your glass unique. Don’t forget to capture the reflections, shade the glass, and blend to achieve a realistic look. With time and patience, you’ll be amazed at the glass drawings you can create!
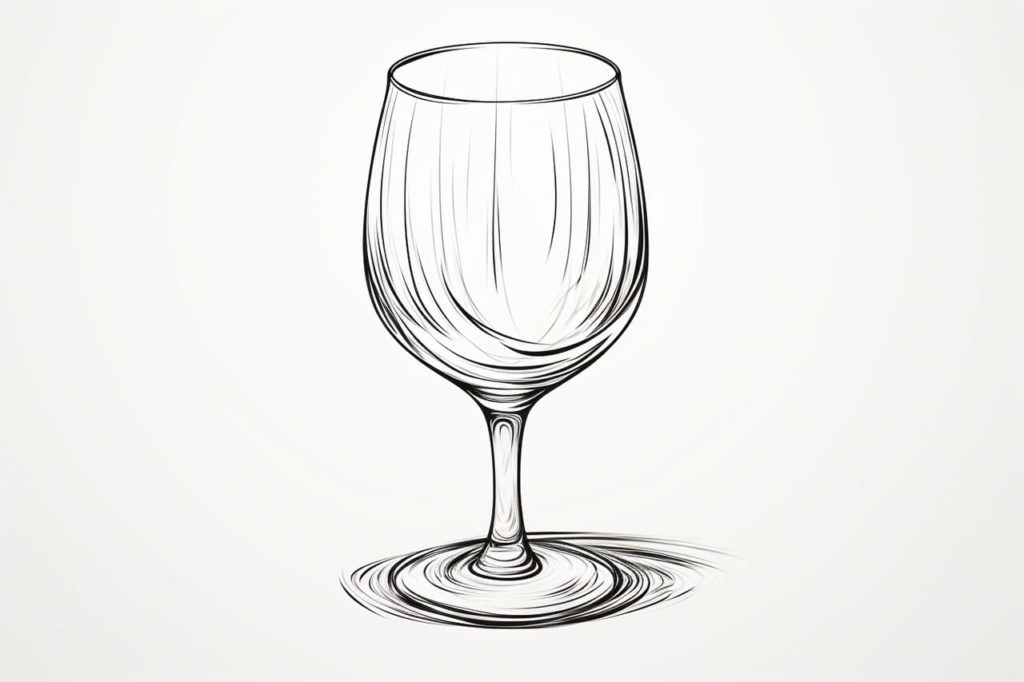
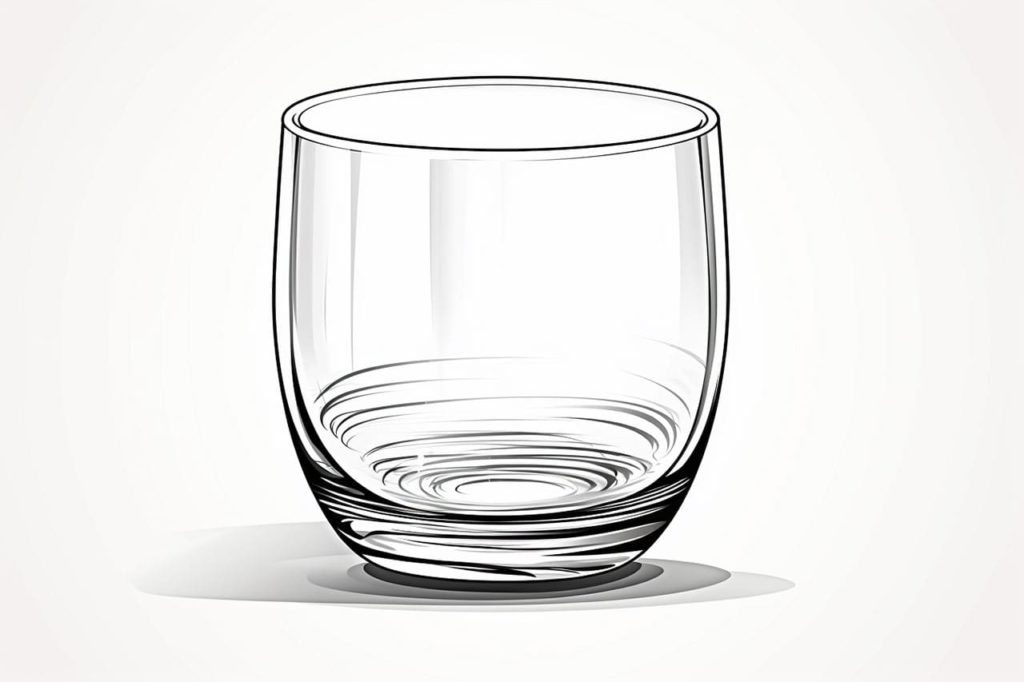
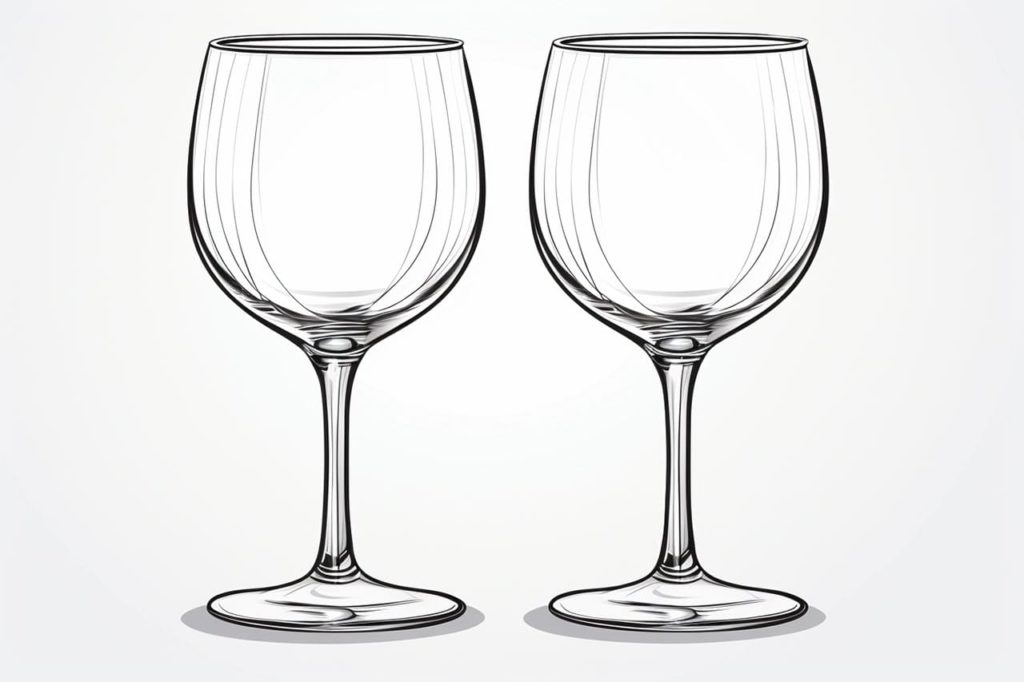
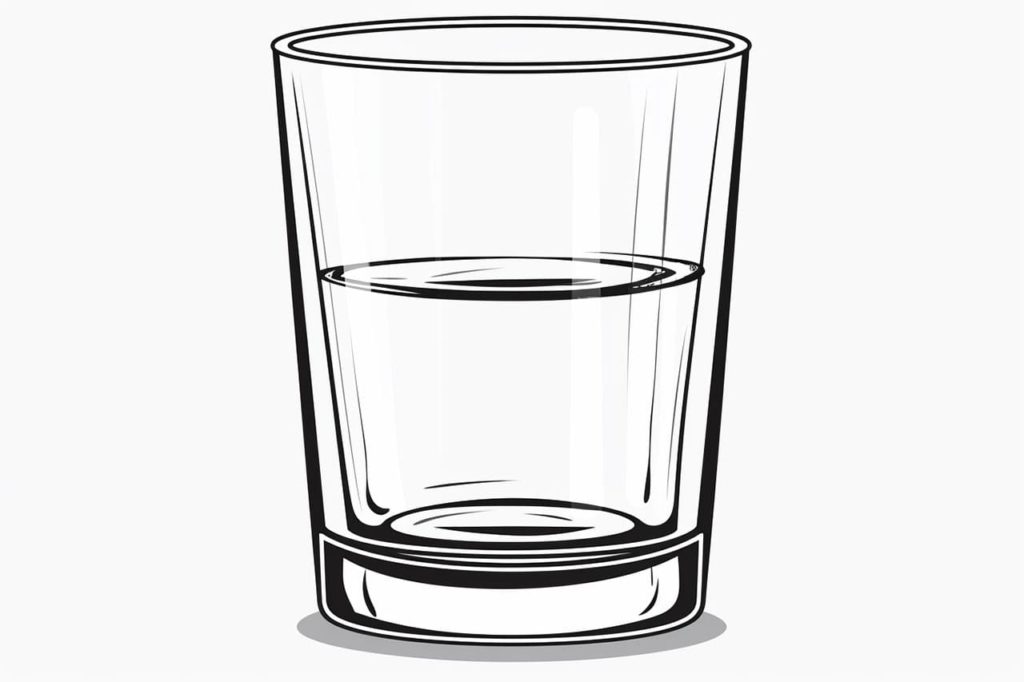
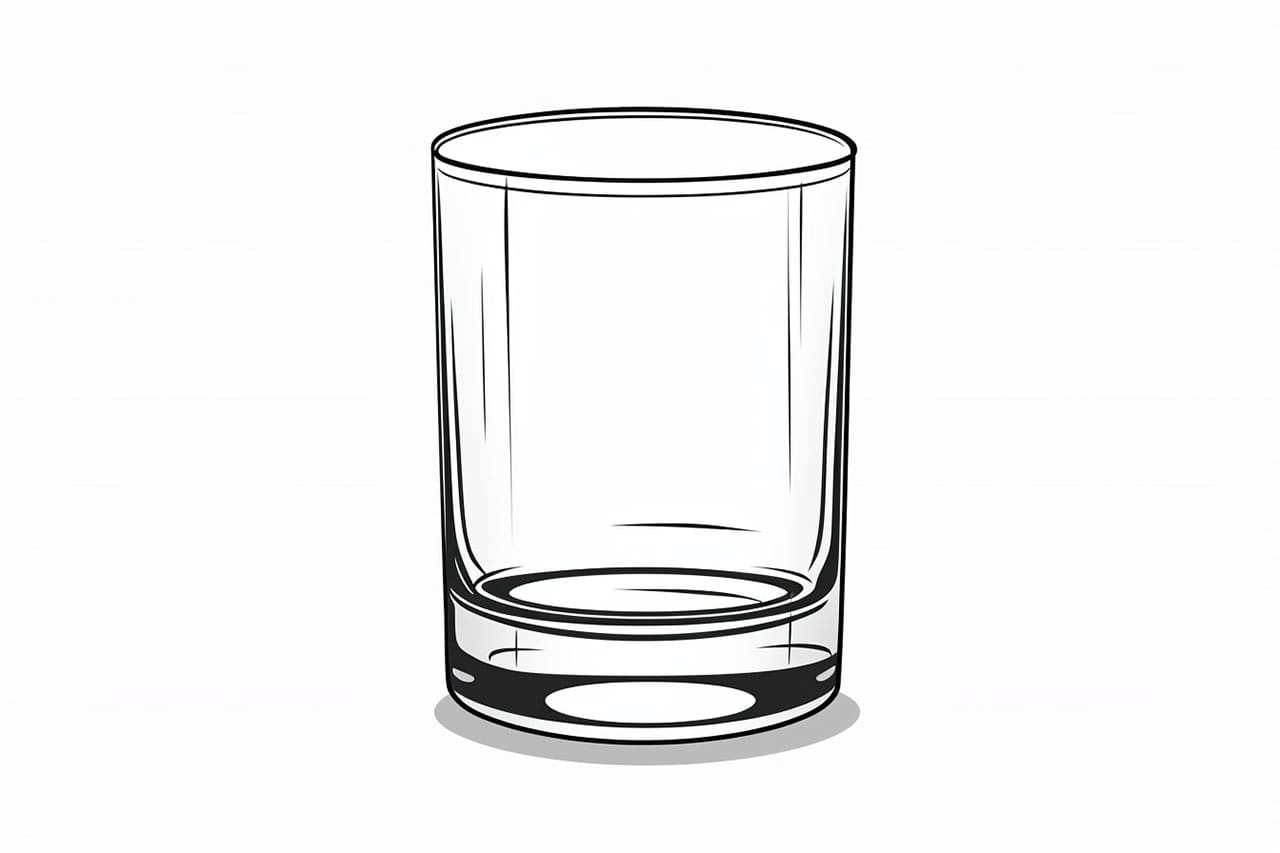
Gallery of Glass Drawings