Have you ever wanted to learn how to draw a dynamic punch? A well-drawn punch can convey power, energy, and motion in your artwork. In this step-by-step guide, I will walk you through the process of drawing a punch. Whether you are a beginner or an experienced artist, this tutorial will provide you with the necessary techniques to create a captivating punch in your drawings.
Materials Required
Before we dive into the drawing process, let’s gather the materials you will need:
- Paper: Choose a quality drawing paper that can handle pencil shading and erasing.
- Pencils: Have a range of graphite pencils, such as 2B, 4B, and 6B, to achieve different shades.
- Eraser: A kneaded eraser is recommended for its versatility in lifting highlights and lightening pencil lines.
- Pencil Sharpener: Keep your pencils sharp for precision and control.
Now that we have our materials ready, let’s begin the exciting journey of drawing a punch!
Step 1: Setting the Pose
Start by visualizing the pose and motion of the punch. A punch is an action-oriented movement, so consider the direction and force behind it. Decide whether the punch is coming towards you, away from you, or from the side. Sketch a loose outline of the arm and fist in your desired position. Use light strokes to indicate the basic structure and proportions.
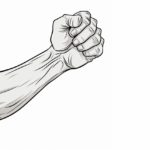
Step 2: Defining the Fist
Now it’s time to shape the fist more precisely. Start by drawing a cube-like shape to represent the main structure of the knuckles. Remember that the knuckles curve slightly and are not perfectly flat. Connect the sides of the cube with curved lines to create a more organic look. Add the thumb on one side of the fist, making sure it follows the natural contours. Refine the shape of the fingers by adding cylindrical forms.
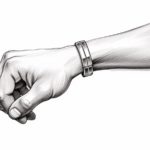
Step 3: Adding Details to the Fist
Next, add more details to the fist to make it appear more realistic. Indicate the joints and creases of the fingers by drawing curved lines. Pay attention to the bending of each finger, as it will add depth and dimension to your punch. Sketch the fingernails lightly on the tips of the fingers. Use subtle shading to create a sense of volume and texture.
Step 4: Drawing the Arm
Now, shift your focus to drawing the arm leading up to the fist. Start by outlining the upper arm and forearm with curved lines. Pay attention to the muscle structure and form of the arm. Add the elbow joint, which will help define the bending of the arm. Use shading techniques to give the arm a three-dimensional appearance. Remember to keep the lines light at this stage, as we will refine them later.
Step 5: Adding the Details on the Arm
To make the arm look more realistic, add some details and texture. Pay attention to the muscle definition by adding curved lines and shading. Observe references or your own arm to understand how muscles and tendons appear under different positions. Keep in mind the direction of light and shadow to enhance the illusion of depth.
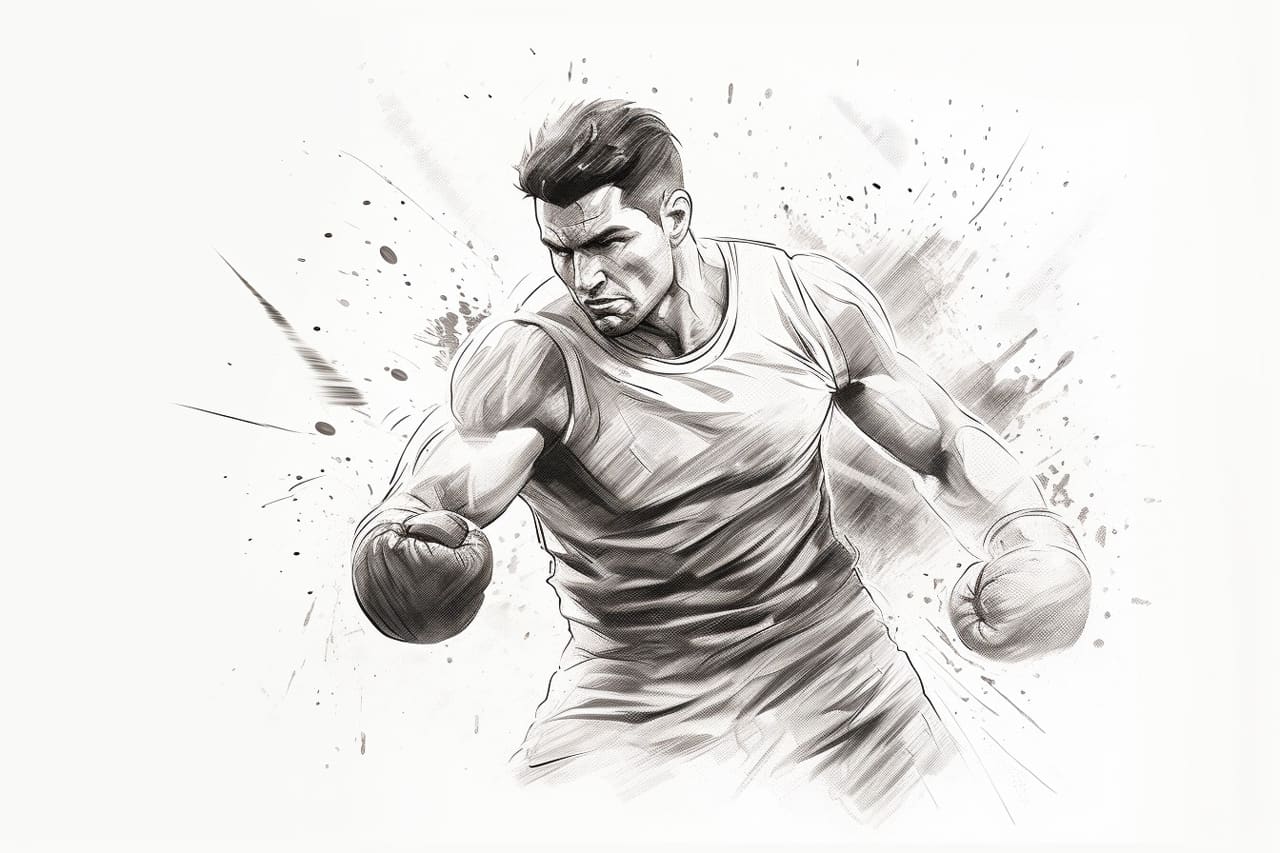
Step 6: Enhancing the Punch with Motion Lines
To convey the dynamic energy of the punch, add motion lines around the fist and arm. These lines should follow the direction of the punch and emphasize its speed and impact. Use quick, loose strokes to create the sense of movement. Vary the thickness and darkness of the lines to give the motion lines more depth and dimension.
Step 7: Refining and Detailing
Now that the basic elements are in place, it’s time to refine the drawing. Go over your outlines and details, making them more defined and precise. Erase any unnecessary guidelines or light construction lines that are no longer needed. Pay attention to the smaller details, such as folds in the skin and fabric of clothing if applicable. Take your time during this stage to ensure a polished look.
Step 8: Shading and Value
To bring your punch to life, add shading and value to your drawing. Observe the source of light in your scene and imagine where the shadows would fall. Use a range of graphite pencils to create various shades, from light to dark. Gradually build up the shading to create volume and depth in the different parts of the punch. Pay attention to the areas that would be in shadow and those that would catch highlights.
Step 9: Final Touches
In the last step, refine any remaining details and make any necessary adjustments. Add additional shading or highlights to enhance the overall composition. Take a step back and evaluate your drawing as a whole. Make any final tweaks to ensure a well-balanced and visually appealing punch.
Conclusion
Congratulations on completing your punch drawing! By following these step-by-step instructions, you have learned how to create a powerful and dynamic punch in your artwork. Remember that practice makes perfect, so keep exploring and experimenting with different poses and techniques. With time and dedication, you will continue to improve your skills as an artist.
So grab your pencils and paper, and let your imagination unleash the energy of a captivating punch in your art!