Welcome to this step-by-step tutorial on how to draw a clenched fist. Whether you want to create a powerful symbol or simply practice your drawing skills, knowing how to draw a clenched fist can be a valuable skill for any artist. In this guide, we will break down the process into easy-to-follow steps, ensuring that you can capture the strength and detail of a clenched fist in your artwork. So grab your drawing materials and let’s get started!
Materials Required
To draw a clenched fist, you will need the following materials:
- Paper: Choose a sheet of quality drawing paper that is suitable for your preferred medium.
- Pencil: Select a pencil with a soft lead, such as a 2B or 4B, that allows for easy shading and erasing.
- Eraser: Have a good quality eraser handy to correct any mistakes or lighten lines.
- Optional: If desired, you can also use additional materials such as colored pencils, markers, or charcoal for shading and enhancing details.
Now that we have our materials ready, let’s dive into the step-by-step process.
Step 1: Start with Basic Shapes
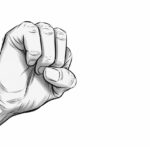
Begin by sketching a circle for the base of the fist. This circle will represent the palm of the hand. Then, draw a smaller circle above the palm to depict the knuckles. These two basic shapes will provide a foundation for your clenched fist drawing.
Step 2: Outline the Thumb
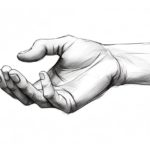
Next, sketch the thumb of the clenched fist. The thumb should extend from the side of the palm and curve inward, forming a shape similar to the letter ‘C’. Make sure to leave enough space between the thumb and the other fingers.
Step 3: Add the Fingers
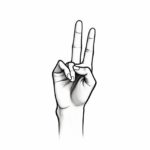
Proceed by adding the remaining fingers to complete the clenched fist. Start with the index finger, drawing a slightly curved line from the knuckles circle to the top of the palm. Repeat this process for the middle finger, ring finger, and pinky finger. Remember to leave spaces between each finger and maintain a gradual tapering effect towards the fingertips.
Step 4: Refine the Fist Shape
Now, it’s time to refine the shape of the clenched fist. Begin by adding curved lines to define the contours of the palm and fingers. Pay attention to the knuckles, which should be more pronounced and defined. Add a slight curve at the base of the fingers to indicate the joints.
Step 5: Outline the Thumb and Fingers
With the basic structure in place, outline the thumb and fingers more precisely. Use curved lines to convey the rounded form of each digit. Pay attention to the angles and proportions, ensuring they appear natural and harmonious.
Step 6: Add Details
To make your clenched fist drawing more realistic, add some additional details. Sketch the creases and folds of the skin around the knuckles and the base of the fingers. You can also indicate the nails by drawing small rectangular shapes at the tips of the fingers.
Step 7: Refine and Shade
Take a moment to review the overall proportions and shape of your clenched fist drawing. Make any necessary adjustments to ensure accuracy. Once you are satisfied with the outlines, you can begin shading to add depth and dimension to your artwork. Use your pencil to create darker values in areas that appear shadowed, such as the space between the fingers or the underside of the clenched fist.
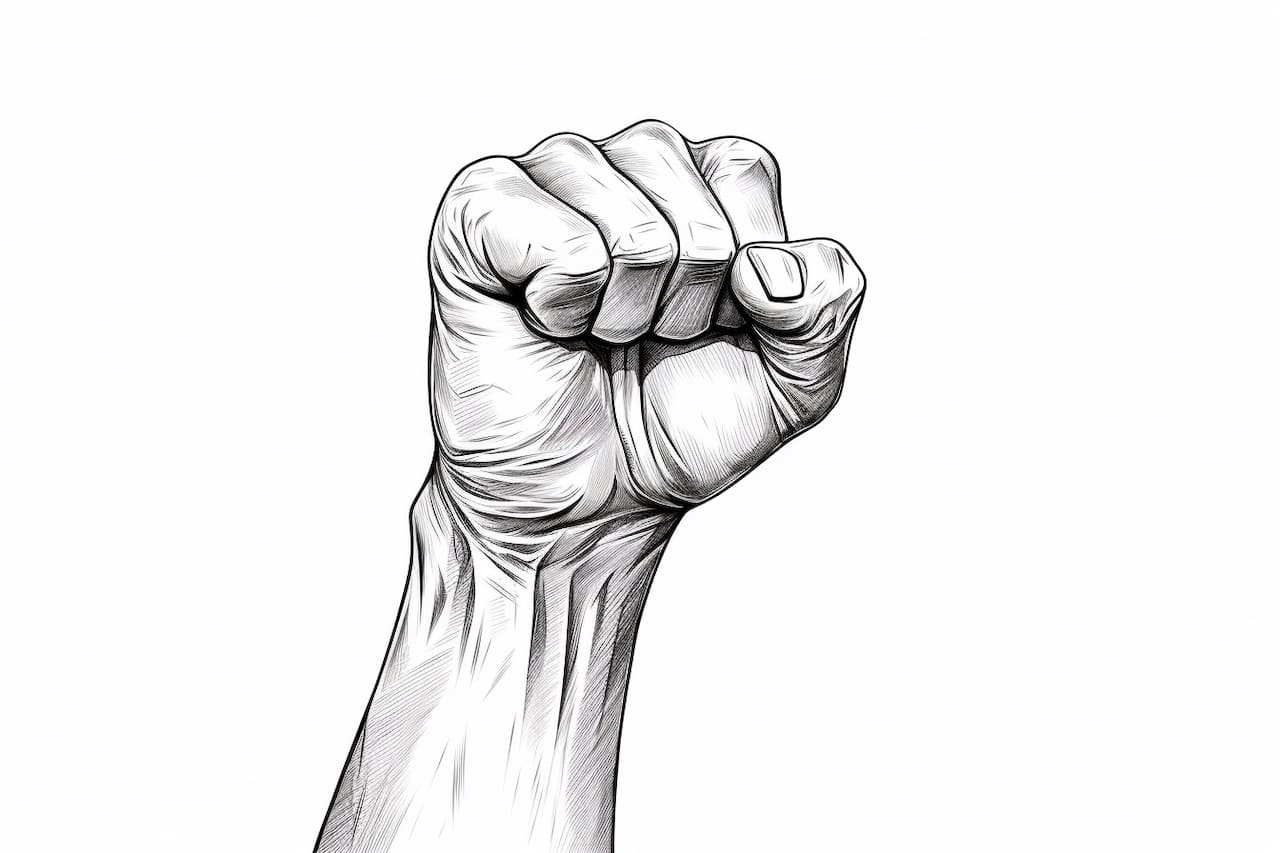
Step 8: Finalize the Shading
Continue refining the shading by gradually building up darker values and adding subtle variations. Observe how the light falls on the clenched fist and create highlights accordingly. Pay attention to the interplay between light and shadow, as this will help convey the three-dimensional form of the hand.
Conclusion
Congratulations! You have successfully learned how to draw a clenched fist. By following these step-by-step instructions and using your artistic skills, you have captured the power and intricacy of this gesture. Practice this technique regularly, and soon you will be able to create clenched fists with ease and confidence in your artwork. Remember, drawing is a skill that takes time and practice to develop, so don’t be discouraged if your first attempt isn’t perfect. Keep refining your technique, and soon you will master the art of drawing a clenched fist.