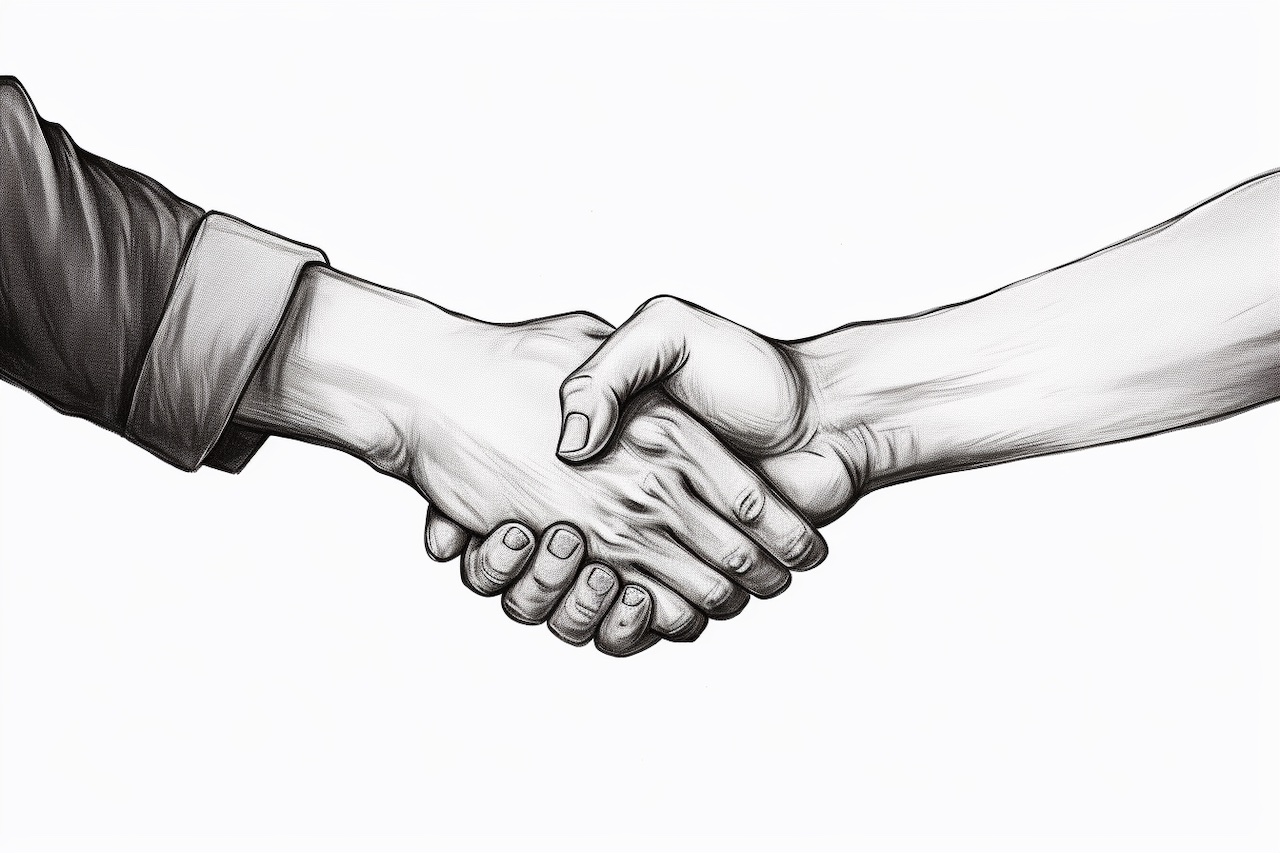
Drawing a handshake can be a wonderful way to depict friendship, cooperation, or partnership in your artwork. Whether you are creating a greeting card, illustrating a book, or simply practicing your drawing skills, learning how to draw a handshake can add a realistic and meaningful touch to your art. In this step-by-step guide, we will walk you through the process of drawing a handshake, providing clear and concise instructions along the way. So grab your paper and pencils, and let’s get started!
Materials Required
To draw a handshake, you will need the following materials:
- Paper: Choose a smooth and sturdy paper that is suitable for drawing. A sketchbook or drawing paper pad works well.
- Pencils: You will need a range of graphite pencils, such as HB, 2B, and 4B, to achieve different shades and details in your drawing.
- Eraser: A good quality eraser is essential for correcting mistakes and refining your artwork.
- Sharpener: Keep a pencil sharpener handy to ensure your pencils are always sharp and ready for use.
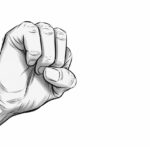
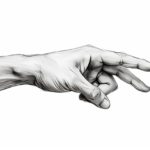
- Reference Image: It can be helpful to have a reference image of a handshake to guide you as you draw. You can find photos or images on the internet or use a book or magazine for reference.
Step 1: Sketching the Basic Shapes
To start drawing a handshake, we need to establish the basic shapes and proportions of the hands. Begin by lightly sketching an oval shape for the palm of one hand. Then, draw a smaller oval shape connected to it to represent the other hand. Make sure to leave enough space between the two ovals for the fingers to meet in the middle.
Step 2: Outlining the Fingers
Now, let’s outline the fingers of each hand. Begin by drawing a curved line extending from the top and bottom of the palm ovals. These lines will represent the outer edges of the fingers. Next, add additional curved lines to define the shape of each finger, making them taper towards the tips. Remember to consider the different lengths of the fingers and how they overlap and intersect.
Step 3: Adding the Thumb
Handshakes often involve the thumbs of each hand, so let’s include them in our drawing. Start by sketching a triangular shape at the base of one hand, just above the palm oval. This will be the base of the thumb. Then, draw two curved lines to outline the thumb, connecting it to the palm oval. Repeat the same process for the other hand.
Step 4: Refining the Hand Shapes
Now that we have established the main components of the handshake, it’s time to refine the shapes of the hands. Use your pencil to add more definition and detail, adjusting the curves and angles as needed. Pay attention to the contours and knuckles of the hands, making them more pronounced for a realistic look.
Step 5: Adding the Wrists and Forearms
To complete the handshake, we need to add the wrists and forearms. Extend two lines outward from each hand, starting at the base of the palm oval. These lines should be gradual and follow the natural flow of the arm. Connect the lines at the bottom to form the wrists, and then continue drawing the forearms, making them taper towards the elbows.
Step 6: Refining the Details
Now that the basic structure of the handshake is complete, it’s time to refine the details and add depth to our drawing. Pay attention to the different planes and angles of the hands and fingers, shading areas that are in shadow and leaving others lighter. Use a range of graphite pencils to achieve variations in tone, applying lighter pressure for lighter areas and heavier pressure for darker areas.
Step 7: Adding Texture and Shadows
To make our drawing more realistic, we can add texture and shadows to the handshake. Use your pencil to create small, fine lines on the palms and fingers to represent the natural lines in the skin. Then, use shading techniques to add depth and dimension to the drawing. Pay close attention to the areas where the fingers overlap, as they will cast shadows on each other.
Step 8: Final Details and Touches
In this final step, take a moment to evaluate your drawing and make any necessary adjustments. Erase any stray lines or smudges, and refine the details of the handshake. Pay attention to the minor details like wrinkles, creases, and fingernails to add an extra touch of realism. Take your time and have patience as you put the finishing touches on your artwork.
Conclusion
Congratulations! You have successfully learned how to draw a handshake. By following these step-by-step instructions and using your creativity, you can capture the spirit of unity and cooperation that a handshake represents. Drawing hands can be challenging, but with practice and patience, you will be able to create realistic and compelling handshake illustrations. So keep practicing, explore different hand gestures, and let your artistic skills shine through in your artwork.