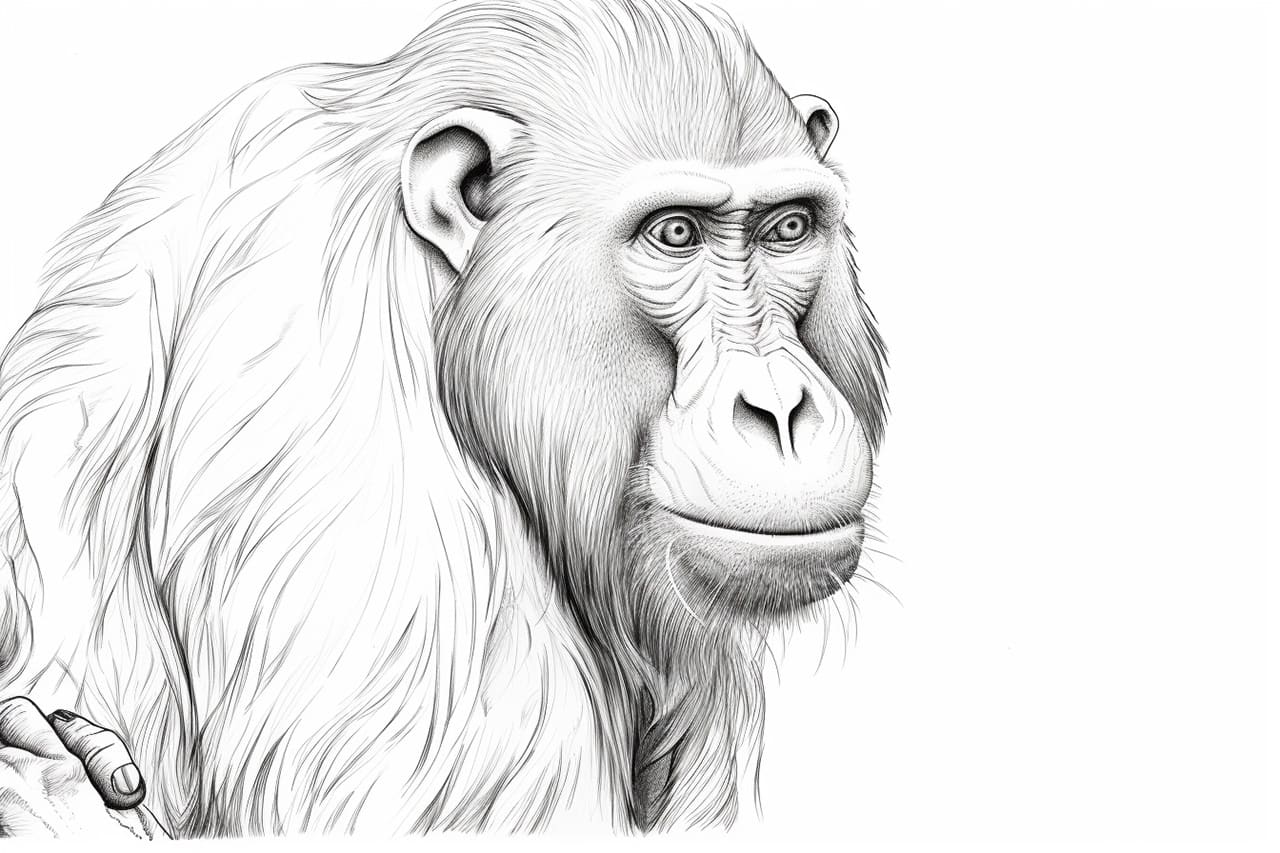
The proboscis monkey is a fascinating and unique creature that can be found in the rainforests of Borneo. Known for its large nose and potbelly, the proboscis monkey is a favorite subject for artists looking to challenge their skills in capturing unique features and intricate details. In this step-by-step guide, we will explore the process of how to draw a proboscis monkey, starting from its basic shape to adding the final details. So let’s grab our pencils and get ready to bring this captivating creature to life on paper!
Materials Required
Before we begin, make sure to gather the following materials:
- Drawing paper: A smooth surface paper will work best for this project.
- Pencils: Ranging from HB to 4B, these will help us achieve varying levels of darkness and shading.
- Eraser: Preferably a kneaded or soft eraser, as it allows for easy manipulation and clean corrections.
- Blending stump or cotton swabs: These tools are ideal for blending and smoothing out pencil strokes.
Now that we have everything ready, let’s dive into the process of drawing a fascinating proboscis monkey!
Step 1: Basic Outline
Start by lightly sketching a basic outline of the monkey’s head using a light pencil, like an HB. Begin with an oval shape for the head, slightly elongated vertically. Add two large round ears on either side of the head. Remember, this initial outline will serve as a guideline, so keep the lines light and easy to erase if needed.
Step 2: Facial Features
Using the basic outline as a reference, start adding the facial features of the proboscis monkey. Begin by drawing two large, expressive eyes in the upper part of the head. Place them slightly to the side, giving the monkey a curious or contemplative expression. Add a small, curved line to indicate the nose, and then extend it downwards to create the characteristic proboscis. Make sure to take your time and be precise in capturing the unique shape and proportions of the nose.
Step 3: Head Shape and Neck
Refine the shape of the head by adding more definition to the jawline and chin. Extend the bottom of the head slightly to create the monkey’s neck. Make sure to maintain the overall roundness and smoothness of the head, as well as the prominent nose. Once you are satisfied with the shape, darken the lines to give the drawing more depth and form.
Step 4: Body and Limbs
Moving on to the body, sketch the monkey’s torso and distinct potbelly. Proboscis monkeys are known for their unique physique, so pay attention to capturing their characteristic shape accurately. Add the arms and legs, keeping in mind the proportions and length relative to the body. These limbs should be slightly longer than those of other monkey species. Take your time to get the details right, using light strokes initially, and then gradually darken them as necessary.
Step 5: Shading and Texture
Now it’s time to add shading and texture to give your drawing depth and realism. Observe reference images of proboscis monkeys to understand the texture and color variations on their fur. Begin by lightly shading the different areas of the face, head, and body to create the base tones. Use a softer pencil, like a 2B or 4B, to achieve darker shadows. Pay special attention to the areas around the eyes, nose, and mouth, as well as the potbelly and hands. Gradually build up the shading, remembering to blend the areas smoothly using a blending stump or cotton swab for a more natural look.
Step 6: Final Details
In this final step, focus on adding the finer details that will bring your proboscis monkey to life. Use a sharp pencil to carefully draw the monkey’s hair, paying attention to the direction and flow of the fur. Add small wisps and strands to mimic the texture and movement of the monkey’s coat. Pay attention to the highlights and reflections on the eyes and nose, which will bring depth and realism to your drawing. Take your time and be patient while working on these details, as they will greatly enhance the overall quality of your artwork.
Conclusion
Congratulations! By following these step-by-step instructions, you have successfully drawn a proboscis monkey. This unique creature with its distinctive nose and physique provides a wonderful challenge for any artist. Remember to take your time, observe reference images, and practice regularly to further refine your skills. With dedication and practice, you can continue to improve and create stunning drawings of various animal species.
So grab your pencils, unleash your creativity, and let’s continue exploring the beauty of the animal kingdom through art!