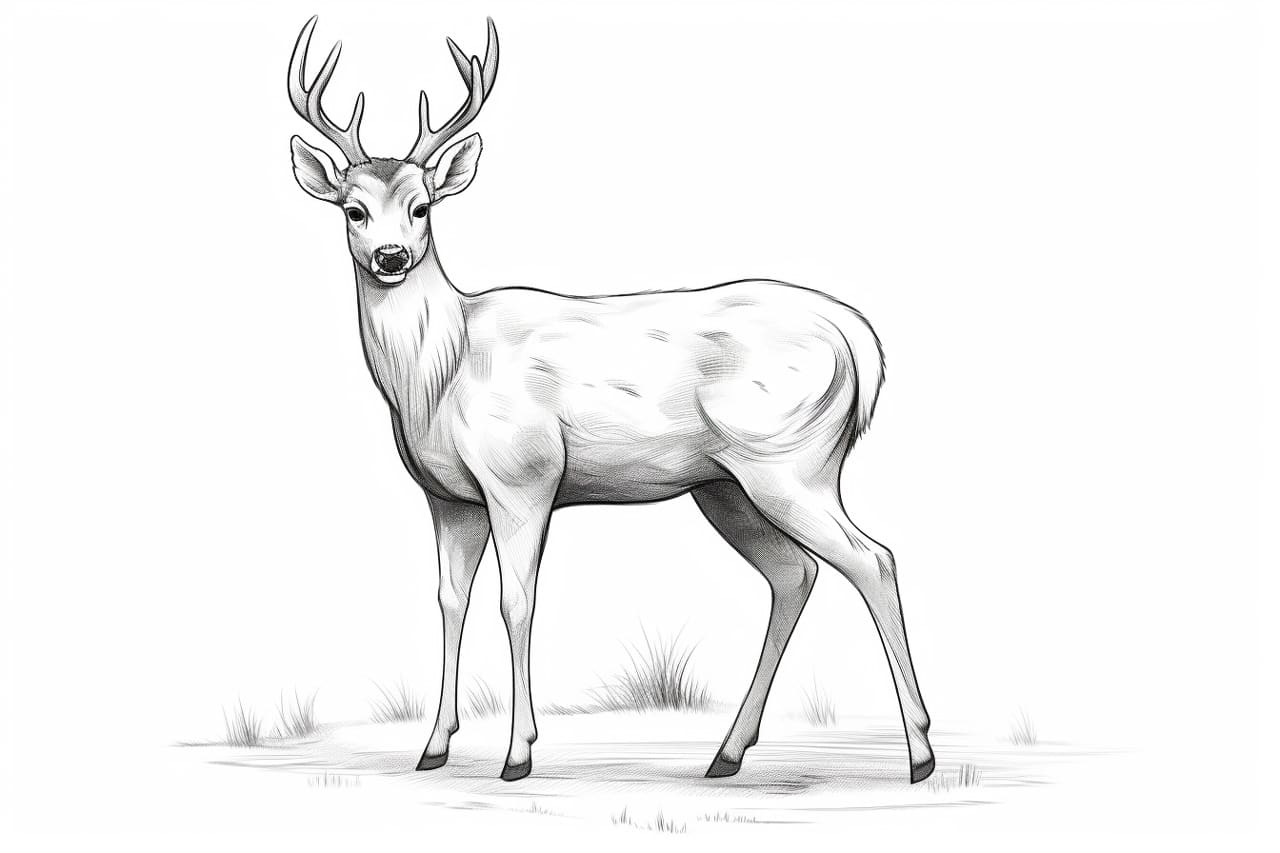
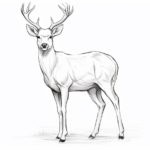
Welcome to this step-by-step tutorial on how to draw a white-tailed deer. Whether you are a beginner or an experienced artist, this guide will help you capture the grace and beauty of this magnificent creature on paper. By following these easy instructions, you will be able to create a realistic depiction of a white-tailed deer in no time. So grab your drawing tools and let’s get started!
Materials Required
To begin drawing a white-tailed deer, you will need the following materials:
- Pencil (preferably HB or 2B)
- Eraser
- Drawing paper
- Black ink pen (optional)
- Colored pencils or markers (optional)
Ensure that you have all these materials ready before you begin, as they will be essential in creating your artwork.
Step 1: Basic Outline
Start by drawing a simple oval shape for the deer’s body. This will serve as the foundation for the rest of the drawing. Then, add a smaller oval on top of the first one to represent the deer’s head. Make sure the proportions are accurate, keeping in mind that the head is smaller in relation to the body.
Step 2: Antlers
Now, let’s draw the antlers. Begin by sketching two curved lines that extend upwards from the top of the head. These lines should branch out into smaller lines, resembling the tines of the antlers. White-tailed deer typically have antlers with multiple points, so feel free to add more lines to make them look more detailed and realistic.
Step 3: Facial Features
Next, let’s add the deer’s facial features. Draw two small circles for the eyes, leaving some space in between them. Inside each eye, sketch a smaller circle to represent the iris, and add a dot in the center to indicate the pupil. Then, draw a slightly curved line below the eyes to represent the deer’s nose. Add a short line above the nose for the deer’s mouth.
Step 4: Ears
White-tailed deer have large, pointed ears. Draw two elongated triangles on top of the head, one on each side. Make sure the base of each triangle connects to the head, and add some curved lines inside to indicate the inner structure of the ears.
Step 5: Neck and Body
Now, let’s focus on the deer’s neck and body. Extend a curved line downwards from the head to create the neck, and then draw another line parallel to it to form the back. Connect the neck and the back with a slightly curved line to create the deer’s shoulder. Continue drawing a gentle curve for the belly, and finally, connect the belly to the back with a curved line to complete the body.
Step 6: Legs
White-tailed deer have slender legs, so let’s draw them next. Start by sketching two straight lines that extend downwards from the deer’s body to create the front legs. Add a small oval shape at the end of each leg to represent the hooves. Repeat this process for the hind legs, making them slightly longer than the front legs to give the impression of perspective. Don’t forget to add hooves to the hind legs as well.
Step 7: Tail
White-tailed deer have a short, fluffy tail. Draw a slightly curved line extending from the back of the body, and then add several shorter lines coming out from it to create the appearance of fur.
Step 8: Details
Now that you have the basic outline of the deer, it’s time to add some details. Start by refining the shape of the head, making sure to include the deer’s muzzle and a few lines for the mouth. Add some lines on the neck and body to represent muscle definition. Then, add some lines and shading to create texture on the antlers. Use your eraser to smudge and blend the lines, giving them a more natural and gradual appearance.
Step 9: Final Touches
This step is where you can add your own personal touch to the drawing. You can choose to outline the entire artwork with a black ink pen to make the lines stand out. Alternatively, you can use colored pencils or markers to add color to your drawing. White-tailed deer have a reddish-brown coat, but feel free to get creative and experiment with different color schemes.
Congratulations! You have successfully drawn a white-tailed deer. With practice, you’ll be able to refine your skills and create even more detailed and realistic drawings of these beautiful creatures. Remember, the key is to observe their features closely and take your time with each step.
Conclusion
Drawing a white-tailed deer may seem challenging at first, but with the help of this step-by-step guide, you can easily bring these majestic animals to life on paper. By following each of the steps outlined above and using the suggested materials, you will be well on your way to creating a stunning depiction of a white-tailed deer.
So, grab your pencil, eraser, and drawing paper, and let your creativity flourish. Have fun and enjoy the artistic process as you bring the beauty of the white-tailed deer to your artwork.

