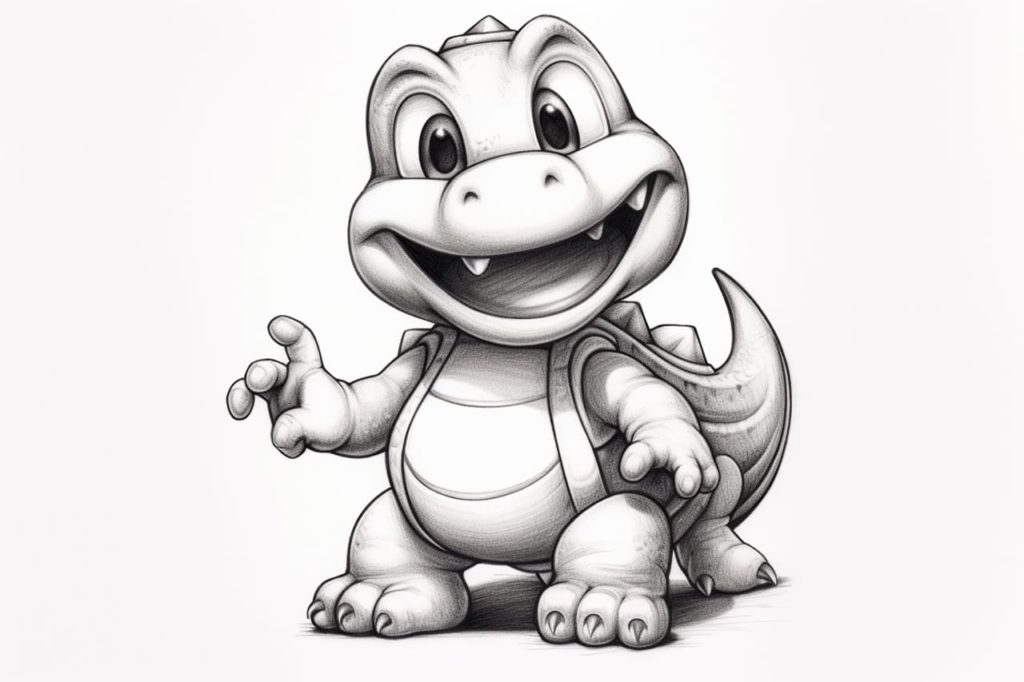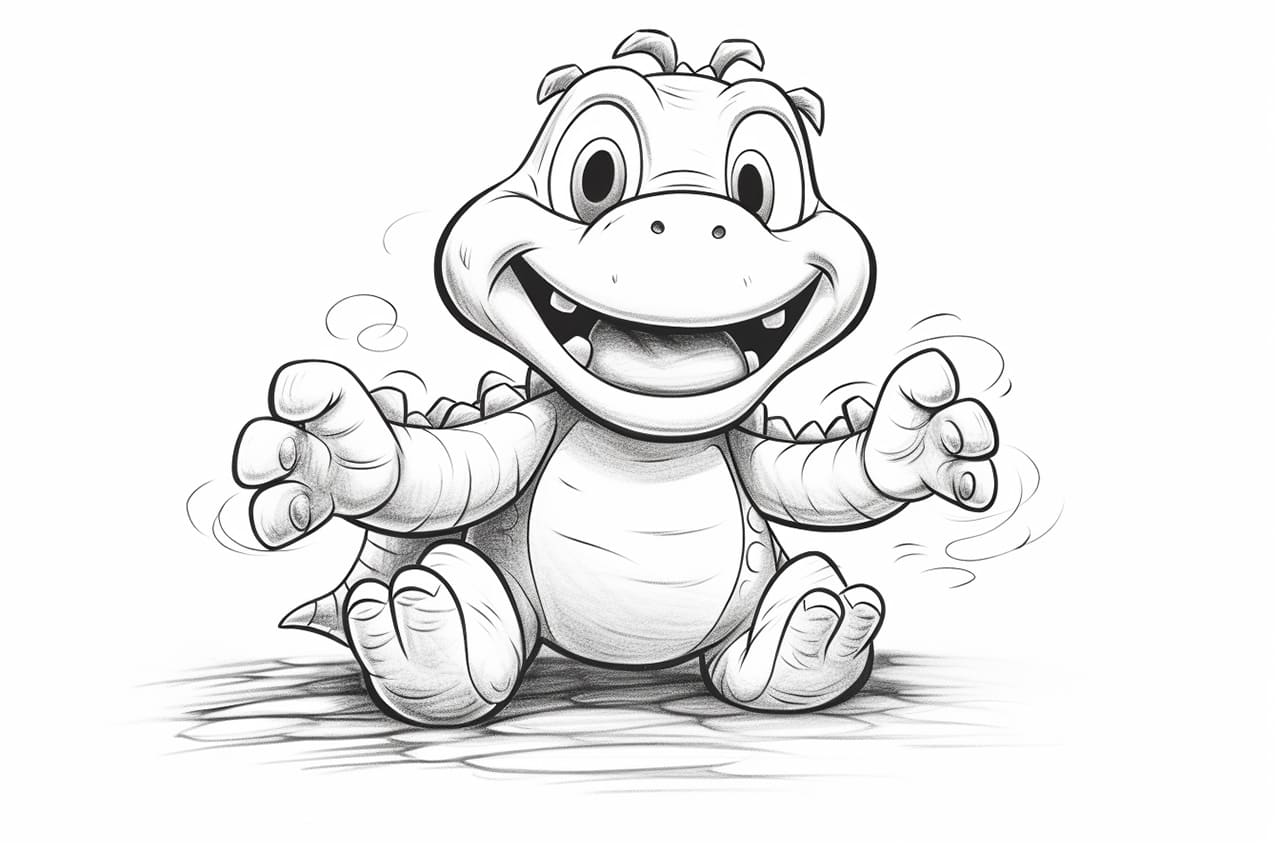
Yoshi is a beloved character from the iconic Super Mario franchise. With his cute appearance and vibrant colors, he has captured the hearts of many fans around the world. If you also find yourself drawn to Yoshi’s charm and would like to try your hand at drawing him, you’ve come to the right place. In this step-by-step guide, we will break down the process of drawing Yoshi into easy-to-follow instructions. So grab your pencils and let’s get started!
Step 1: Gather Your Materials
Before we begin, make sure you have all the necessary materials at hand. You will need:
With these basic materials, you’ll be ready to bring Yoshi to life on the page.
Step 2: Start with Yoshi’s Head
Let’s begin by drawing Yoshi’s head. Start with a large oval shape, slightly elongated vertically. This will serve as the foundation for Yoshi’s face.
Step 3: Add Yoshi’s Facial Features
Next, let’s add Yoshi’s facial features. Draw two large ovals for his eyes, leaving some space in between. Inside each eye, draw a smaller oval and shade it in, leaving a small white circle to represent the reflection. Above the eyes, draw two curved lines for the eyebrows, giving Yoshi a playful expression.
Below the eyes, draw a small curved line for the nose and a wide, smiling curved line for the mouth. Add two small upward curves at the ends of the mouth to create Yoshi’s trademark smile.
Step 4: Draw Yoshi’s Body
Moving on to Yoshi’s body, start by drawing two curved lines extending down from the head. These lines will outline Yoshi’s neck and back. At the end of the back line, draw a wide, curved shape for Yoshi’s shell.
Beneath the shell, draw two parallel lines that curve outward slightly for Yoshi’s body. Connect the lines at the bottom with a curved line to complete the outline of his body.
Step 5: Sketch Yoshi’s Arms and Legs
Let’s draw Yoshi’s arms next. Begin by sketching two slightly curved lines extending from the sides of his body. At the end of each line, draw three small ovals for Yoshi’s fingers.
Moving on to Yoshi’s legs, draw two long, curved lines extending down from the body. At the end of each line, draw three ovals for his toes. Don’t forget to add small oval shapes at the base of each leg for Yoshi’s sneakers.
Step 6: Add Yoshi’s Tail
Yoshi wouldn’t be complete without his signature tail! Extend a curved line from the back of Yoshi’s body, curving it upward slightly. The tail should resemble a long, thin oval shape. Add two diagonal lines within the tail to give it a segmented appearance.
Step 7: Refine Your Drawing
Now that you have the basic structure of Yoshi’s body, it’s time to refine your drawing. Go over the outlines and add more detail, making Yoshi’s features more defined and expressive. Pay attention to the curves and angles of each part of Yoshi’s body to capture his unique character.
Step 8: Add Color (Optional)
If you’d like to bring your drawing to life, you can add color using colored pencils or markers. Yoshi is known for being green, but feel free to get creative and experiment with different color combinations. Don’t forget to color his eyes and shell as well.
Conclusion
Congratulations! You have successfully learned how to draw Yoshi. By following the step-by-step instructions provided, you were able to recreate this beloved character from the Super Mario franchise. Remember, practice makes perfect, so don’t be discouraged if your first attempt isn’t exactly how you envisioned it. With time and practice, you’ll be able to draw Yoshi with ease and even add your own personal touch.
So keep drawing, have fun, and unleash your creativity. Yoshi awaits your artistic skills!