How to Draw a President
Learn how to draw a president with this step-by-step drawing tutorial. Create a realistic and recognizable portrait of a president using simple techniques and reference material.
Materials You'll Need
- Pencil
- Paper
- Eraser
Drawing a president is a fascinating artistic challenge that combines portraiture skills with the opportunity to capture the essence of a historical leader. Presidents, whether current or from the past, often have distinctive features and strong expressions that symbolize their leadership and character. By learning how to draw a president, you not only practice rendering realistic human faces, but you also pay tribute to an important figure who has shaped history. This subject is ideal for those interested in political history, portrait art, or simply looking to expand their drawing portfolio with meaningful and recognizable figures.
In this tutorial, you'll discover how to draw a president step by step, making it accessible whether you're a beginner developing your skills or an intermediate artist looking to refine your technique. We'll focus on critical portrait drawing fundamentals, such as mapping facial proportions, capturing unique features, and shading for realism. These techniques not only help you create a lifelike portrait, but also teach you valuable skills that can be applied to any drawing of a person. Drawing presidents can be a rewarding practice in observation and patience, and can even help you understand the subtle details that make each individual unique.
Don't worry if you're new to portrait drawing—this guide will walk you through each stage, from the first pencil lines to the finishing touches that bring your president's portrait to life. With a bit of practice and patience, you'll be amazed at how much you can improve and express through your art. Gather your drawing tools, follow along, and enjoy the process of learning how to draw a president. Remember, every great artist started with a single line—so let's get started and see where your creativity takes you!
Materials Required
To draw a president, you will need the following materials:
- Drawing paper or sketchbook
- Pencil (preferably a medium or soft graphite pencil)
- Eraser (preferably a kneaded eraser for easy manipulation)
- Fine-tip markers or pens (optional, for outlining and detailing)
- Colored pencils or markers (optional, for adding color)
Now that you have your materials ready, let's begin the drawing process!
Step 1: Research and Reference
Before starting your drawing, it's important to gather some reference material. Research the president you would like to draw, gathering photographs or images that capture their unique features, expressions, and iconic characteristics. Understanding their facial structure and expressions will help you create a more accurate and recognizable portrait.
Step 2: Basic Guidelines
Begin by lightly sketching the basic guidelines of the president's face. Use a light touch with your pencil to create simple shapes that will serve as a framework for the rest of the drawing. Start with an oval shape for the head and add a vertical line through the center to help align the facial features.
Step 3: Facial Features
Using your reference material, carefully observe and sketch the president's facial features one by one. Start with the eyes, placing them evenly on the horizontal line you drew in the previous step. Pay attention to the shape, size, and distance between the eyes, as these details will greatly contribute to capturing the likeness of the president.
Next, draw the nose, mouth, and ears, again using your reference material as a guide. Take your time to accurately capture the unique characteristics of the president's face, such as the shape of their nose or the way their mouth curves when they smile.
Step 4: Hair and Eyebrows
Moving on to the president's hair and eyebrows, carefully observe the texture, style, and hairline. Use light, wispy strokes to create the appearance of hair, paying attention to any distinctive features such as hair parting or facial hair. Take your time and build up the shading gradually to achieve a more realistic look.
Step 5: Refining the Facial Details
Tip: As you work through your portrait, make sure to frequently step back from your drawing to assess the overall composition and proportions. This distance allows you to spot any inaccuracies in facial features or proportions that may not be obvious when you're closely focused on details, helping you maintain a more accurate and lifelike representation of the president.
Now that you have the basic features and hair in place, it's time to refine the details of the president's face. Study your reference material closely and add any additional lines, wrinkles, or defining features that make the president unique. Use light shading to add depth and dimension to the face, paying attention to areas of shadow and highlights.
Step 6: Clothing and Background
If you wish to fully depict the president, consider adding details such as clothing and a background. Research the president's typical attire and incorporate those elements into your drawing. Keep the focus on the president's face, but add enough details to provide context and enhance the overall composition of the artwork.
Step 7: Outlining and Final Details
Once you are satisfied with the overall appearance of your drawing, you can finalize it by outlining the main features and adding any final details. Use a fine-tip marker or pen to carefully trace over the pencil lines, keeping a steady hand to create clean and confident outlines. It's important to work slowly and deliberately, ensuring that you capture the essence of the president's features without overdoing it.
After outlining, you can also choose to add additional details or shading with colored pencils or markers. This step is optional and can be used to add depth, texture, or color to your drawing.
Mistake Alert: One common pitfall when drawing a president is misjudging facial proportions, which can lead to a distorted or unrecognizable likeness. This mistake often occurs because beginners may rush into detailing features without first establishing a solid foundation for the head's shape and the positioning of the eyes, nose, and mouth. To avoid this, take the time to lightly sketch a basic grid or use guidelines to map out the key landmarks of the face. Remember that a president's features, such as the width of their forehead or the placement of their chin, play a significant role in their identity. By focusing on these proportions first, you'll create a more accurate and expressive portrait that truly reflects the character of the leader you're drawing.
Conclusion
Congratulations on completing your portrait of a president! By following these step-by-step instructions and using reference material, you have learned how to create a realistic drawing of a president. Remember to practice regularly and experiment with different techniques to further develop your artistic skills.
Now that you have mastered this technique, you can apply it to draw other famous figures or even create your own unique portraits. Keep exploring and embracing your creativity!
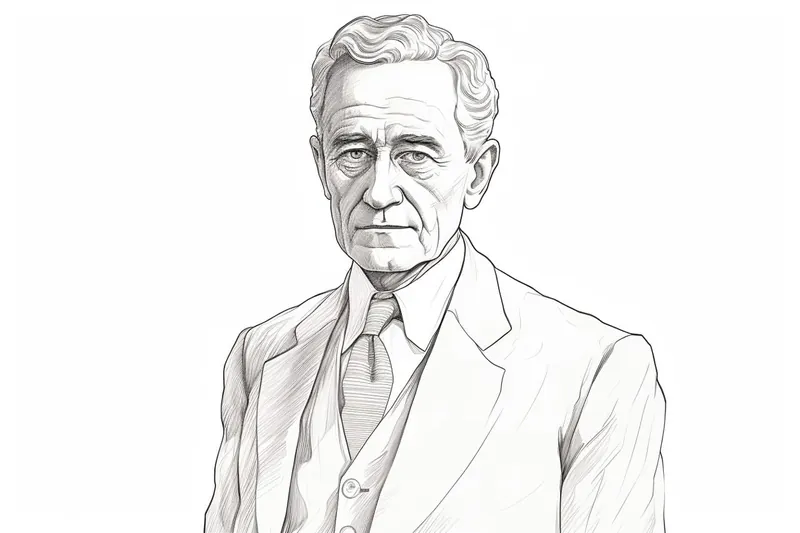
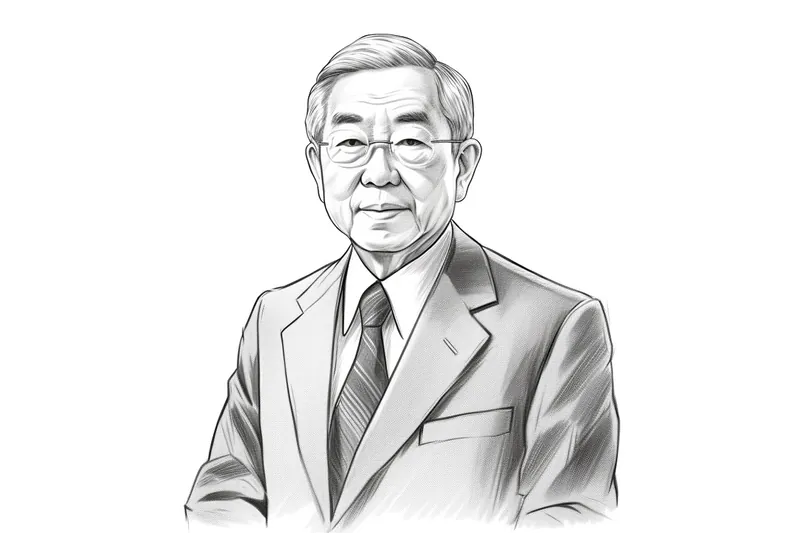
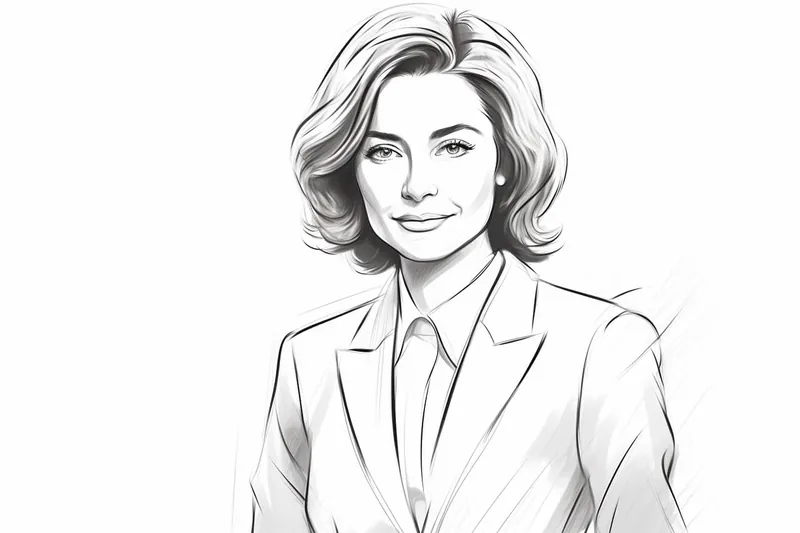
Gallery of President Drawings

Fun Facts About President
- The title "President" comes from the Latin word "praesidens," meaning "one who presides."
- George Washington was the first president of the United States, inaugurated in 1789.
- Presidents often live and work in official residences, such as the White House in the U.S.
- Many countries have presidents, but their powers and roles vary widely.
- The youngest U.S. president elected was John F. Kennedy at age 43.
- Some presidents are also accomplished authors, such as Barack Obama.
- Presidential portraits are a longstanding tradition, with official paintings displayed in national galleries.
- Presidents often have unique pets; for example, Abraham Lincoln had a turkey named Jack.
- Some presidents have been awarded the Nobel Peace Prize, including Theodore Roosevelt.
- Presidential signatures are highly collectible and can be worth thousands.
Suggestions for Scenes and Settings for President Drawings
- A dramatic close-up portrait of a president delivering an important speech at a podium with microphones and a flag backdrop.
- The president sitting at their desk in the Oval Office, surrounded by historical documents, pens, and family photos.
- A candid scene of the president meeting with world leaders at an international summit, shaking hands or engaged in discussion.
- The president outdoors, planting a tree or participating in a community service event with volunteers and children.
- A stylized drawing of the president during their inauguration ceremony, with a raised hand and an open Bible.
- The president walking through a crowd, waving to supporters, with confetti and banners in the background.
- A thoughtful moment of the president reading a letter or briefing in a quiet study, illuminated by a desk lamp.
- The president with their family in a relaxed setting, such as a picnic on the White House lawn or playing with pets.
- A dynamic scene of the president addressing the nation on television, with cameras, studio lights, and a teleprompter visible.
- A creative, symbolic portrait of the president surrounded by imagery representing their key achievements or historical era.