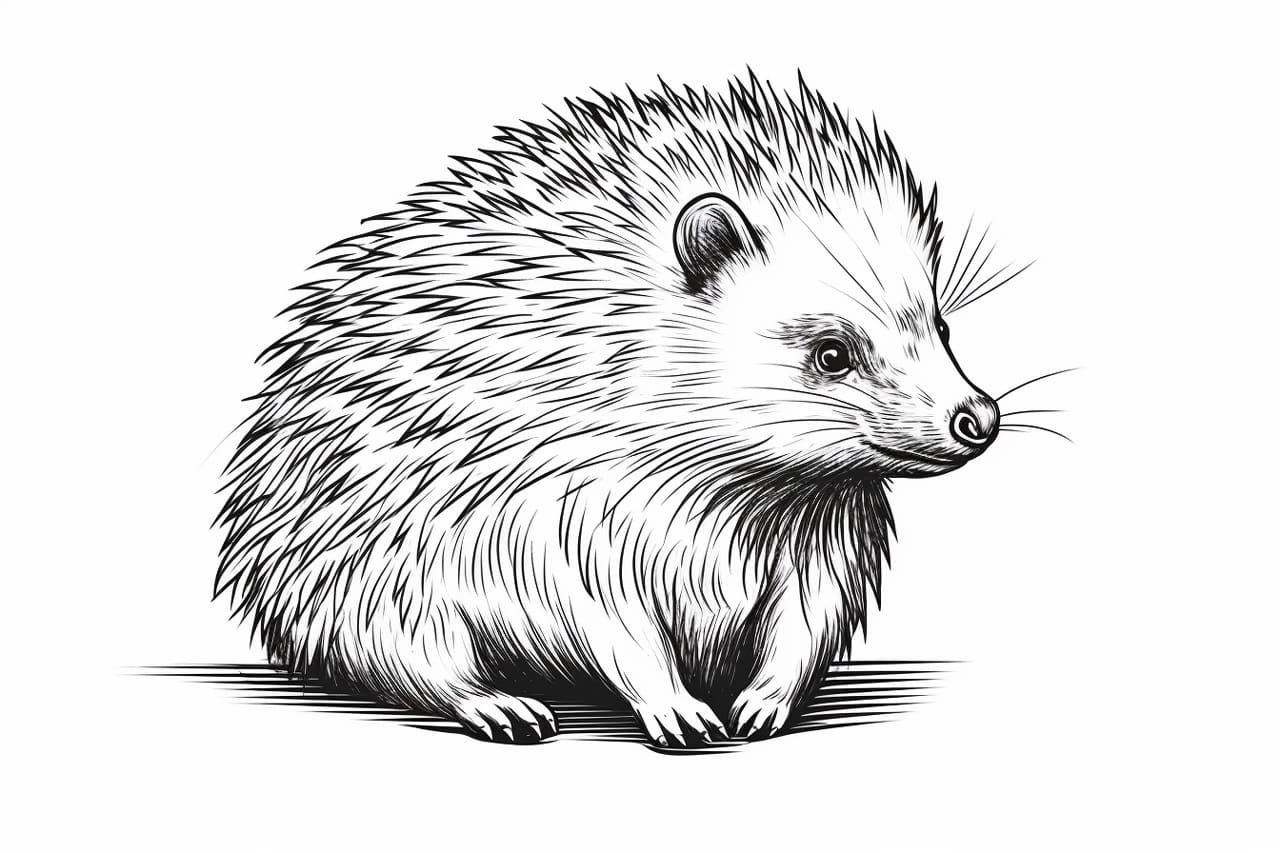
Welcome to this beginner’s guide on how to draw a porcupine! Drawing animals can be a fun and rewarding experience, and with a little guidance, you’ll be able to create your own adorable porcupine illustration.
Materials Required
To get started, you will need the following materials:
- Pencils (preferably a range of graphite pencils with different hardness)
- Eraser
- Paper (preferably a sketchbook or drawing pad)
- Ruler
Now let’s jump right into the steps!
Step 1: Outline the Body
Start by drawing a large oval shape for the porcupine’s body. This will serve as the foundation for your drawing.
Step 2: Add the Head and Facial Features
Using the top part of the oval, draw a smaller oval for the porcupine’s head. Then, add two small circles for the eyes and a tiny triangular shape for the nose.
Step 3: Sketch the Ears
On both sides of the head, draw two curved shapes to represent the porcupine’s ears. They should be positioned slightly above the eyes.
Step 4: Draw the Quills
This step is the most distinctive feature of a porcupine. Starting from the top of the head, carefully draw a series of short, curved lines extending outward to represent the quills. The quills should be densely packed and gradually increase in size toward the back.
Step 5: Add Facial Details
Next, draw a small circle inside each eye for the pupils. Then, add small curved lines above the eyes to represent the eyebrows.
Step 6: Sketch the Legs
Draw four straight lines extending downward from the bottom of the body to create the porcupine’s legs. Make sure to add small ovals at the bottom to form the feet.
Step 7: Outline the Tail
From the back of the body, draw a long, curved line that tapers to a point to create the porcupine’s tail.
Step 8: Refine the Outline
Go over your initial sketch with darker lines to refine the shape of the porcupine. Pay close attention to the curves and details to make your drawing more accurate.
Step 9: Shade the Porcupine
To add depth and dimension to your drawing, start shading the porcupine’s body lightly using a pencil. Use hatching or cross-hatching techniques to create texture and shade the quills darker than the rest of the body.
Step 10: Finalize the Details
Take your time to add any additional details you want, such as wrinkles on the face or texture on the feet. Make any necessary adjustments to ensure your porcupine drawing looks just the way you want it.
And there you have it! By following these simple steps, you’ve learned how to draw a porcupine from scratch. Remember, practice makes perfect, so don’t be discouraged if your first attempt doesn’t turn out exactly as you expected.
Conclusion
In this tutorial, we’ve explored the step-by-step process of drawing a porcupine. Starting with the basic outline of the body, we gradually added details such as the head, quills, legs, and tail. Through the use of shading and refining the details, we were able to bring our porcupine drawing to life.
So grab your pencils and start practicing! With time and patience, you’ll be amazed at what you can create. Drawing animals can be a wonderful way to express your creativity and improve your artistic skills.
Remember, drawing takes practice, so don’t worry if your first porcupine drawing isn’t perfect. Keep trying, have fun, and enjoy the process of bringing these fascinating creatures to life on paper.