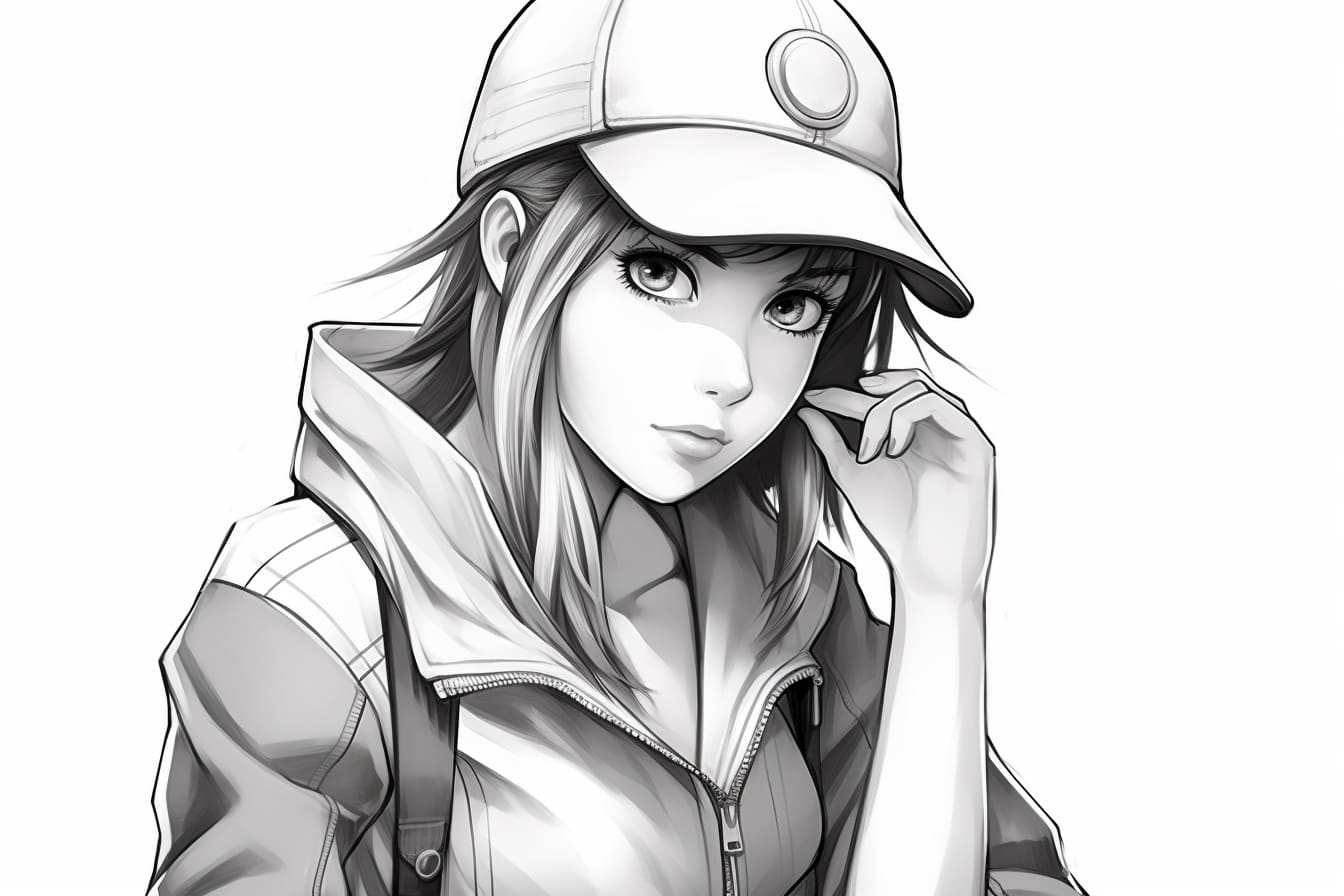
Welcome, aspiring artists! Drawing a Pokemon trainer can be a fun and exciting activity that allows you to unleash your creativity and showcase your artistic skills. In this step-by-step guide, I will walk you through the process of how to draw a Pokemon Trainer, capturing all the unique features and details that make them special. So, let’s grab our pencils and get started!
Materials Required
Before we begin, make sure you have the following materials handy:
- Paper (preferably sketch paper or drawing paper)
- Pencils (HB and 2B are recommended)
- Eraser
- Fine-tip black pen or marker (optional, for inking)
- Colored pencils or markers (optional, for coloring)
Now that we have our materials ready, let’s dive into the world of Pokemon and start drawing our very own trainer!
Step 1: Sketch the Basic Shape
To start, we’ll sketch the basic shape of our Pokemon trainer. Begin by drawing an oval shape for the head. Then, draw a vertical line down the center of the oval to help you position the facial features. Add two horizontal lines intersecting the vertical line to mark the placement of the eyes and nose.
Step 2: Add the Facial Features
Next, let’s add some facial features to our trainer. Using the guidelines we drew in the previous step, sketch the eyes, eyebrows, nose, and mouth. Feel free to customize the expression and style of your trainer as you wish. Experiment with different eye shapes and expressions to give your trainer a unique personality.
Step 3: Define the Hairline
Now, let’s give our trainer some hair! Start by defining the hairline on top of the head. Pokemon trainers often have stylish and unique hairstyles, so feel free to get creative with different shapes and designs. Use curved lines to outline the hair, adding details such as bangs or spikes as desired.
Step 4: Draw the Body
Moving on to the body, sketch the neck and shoulders below the head. Extend two vertical lines down from the shoulders to represent the trunk of the body. Then, add curved lines to outline the torso and hips. Remember to keep the proportions in mind, ensuring that the body aligns well with the size of the head.
Step 5: Add Clothing and Accessories
Now it’s time to dress up our Pokemon trainer! Add clothing, such as a shirt, pants, and shoes, by sketching the basic shapes and using curved lines to define the folds and creases. Pokemon trainers often wear unique outfits, so feel free to add accessories like hats, gloves, or a backpack to give your trainer even more personality.
Step 6: Refine the Facial Features
Let’s go back to the face and refine the facial features of our trainer. Add more detail to the eyes by drawing the irises and pupils. Experiment with different eye styles to make your trainer’s eyes stand out. Also, add some shading around the eyes and under the eyebrows to give the face more depth and dimension.
Step 7: Complete the Hair
Now that the face is looking great, let’s complete the hairstyle of our Pokemon trainer. Add more detail and texture to the hair using short, curved lines. Play around with different directions and lengths of the lines to create a dynamic and realistic hairstyle. Don’t forget to erase any unnecessary lines from the initial sketch.
Step 8: Refine the Body
In this step, we’ll refine the body of our trainer. Add more definition to the shoulders, arms, and legs by using curved lines to outline the muscles and joints. Pay attention to the proportions and ensure that the limbs are in proportion to the body. Add details such as hands and fingers to complete the overall form.
Step 9: Ink or Outline the Drawing
Once you’re satisfied with your pencil sketch, you can now go over the lines with a fine-tip black pen or marker. This step is optional, but it can help give your drawing a polished and finished look. Carefully trace over the main outlines of the drawing, emphasizing the important details while leaving out any unnecessary guidelines.
Step 10: Add Color (Optional)
If you want to take your drawing to the next level, you can add color using colored pencils or markers. Think about the color scheme for your trainer’s clothing and accessories. Experiment with different shades and tones to bring your drawing to life. Don’t forget to add some shading and highlights to create depth and dimension.
And there you have it! You’ve successfully drawn your very own Pokemon trainer. Remember, the most important thing is to have fun and let your creativity flow. Feel free to customize and add your personal touch to make your trainer truly unique.
Conclusion
Drawing a Pokemon trainer may seem daunting at first, but with the right steps and a little practice, you’ll be able to create amazing artworks in no time. In this step-by-step guide, we’ve explored the process of drawing a Pokemon trainer from the basic shape to the final detailed artwork. So grab your pencils, let your imagination soar, and become the ultimate Pokemon artist!

