Ahoy, mateys! In this step-by-step tutorial, I will guide you in drawing a fearsome pirate skull. Whether you’re a seasoned artist or just starting out, you’ll learn how to draw a pirate skull drawing with the help of this guide. So, grab your pencils and let’s set sail on this artistic adventure!
Materials Needed
Before we begin, make sure you have the following materials:
- Sketchbook or paper
- Pencils (HB, 2B, and 4B)
- Eraser
- Fine-tip black pen or marker (optional)
- Reference images of pirate skulls (optional)
Now that we have our materials ready, let’s dive into the step-by-step process of drawing a pirate skull.
Step 1: Basic Outline
Start by lightly sketching a circle at the center of your paper. This will serve as the skull’s cranium. Then, draw a horizontal line across the center of the circle and a vertical line intersecting it. These lines will help you maintain proper proportions and symmetry for the skull.
Step 2: Eye Sockets
From the center of the circle, draw two elongated almond shapes slightly tilted downward. These will be the eye sockets of the skull. Make sure to leave enough space between the eye sockets for the nose and other facial features.
Step 3: Nose and Jaw
Beneath the eye sockets, draw a curved line that extends outward on either side, forming the shape of the nose. Connect the ends of the nose shape with a curved line at the bottom, creating the outline of the upper jaw. Then, draw two more curved lines below the jaw, forming the outline of the lower jaw.
Step 4: Teeth
Within the upper and lower jaw, draw a series of small rectangular shapes to represent the teeth of the skull. You can vary the shape and size of the teeth to add character and make them look worn or jagged.
Step 5: Eye Details
Within each eye socket, draw a smaller almond shape to indicate the eyeballs. Add some shading or cross-hatching to the eyeballs to give them a more realistic appearance. You can also darken the upper portion of the eye sockets to create a shadow effect.
Step 6: Skull Details
Now it’s time to add some texture and details to the skull. Use short, curved lines to create lines and cracks on the surface of the cranium and jawbone. Add some shading to the areas where the light would be less prominent, such as the eye sockets and the underside of the jaw.
Step 7: Crossbones
To complete the pirate skull, draw two long, curved lines that intersect below the cranium. These lines will form the crossbones. Add some texture and shading to the crossbones to make them appear three-dimensional.
Step 8: Finalize the Drawing
Once you’re happy with the overall structure and details of the pirate skull, go over your sketch with a darker pencil or a fine-tip black pen. Trace over the main lines and add any additional details or shading that you want to emphasize. Erase any unnecessary guidelines and smudges to clean up your drawing.
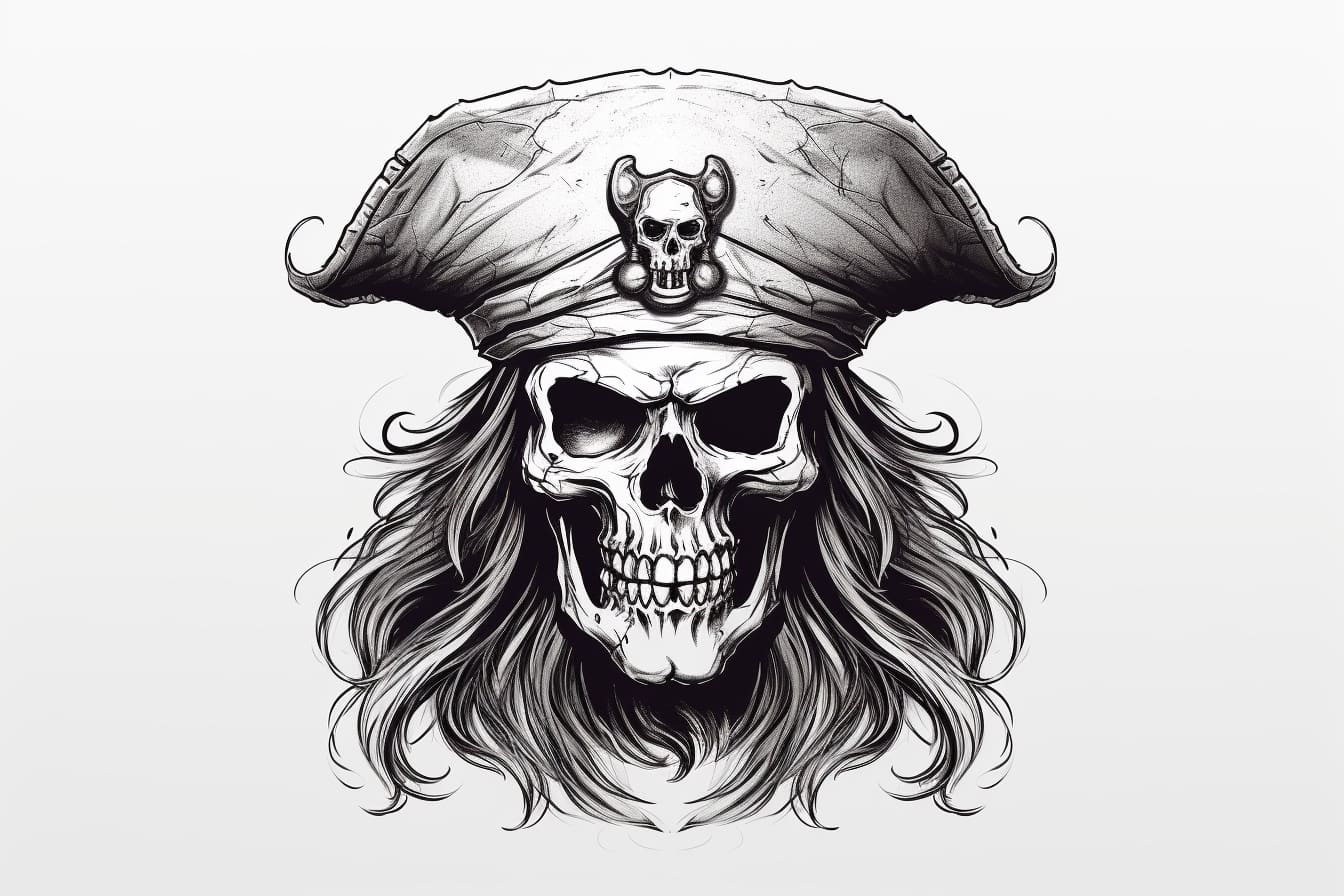
Congratulations, you’ve successfully drawn a pirate skull! Now you can add your own creative touches, such as a pirate hat, eye patch, or even a parrot perched on the shoulder of the skull.
Conclusion
Drawing a pirate skull may seem like a challenging task, but with the step-by-step instructions provided in this tutorial, you can create an impressive and intimidating artwork. Remember, practice makes perfect, so don’t be discouraged if your first attempt doesn’t turn out exactly as expected. Keep refining your skills and experimenting with different techniques to develop your own unique style.
So, set sail on your artistic journey and let your imagination run wild as you draw your very own pirate skull. Arrr, matey!