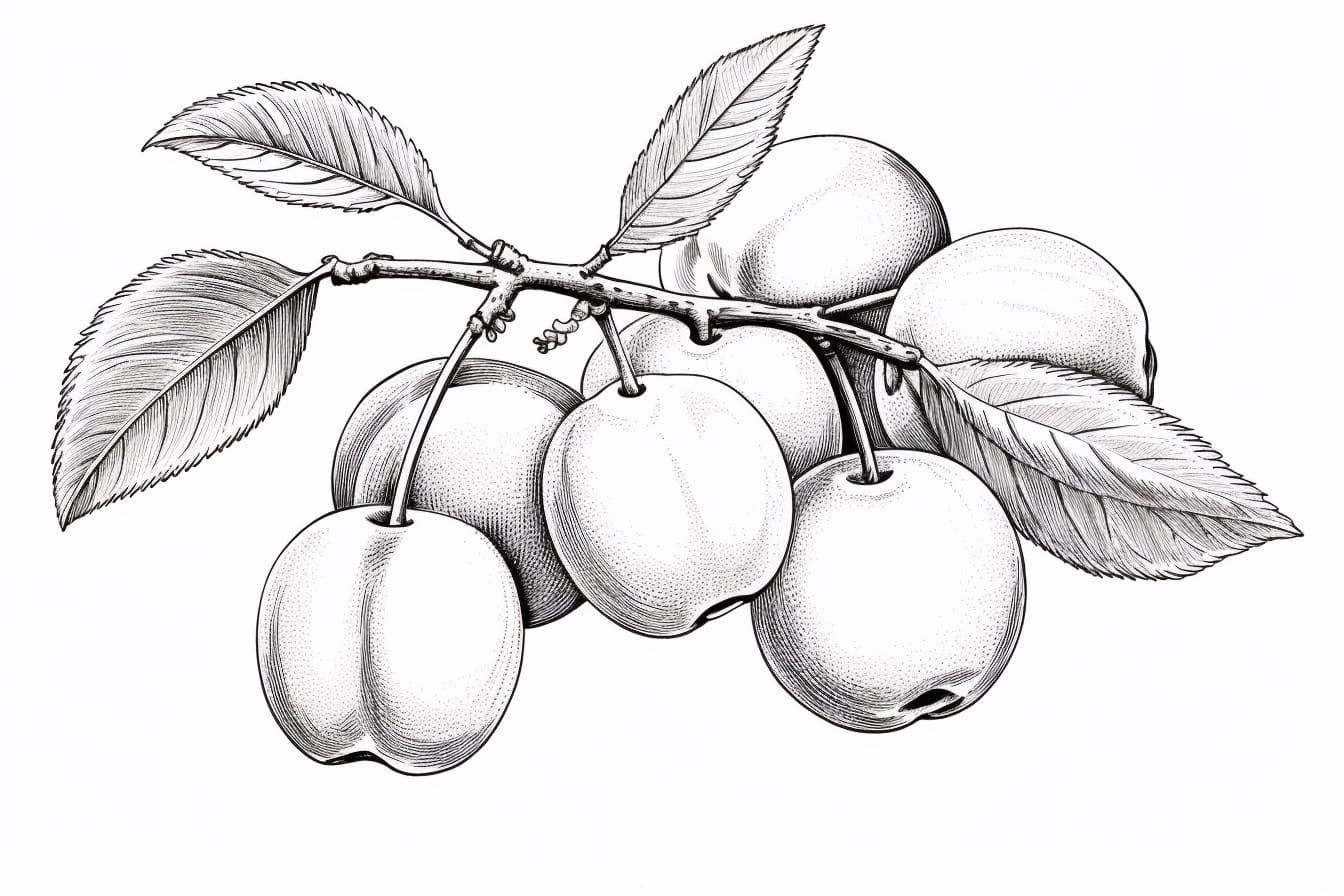
Drawing fruits can be a fun and rewarding exercise for artists of all skill levels. In this step-by-step tutorial, we will guide you through the process of how to draw a plum. With its rich purple color and unique shape, the plum offers an interesting subject to capture on paper. So let’s get started and create a beautiful plum drawing!
Materials Required
Before we begin, gather the following materials:
- Pencil
- Eraser
- Paper (preferably sketching paper)
- Colored pencils or markers (optional)
Now that we have everything we need, let’s dive into the steps for drawing a plum.
Step 1: Outline the Basic Shape
Begin by lightly sketching an oval shape on your paper. This will serve as the basic outline of the plum. Keep the pencil lines faint, as they will be erased later.
Step 2: Add Details to the Shape
Next, start adding details to the plum shape. Draw a slightly curved line at the top of the oval to indicate the stem. Then, add a small circular shape at the opposite end of the oval to represent the plum’s opening. These details will bring more realism to your drawing.
Step 3: Sketch the Contours
Now, focus on the contours of the plum. Observe the reference image or a real plum to capture the curves and irregularities of its surface. Use flowing lines to outline the rounded form of the fruit. Don’t worry about perfection at this stage – we’ll refine it later.
Step 4: Add Texture
To make the plum more realistic, we need to add texture. Start by drawing short, curved lines across the surface of the plum. These lines should follow the contours of the fruit and represent its textured skin. Vary the length and direction of the lines to create a sense of depth and volume.
Step 5: Shade the Plum
To give the plum a three-dimensional look, we will add shading. Identify the light source in your drawing (e.g., top-left corner) and imagine how the light would hit the plum. Start by shading the areas that would be in shadow, using light, hatching strokes. Gradually build up the shading to create a gradual transition from light to dark.
Step 6: Refine the Contours
Now that we have added shading, we can refine the contours of the plum. Use an eraser to carefully remove any unnecessary pencil lines, correcting any mistakes or irregularities. Pay close attention to the shape and curves of the plum, ensuring they accurately represent the fruit.
Step 7: Enhance with Color (Optional)
If you want to add an extra touch to your drawing, you can use colored pencils or markers to add color to the plum. Traditionally, plums are deep purple, but there are many variations, so feel free to experiment with different shades. Carefully layer the colors, blending gently to create a smooth and realistic appearance.
Conclusion
Congratulations, you have successfully drawn a plum! By following these step-by-step instructions, you’ve learned how to capture the unique shape and color of this delicious fruit. Remember to practice regularly, as it will help you improve your drawing skills. Experiment with different fruits and explore your creativity. Happy drawing!