Are you a fan of Rainbow High dolls and want to learn how to draw them? Look no further! In this step-by-step tutorial, I will guide you through the process of how to draw a Rainbow High doll. With just a few materials and a little bit of patience, you’ll have a beautiful drawing in no time. So grab your art supplies and let’s get started!
Materials Required
To begin with, gather the following materials:
- Drawing paper or sketchbook.
- Pencil (preferably HB or 2B).
- Eraser.
- Fine-tip black marker or pen.
- Colored pencils or markers for coloring.
Now that you have your materials ready, let’s dive into the drawing process!
Step 1: Start with Basic Shapes
Begin by sketching a circle for the head and an oval shape below it for the body. These shapes will serve as the foundation of your Rainbow High doll. Don’t worry if your initial sketch is not perfect; it’s just a guideline to help you create the overall shape of the doll.
Step 2: Add Facial Features
Next, draw two large oval shapes for the eyes, leaving some space in between for the nose. Then, draw a small curved line below the nose to create the mouth. Add eyebrows and eyelashes to make your doll look more expressive. Feel free to get creative and add your own unique style to the features.
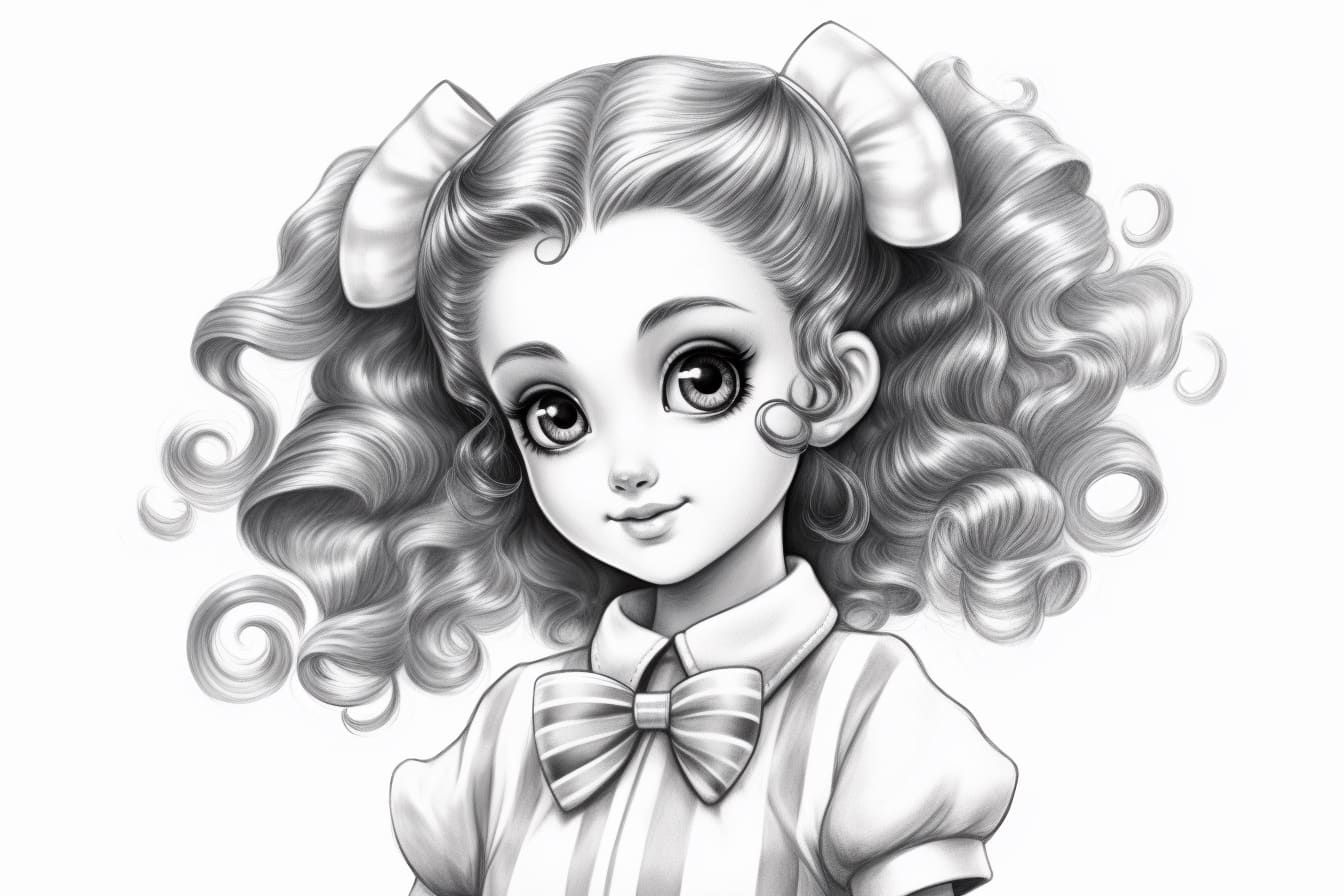
Step 3: Define the Hair
Rainbow High dolls are known for their vibrant and colorful hair. To capture this characteristic, draw the outline of the doll’s hair, keeping in mind the style and length you want. You can use flowing lines or sharp angles, depending on the hairstyle you desire. Take your time to add details and texture to the hair, making it look realistic and dynamic.
Step 4: Draw the Outfit
Now it’s time to draw the doll’s outfit. Start by sketching the basic shapes and lines that define the clothing. Take into account the style of the doll and any accessories it may have, such as belts, bows, or jewelry. Refine the details, such as folds and patterns, to make the outfit look more realistic and three-dimensional.
Step 5: Refine the Body
After completing the outfit, go back to the body and refine its shape. Add curves and contours to give the doll a more lifelike appearance. Pay attention to proportions and ensure that the limbs are correctly positioned. Don’t be afraid to make adjustments as you go along to achieve the desired look.
Step 6: Ink the Drawing
Once you are satisfied with your pencil sketch, trace over the lines with a fine-tip black marker or pen. Start with the facial features and then move on to the hair, outfit, and body. The inked lines will make your drawing stand out and give it a professional look. Take your time and be careful not to smudge the ink as you go along.
Step 7: Erase the Pencil Lines
After the ink has dried, carefully erase any remaining pencil lines. Be gentle to avoid smudging the ink or damaging the paper. This step is crucial for achieving a clean and polished final result.
Step 8: Color the Drawing
Now comes the fun part – coloring your Rainbow High doll! Use colored pencils or markers to bring your drawing to life. Choose vibrant colors that reflect the doll’s personality and style. Add shading and highlights to create depth and dimension. Take your time and experiment with different color combinations until you are satisfied with the result.
Step 9: Add Details and Accessories
To make your Rainbow High doll drawing truly unique, consider adding additional details and accessories. This could include jewelry, shoes, a bag, or even a background scene. These extra elements will enhance the overall composition and tell a story about your doll’s personality and fashion sense.
Conclusion
Congratulations, you have successfully drawn your very own Rainbow High doll! By following these step-by-step instructions, you have created a beautiful and personalized artwork. Remember to practice regularly to improve your drawing skills and develop your own unique style. Now unleash your creativity and have fun drawing more Rainbow High dolls!