Introduction
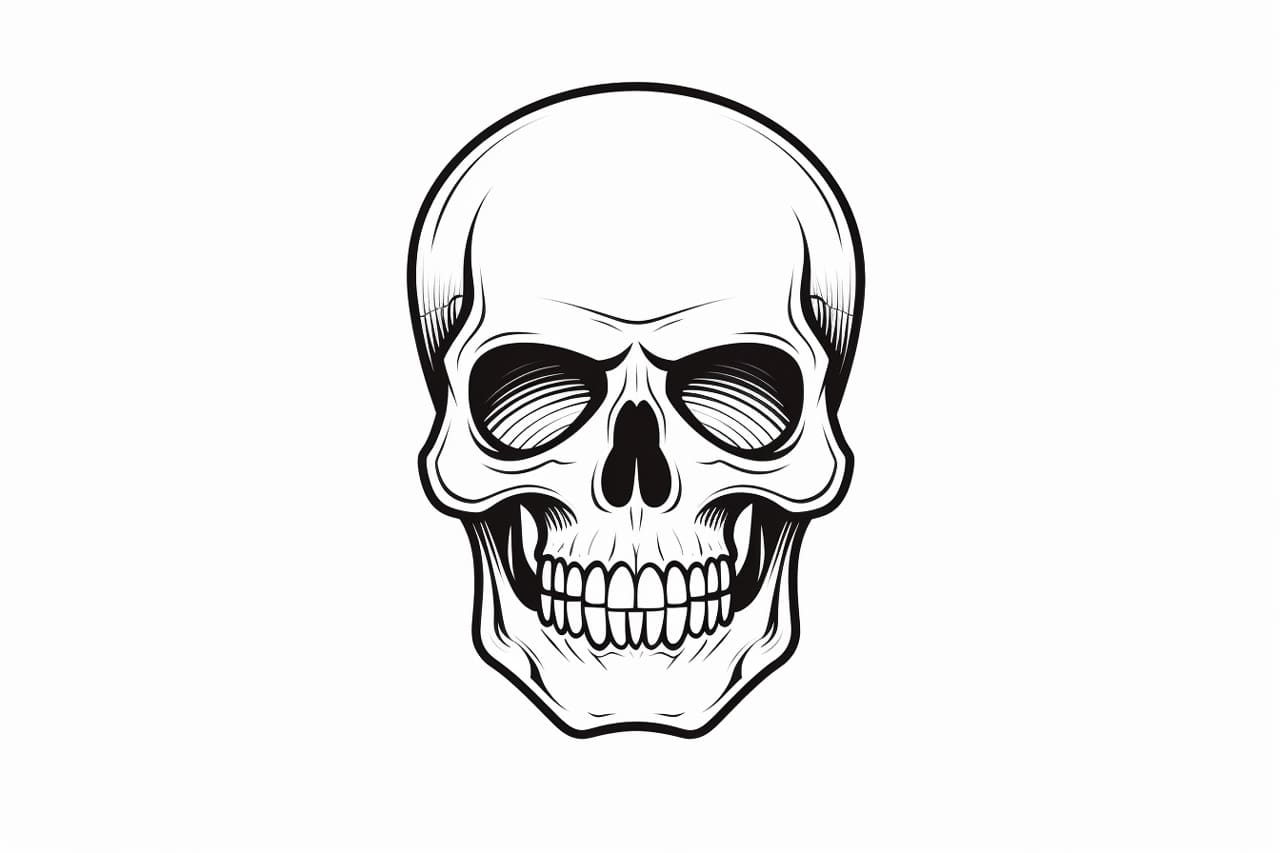
Welcome to this step-by-step guide on how to draw a cartoon skull! Whether you’re an aspiring artist or just looking for a fun and creative activity, drawing a cartoon skull can be an enjoyable and rewarding experience. In this tutorial, we will break down the process into easy-to-follow steps, allowing you to create your own unique cartoon skull. So grab your drawing materials and let’s get started!
Materials Required
Before we dive into the drawing process, let’s make sure we have all the necessary materials. Here’s what you’ll need:
- Paper: Choose a medium-weight paper that is suitable for drawing. You can use a sketchbook or loose sheets of paper.
- Pencil: A graphite pencil with a medium lead (HB or 2B) is recommended for sketching the initial outlines.
- Eraser: Make sure you have a good-quality eraser to easily correct any mistakes or make changes to your drawing.
- Fine tip marker or pen: Once you’re done with the initial sketch, a fine tip marker or pen will help you add bold and defined lines to your cartoon skull.
- Optional: Colored pencils or markers: If you want to add color to your cartoon skull, have some colored pencils or markers handy.
Now that we have our materials ready, let’s move on to the step-by-step process of drawing a cartoon skull.
Step 1: Basic Shapes
To begin, let’s start with the basic shapes that will serve as the foundation for our cartoon skull. Draw a large oval shape in the center of your paper. This will be the outline of the skull’s head. Next, draw a smaller oval shape inside the larger one. This smaller oval will represent the skull’s eye socket.
Step 2: Eye Socket and Jawline
Now, let’s work on the details of the eye socket and jawline. Within the smaller oval shape, draw two slightly curved lines that form the top and bottom of the eye socket. Then, extend two curved lines downward from the sides of the larger oval to create the jawline of the skull. Make sure the lines are symmetrical and proportionate to each other.
Step 3: Teeth and Nose
Moving on to the teeth and nose, draw short, straight lines coming down from the upper and lower jawlines. These lines will serve as guidelines for the teeth. Next, draw a small triangular shape at the bottom of the skull’s face to represent the nose. Position it between the two lines that form the top of the mouth.
Step 4: Eye Sockets and Eye Openings
Now, let’s add more detail to the eye sockets and create the eye openings. Start by drawing two small circles within the eye socket, slightly to the left and right. These circles will represent the actual eye sockets. Inside each eye socket, draw a larger circle to represent the eye opening. Leave a small gap between the two circles to give the skull a cartoonish appearance.
Step 5: Teeth and Jaw
Let’s go back to the teeth and jawline and add more definition. In each tooth guideline, draw a series of short lines to create individual teeth. Make sure to vary the lengths and sizes of the teeth to add character to your cartoon skull. For the jawline, add some jagged lines to give it a more textured and skeletal look.
Step 6: Details and Shading
Now that we have the basic structure of our cartoon skull, it’s time to add some detailed features and shading. Start by adding some lines around the eye sockets and nose to enhance the skull-like appearance. You can also add small curved lines on the sides of the head to represent the cheekbones. To create a more three-dimensional look, add some shading to the areas of the skull that would be in shadow.
Step 7: Outlining and Final Touches
For the final step, take your fine tip marker or pen and carefully trace over the main lines of your cartoon skull. This will give your drawing a clean and finished look. You can also add additional details such as cracks or stitches to make your cartoon skull more unique and interesting. Once you’re satisfied with your outline and details, erase any remaining pencil lines to reveal your completed cartoon skull.
Conclusion
Congratulations on completing your cartoon skull drawing! With just a few simple steps, you have created a fun and engaging piece of artwork. Remember, practice makes perfect, so keep experimenting and refining your skills. Drawing cartoons is a great way to express your creativity and imagination. So, grab your materials and keep drawing!

