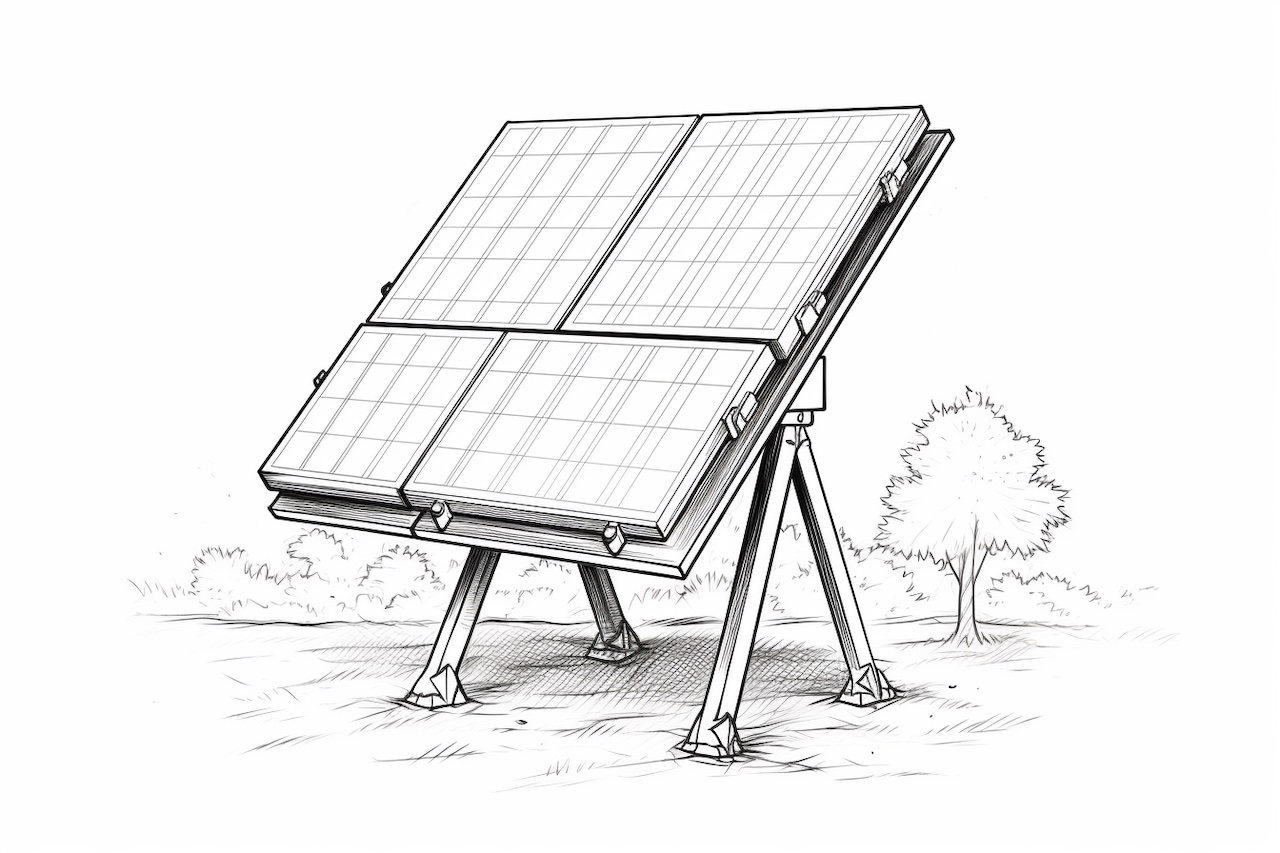
Drawing a solar panel may seem like a challenging task, but with the right guidance and a step-by-step approach, anyone can create a detailed and accurate representation. In this article, we will guide you through the process of how to draw a solar panel, providing clear instructions along the way. So, grab your pencils and let’s get started!
Materials Required
Before we begin, let’s gather the materials you will need for this drawing:
- Drawing paper
- Pencils (HB, 2B, 4B)
- Eraser
- Ruler
- Compass
- Protractor
Now that we have everything we need, let’s dive into the steps to draw a solar panel.
Step 1: Start with the Outline
To begin, we will draw the outline of the solar panel. Start by drawing a horizontal line on your paper. This line will act as the base for our solar panel.
Step 2: Draw the Outer Frame
Using a ruler, draw the outer frame of the solar panel. The frame typically consists of a rectangle with rounded corners. Ensure the dimensions of the frame suit the size you want for your solar panel.
Step 3: Divide the Frame
Divide the frame into smaller sections to represent the individual solar cells on the panel. Use a ruler to draw vertical lines across the frame, evenly spacing them apart. The number of sections will depend on the size of your solar panel.
Step 4: Sketch the Solar Cells
Within each section of the frame, we will sketch the solar cells. These cells are usually rectangular or square in shape. Use a ruler to draw the shape of each cell, ensuring they are evenly spaced and aligned with the vertical lines previously drawn.
Step 5: Add Texture to the Solar Cells
To give the solar panel a realistic appearance, add texture to each solar cell. Use light diagonal lines to create a pattern within each cell, representing the texture of the solar panel’s surface.
Step 6: Draw the Connectors
Now, let’s draw the connectors that link the solar cells together. These connectors typically extend from one cell to the next in a zigzag pattern. Use a ruler and a pencil to carefully draw the connectors, ensuring they are evenly spaced and aligned.
Step 7: Shade the Solar Cells
To provide depth and dimension to the solar panel, we will shade the individual cells. Use a 4B pencil to shade one side of each cell, creating a gradient effect. Start by applying a light shade and gradually darken it towards the edge of the cell.
Step 8: Add Details
To make your solar panel drawing more realistic, add some additional details. You can draw small bolts or screws on the corners of the frame, or label the connectors with positive (+) and negative (-) signs. These details will enhance the overall appearance of your drawing.
Step 9: Finalize the Drawing
Now that you have completed the main elements of the solar panel drawing, take a moment to review your work. Erase any unwanted lines or smudges, and make any necessary adjustments to ensure your drawing looks clean and polished.
Conclusion
Drawing a solar panel might seem daunting at first, but by following these step-by-step instructions, you can create an impressive illustration. Remember to take your time, be patient with yourself, and don’t be afraid to make adjustments along the way. With practice, your solar panel drawings will become more accurate and detailed. So, pick up your pencils and start exploring the fascinating world of solar panel art!