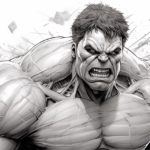
Do you have a favorite hero from comics, movies, or your own imagination? Have you ever wanted to bring that hero to life on paper? Drawing a hero can be a fun and rewarding experience. In this step-by-step guide, we will help you bring your hero to life with simple and easy-to-follow instructions. So grab your pencils and paper, and let’s get started!
Materials Required
Before we begin, make sure you have the following materials:
- Paper: You can use any type of paper, but drawing paper or sketchbook paper works best.
- Pencils: A set of graphite pencils ranging from soft (B) to hard (H) is ideal for shading and adding details.
- Eraser: An eraser will come in handy for correcting mistakes and lightening areas.
- Sharpener: Keep your pencils sharp for crisp lines and precise details.
- Markers or colored pencils (optional): If you want to add color to your hero, markers or colored pencils can be used.
Now that you have your materials ready, let’s start drawing your hero!
Step 1: Begin with Basic Shapes
Start by lightly sketching basic shapes to create the framework for your hero. Consider the overall pose and stance of your hero. Use circles for the head and joints, ovals for the torso and limbs, and straight lines for the limbs and spine. These guidelines will help you get the proportions right.
Step 2: Add Body Proportions
Using the basic shapes as a guide, start adding more details to your hero’s body. Use curved lines to define the muscles and contours of the body. Pay attention to the natural curves and angles of the limbs to make your hero look more dynamic and realistic.
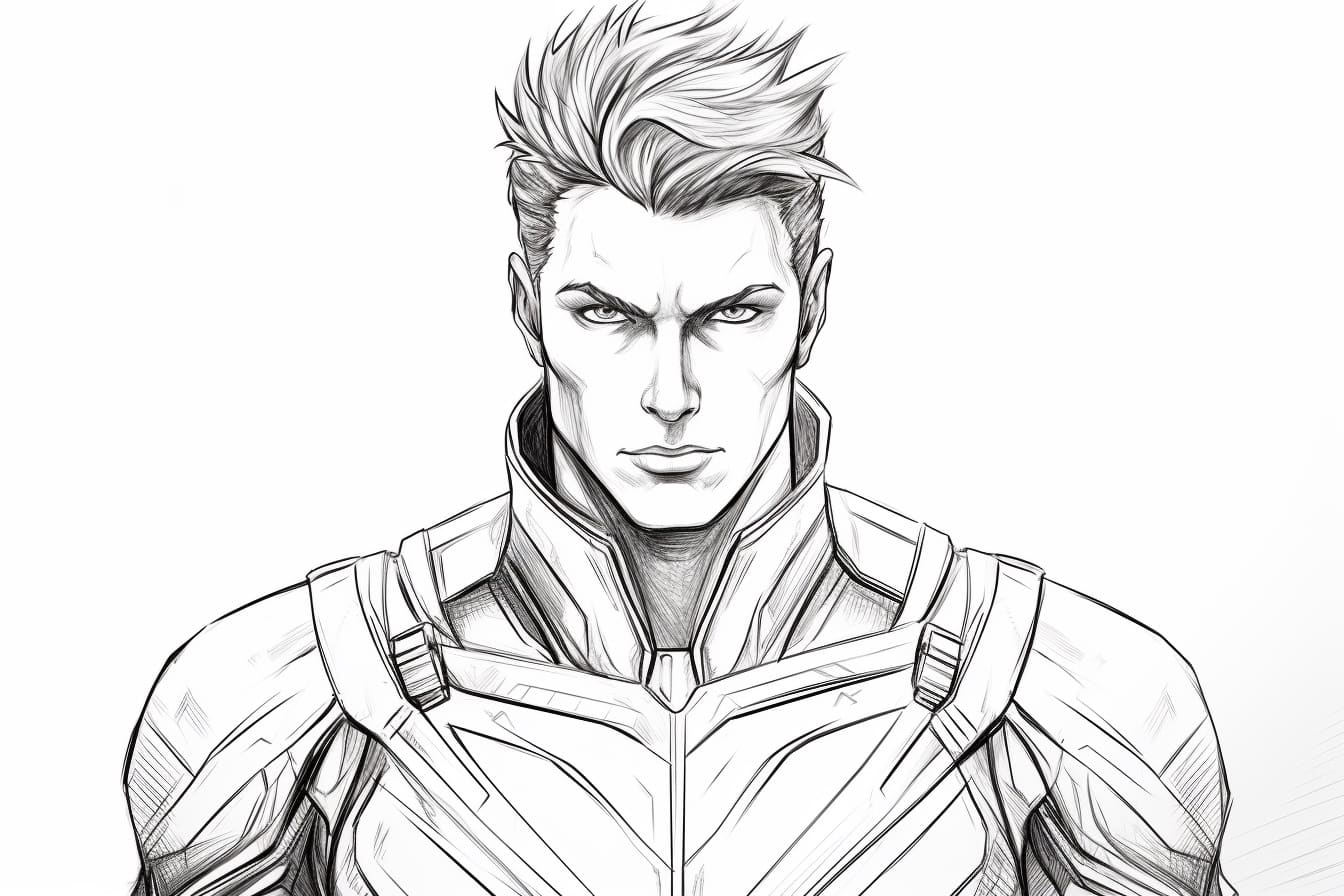
Step 3: Define Facial Features
Moving on to the head, sketch the hero’s facial features. Decide on the expression and angle of the face. Draw guidelines to help you place the eyes, nose, and mouth in the correct position. Don’t forget to add details like eyebrows, ears, and hair to give your hero personality.
Step 4: Refine Body and Clothing
Refine the body and clothing of your hero by adding more details and defining the form. Add creases and folds to the clothing to make it look more realistic. Pay attention to light and shadow as it defines the hero’s muscles and shape. Use your pencils to shade and add depth to the drawing.
Step 5: Finalize the Pose and Anatomy
Take a step back and evaluate the overall pose and anatomy of your hero. Make any necessary adjustments to ensure everything is proportionate and anatomically correct. This step is crucial to make your hero look dynamic and realistic.
Step 6: Add Detail and Texture
Now it’s time to add finer details to your hero. Pay attention to small details like facial features, hair strands, and accessories. Consider the texture of your hero’s costume, whether it’s smooth and metallic or textured and rough. Use your pencils to create depth and texture in your drawing.
Step 7: Refine and Clean Up
Carefully go over your drawing, erasing any unnecessary or messy lines. Clean up the drawing by removing any stray marks or smudges. This step will give your hero a polished and professional look.
Step 8: Color (Optional)
If you want to add color to your hero, now is the time. Use markers or colored pencils to bring your hero to life. Consider the color scheme and lighting to create a more vibrant and realistic drawing.
Conclusion
Drawing a hero may seem intimidating at first, but with the right techniques and practice, anyone can do it. By following these step-by-step instructions, you can bring your hero to life on paper. Remember to be patient with yourself and keep practicing. So grab your pencils and start creating your very own hero today!