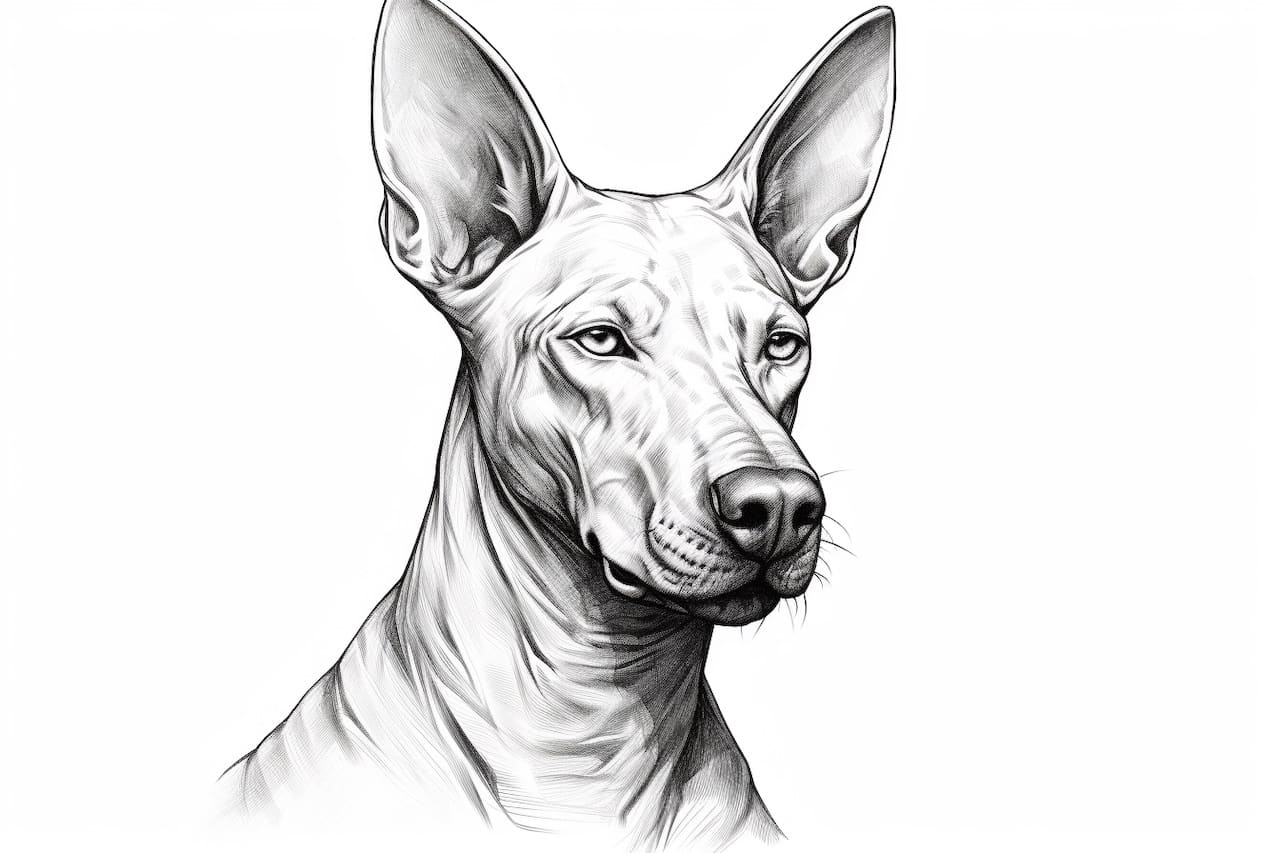
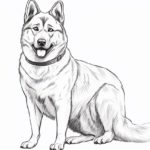
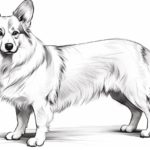
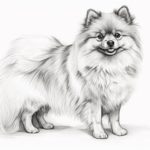
Welcome to this step-by-step guide on how to draw a Pharaoh Hound! In this tutorial, I will teach you how to capture the grace and beauty of this ancient Egyptian breed on paper. By following these easy instructions, you will be able to create a stunning drawing of a Pharaoh Hound that truly captures its unique features.
Materials Required
Before we get started, make sure you have the following materials:
- Pencil: You will need a pencil, preferably with a medium or soft lead, for sketching and shading.
- Eraser: Keep a good quality eraser handy to correct any mistakes and make necessary adjustments.
- Paper: Choose a smooth, heavyweight paper that can handle shading and blending techniques.
- Reference Image: Find a clear and detailed reference photo of a Pharaoh Hound to guide your drawing.
Now that you have all your materials ready, let’s dive into the process of drawing a Pharaoh Hound step by step.
Step 1: Basic Outline
Start by lightly sketching the basic shapes that form the body of the Pharaoh Hound. Begin with an oval shape for the head, followed by a long, slightly curved line to represent the back. Add two more lines to indicate the spine and the belly. Notice that the Pharaoh Hound has a lean and muscular body, so make sure your lines reflect these characteristics.
Step 2: Facial Features
Next, let’s work on the facial features of the Pharaoh Hound. Using the reference image as a guide, sketch the almond-shaped eyes, slightly slanted towards the nose. Add a small triangle shape for the nose and a curved line for the mouth. Pay attention to the proportions and position of these features to capture the essence of the breed.
Step 3: Ears and Neck
Now, move on to drawing the ears and neck of the Pharaoh Hound. The ears are large and triangular with rounded tips. Place them on top of the head, slightly angled backward. Connect the ears to the head with a pair of smooth curves. Extend the neck down from the head, creating a graceful curve that merges with the body.
Step 4: Body and Legs
Continue working on the body and legs of the Pharaoh Hound. Sketch the front and hind legs using long, curved lines. Pay close attention to the angles and proportions to ensure a natural-looking stance. Remember that the Pharaoh Hound has a slender frame, so emphasize the lean muscles in your drawing.
Step 5: Tail and Tail Set
Add the tail to your drawing. The Pharaoh Hound’s tail is thin, long, and slightly curved. It should flow naturally from the base of the spine, extending downward toward the ground. Take the time to capture the graceful shape of the tail and its position in relation to the body.
Step 6: Refining the Outline
With the basic outline of the Pharaoh Hound complete, it’s time to refine the details. Use lighter lines to adjust the shape of the head, body, and limbs. Focus on capturing the elegant curves and contours of the breed as you strengthen the outline.
Step 7: Facial Details
Add more detail to the face of the Pharaoh Hound. Start by enhancing the eyes, making them more expressive. Add shading to create depth and capture the alertness of the breed. Define the bridge of the nose and add a small highlight to make it look realistic. Use light, short strokes to suggest the texture of the fur.
Step 8: Body and Fur Texture
Now, let’s work on the body and fur texture of the Pharaoh Hound. Start by shading the darker areas of the body, such as the ears and the top of the head. Use a cross-hatching technique or gentle strokes to create a smooth gradient. Gradually build up the shading and pay attention to the direction of the fur. Use an eraser to lighten certain areas and create highlights.
Step 9: Final Details
In this step, add the final details that bring your Pharaoh Hound to life. Define the muscles and contours with subtle shading, paying attention to the light source in your reference image. Add any markings or spots that the dog may have. Remember to take your time and carefully observe the reference photo to capture the unique features of the breed.
Conclusion
Congratulations! You have successfully learned how to draw a Pharaoh Hound. By following these step-by-step instructions and using your creativity, you’ve created a beautiful drawing that showcases the elegance and grace of this ancient Egyptian breed. Remember, practice makes perfect, so keep honing your skills and exploring new subjects. Enjoy the process of drawing, and have fun!

