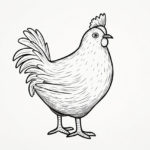
Welcome to this step-by-step guide on how to draw a hen! Whether you are a beginner or an experienced artist, this tutorial will help you create a beautiful and lifelike hen drawing. Hens are wonderful creatures, and capturing their unique features through art can be a rewarding experience. So, let’s get started!
Materials Required
Before we begin, make sure you have the following materials:
Having these materials ready will ensure a smooth and enjoyable drawing process.
Step 1: Sketch the Body
Start by drawing a small oval shape near the center of your paper. This oval will serve as the body of the hen. Don’t worry about perfection at this stage, as we will be refining our drawing later on.
Step 2: Add the Head
Above the body, draw a smaller oval shape for the hen’s head. Connect the head to the body with a curved line, creating a smooth transition between the two.
Step 3: Outline the Beak
At the front of the head, draw a triangle shape for the beak. Make sure the beak is proportionate to the head and aligns with the overall shape of the hen.
Step 4: Draw the Eyes
On either side of the head, add two small oval shapes for the hen’s eyes. Leave a small space between the eyes and the beak to create a natural placement.
Step 5: Sketch the Comb and Wattle
Above the hen’s head, draw a comb by adding three curved lines that come together at a point. Beneath the beak, draw a small curved line to represent the wattle, a fleshy appendage.
Step 6: Depict the Feathers
Using small, curved strokes, start sketching the feathers on the hen’s body. Pay attention to the direction of the feathers and make sure they follow the shape of the body. Start from the top and work your way down.
Step 7: Outline the Legs and Feet
Below the body, draw two long, curved lines for the hen’s legs. At the end of each leg, sketch a small oval shape for the feet. Hens have three toes, so make sure to emphasize this detail.
Step 8: Add Details to the Face
Using short, curved lines, add details to the face such as the eyebrows, eyelashes, and the outline of the beak. Take your time to capture the hen’s expression and features.
Step 9: Refine and Erase
Take a step back and observe your drawing. If there are any areas that need refinement or adjustment, use your pencil to make the necessary modifications. Once you are satisfied with the overall appearance, use an eraser to remove any unwanted sketch lines.
Step 10: Coloring (Optional)
If you want to add color to your hen drawing, now is the time! Use colored pencils or markers to bring your hen to life. Hens come in various colors, so feel free to unleash your creativity in selecting the palette.
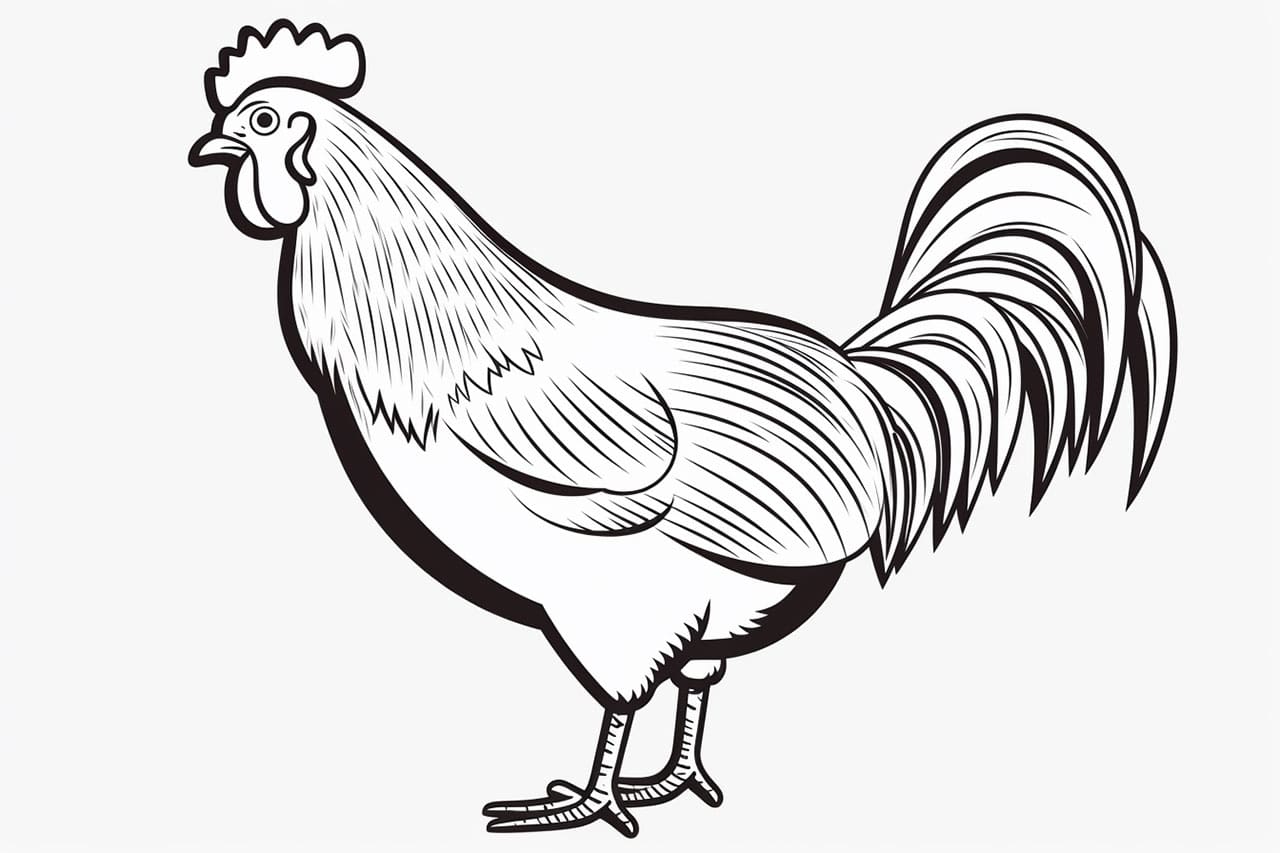
Conclusion
Congratulations! You have successfully learned how to draw a hen. By following the step-by-step instructions in this guide, you created a beautiful representation of this magnificent bird. Keep practicing and exploring different techniques to further enhance your drawing skills. Enjoy the process and have fun!