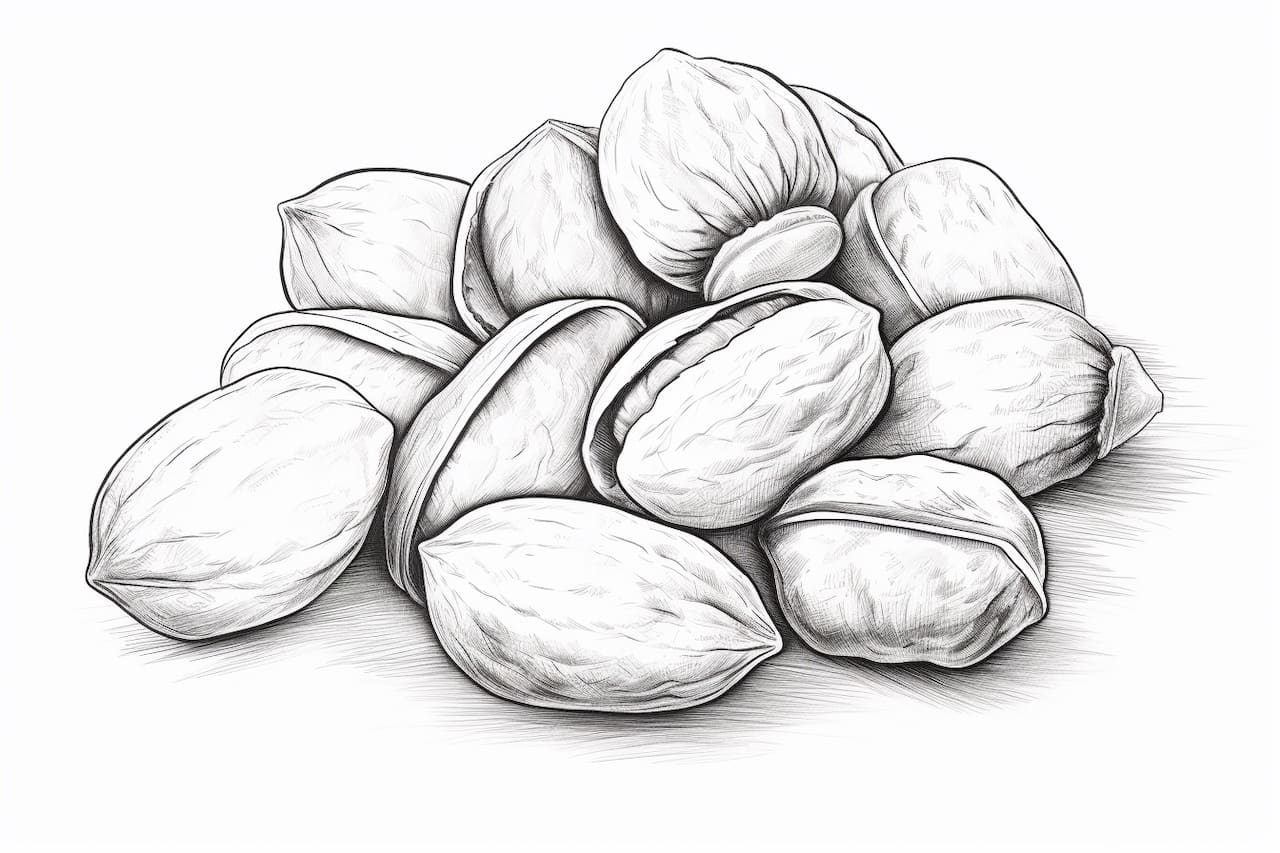
Welcome to this step-by-step guide on how to draw a nut. Drawing can be a fun and creative way to express yourself, and learning to draw different objects can help you improve your overall artistic skills. In this article, we will walk through the process of drawing a nut, providing clear and concise instructions along the way. So grab your pencil and paper, and let’s get started!
Materials Required
Before we begin, make sure you have the following materials:
Having these basic supplies will allow you to easily follow along and make any necessary adjustments as you work on your drawing.
Step 1: Sketch the Outline
Start by sketching the basic outline of the nut. Begin with a rough oval shape to represent the overall form. Keep in mind that nuts come in various shapes and sizes, so feel free to adjust the size and shape of your drawing to your preference. Use light and loose pencil strokes for this initial sketch, as you will be refining it later.
Step 2: Add Detail
Once you have the basic outline, start adding more detail to your nut. Observe the surface texture of a real nut and use short, curved lines to replicate it on your drawing. Pay attention to the subtle ridges and grooves that give the nut its unique appearance.
Step 3: Shade the Nut
Now that you have added detail, it’s time to add shading to make your nut drawing look more realistic. Decide on the direction of the light source and shade one side of the nut accordingly. Use a blending tool or your finger to softly blend the shading, creating a smooth transition between light and dark areas.
Step 4: Add Highlights
To make your nut drawing appear even more three-dimensional, add highlights to the shiny areas. These highlights should be lighter than the rest of the drawing and should be placed where the light would naturally hit the nut. Use an eraser to carefully remove some of the graphite, creating the desired highlights.
Step 5: Refine and Clean Up
This step is all about refining your drawing and cleaning up any smudges or unwanted lines. Take a step back and assess your drawing so far. Use an eraser to remove any stray lines or smudges that may have occurred during the shading process. Make any necessary adjustments to the shape and proportions of the nut to achieve the desired result.
Step 6: Final Touches
Now that you have completed the bulk of your nut drawing, it’s time for some final touches. Add any additional details or textures that you may have missed earlier. Take your time to ensure that your drawing accurately represents the appearance of a real nut.
Congratulations! You have successfully drawn a nut. With practice and patience, your drawing skills will continue to improve. Remember, drawing is all about observation and technique, so keep practicing.
Conclusion
Drawing a nut can be a rewarding experience, allowing you to explore different techniques and improve your artistic skills. By following the step-by-step instructions outlined in this article, you have learned to draw a nut using basic materials such as a pencil and paper. Remember to have fun with your drawings and continue to experiment with different subjects and styles. So go ahead, grab your pencil, and start creating!