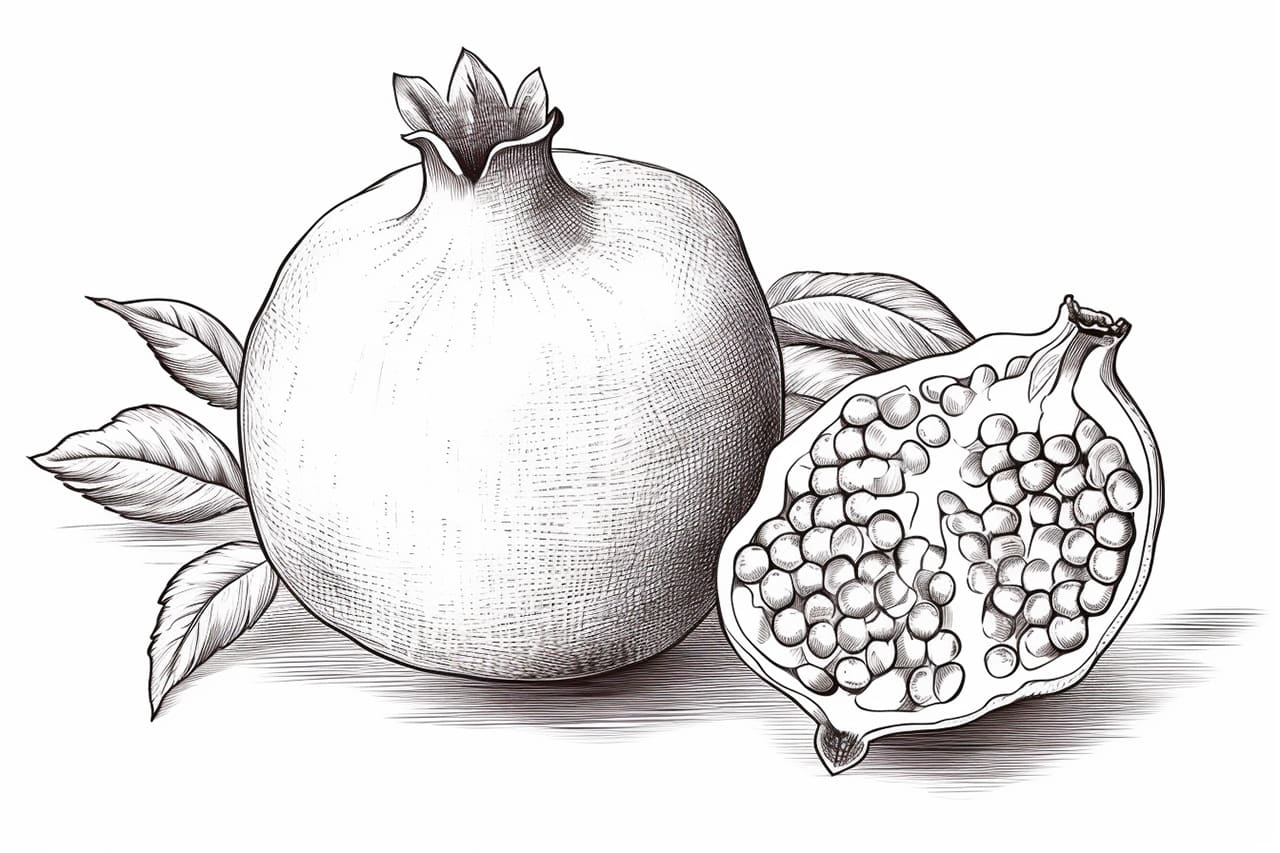
Have you ever wanted to capture the beauty of a pomegranate in a drawing? Drawing fruit can be a fun and rewarding artistic exercise, allowing you to explore different textures and shapes. In this step-by-step guide, I will walk you through the process of drawing a pomegranate from start to finish. Whether you are a beginner or an experienced artist, you can follow along and create your own stunning pomegranate drawing.
Materials Required
Before we dive into the step-by-step instructions, let’s gather the materials you will need for this drawing:
- Drawing paper: Choose a smooth, heavyweight paper that can handle various drawing techniques, such as mixed media paper or bristol board.
- Pencil: Use a range of pencils with different lead hardness, such as HB, 2B, and 4B.
- Eraser: Have a kneaded eraser or a soft vinyl eraser to correct and adjust your drawing.
- Blending stump or tortillon: These tools are useful for blending and smudging graphite to create smooth gradations.
- Pencil sharpener: Keep your pencils sharp to achieve fine details in your drawing.
- Reference image: Find a high-quality photo or a real pomegranate to use as a reference. Observing the details and colors of a real pomegranate can greatly enhance your drawing.
Now that we have everything we need, let’s begin the step-by-step process of drawing a pomegranate.
Step 1: Sketching the Outline
Start by lightly sketching the basic shape of the pomegranate using a light pencil. Begin with a circle for the main body of the fruit and add a curved line at the top for the stem. Keep your lines loose and fluid, as you will be refining and adding details later.
Step 2: Mapping the Sections
Observe your reference image or pomegranate, and lightly draw the sections or lobes of the fruit on your sketch. Pomegranates typically have five to six sections, so make sure to evenly space them around the circular shape of the fruit. These sections will form the framework for adding details later on.
Step 3: Adding Texture
To create the texture of the pomegranate’s skin, lightly sketch small oval shapes within each section. These ovals should overlap slightly and vary in size to mimic the bumps and irregularities of the fruit’s skin. Take your time with this step, as capturing the texture is key to making your drawing look realistic.
Step 4: Refining the Shape
Now that you have the basic outline and texture, it’s time to refine the shape of the pomegranate. Carefully go over your sketch, adding more definition to the curves and contours of the fruit. Pay attention to the subtle changes in shape and size between each section. Use a darker pencil or press harder with your pencil to emphasize the shadows and highlights.
Step 5: Shading and Adding Depth
To give your drawing dimension and depth, begin shading the pomegranate. Start by identifying the main light source in your reference image or imagine one if you’re working from memory. Shade the areas on the opposite side of the light source, as they will be darker. Gradually build up layers of shading using different pencil hardnesses to create smooth transitions between light and dark areas. Use your blending stump or tortillon to blend and smudge the graphite for a more realistic effect.
Step 6: Adding Details
Now that you have the basic shading and form of the pomegranate, it’s time to add more details. Focus on the stem, which is often dry and woody in appearance. Use short, quick strokes to depict the texture of the stem, emphasizing its uneven and rough surface. Pay attention to the highlight areas and use lighter pencil pressure or an eraser to create the illusion of shine and dimension.
Step 7: Final Touches
Take a step back and assess your drawing. Are there any areas that need more shading or refining? Make any necessary adjustments to ensure your drawing accurately represents a pomegranate. Add any additional details, such as small imperfections or highlights, to make your drawing more realistic.
Conclusion
Congratulations! You have successfully drawn a pomegranate from start to finish. Drawing fruit can be a delightful way to hone your artistic skills and appreciate the beauty of nature. Remember, practice makes perfect, so don’t be afraid to try drawing different fruits or experiment with different techniques. With time and practice, your drawings will become more detailed and lifelike. I hope you enjoyed this step-by-step guide on how to draw a pomegranate and found it helpful in your artistic journey.