Welcome to this step-by-step guide on how to draw a macaw! In this article, I will walk you through the process of drawing a beautiful and vibrant macaw, one of the most colorful birds in the world. So grab your drawing materials and let’s get started!
Materials Required
To begin with, make sure you have the following materials ready:
- Paper: Use a good quality paper that is suitable for drawing. A smooth or medium-textured paper works well for this project.
- Pencils: Get a set of graphite pencils with varying degrees of hardness, such as 2H, HB, and 2B. These will help you achieve different shades and textures in your drawing.
- Eraser: Choose an eraser that is soft and gentle on the paper. A kneaded eraser is a great option as it can be shaped to erase small details.
- Colored Pencils: You will need a set of colored pencils to add the vibrant colors of the macaw to your drawing. Look for a set that includes a variety of colors, including blues, yellows, greens, and reds.
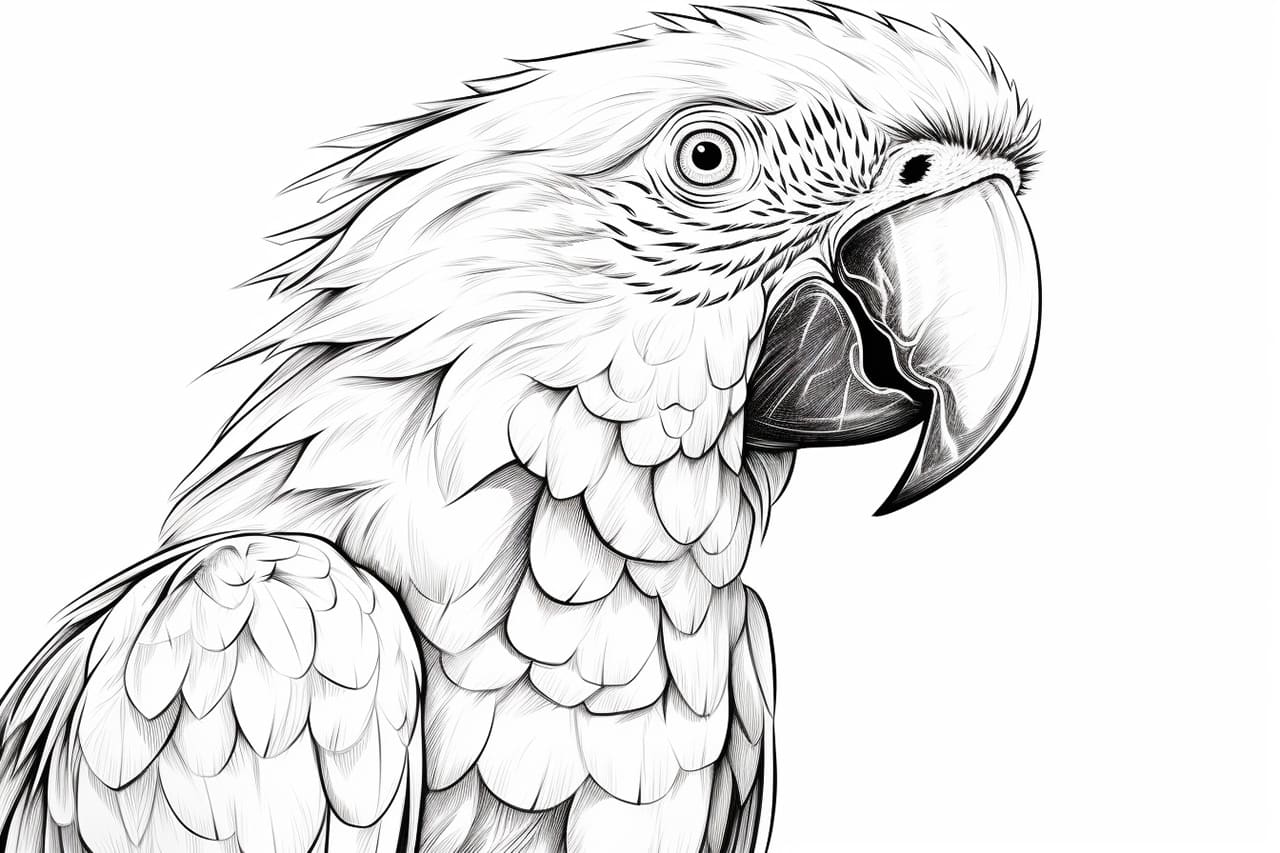
- Reference Image: Find a clear and detailed reference image of a macaw. This will help you accurately depict the bird’s features and colors during the drawing process.
Now that you have gathered all the materials, let’s dive into the step-by-step process of drawing a macaw!
Step 1: Sketch the Basic Shapes
Begin by lightly sketching the basic shapes that make up the macaw’s body. Start with a large oval shape for the body, and add a smaller circle on top for the head. Then, sketch a long oval shape for the tail, and two overlapping ovals for the wings.
Step 2: Add Details to the Head
Now, let’s focus on the macaw’s head. Sketch a slightly curved line across the smaller circle to divide it into two parts, representing the macaw’s beak. Next, draw a small circle for the eye, and add a tiny dot inside to indicate the pupil. Don’t forget to sketch the macaw’s distinctive facial feathers around the eye area.
Step 3: Draw the Wings and Tail
Refine the shapes of the wings and tail by adding more curves and details. Pay attention to the overlapping feathers and the unique patterns found on a macaw’s plumage. Remember to keep the lines soft and flowing to create a sense of movement and grace.
Step 4: Outline the Body
Using a darker pencil, carefully trace over the sketched shapes to create a more defined outline for the macaw’s body. Be mindful of the proportions and take your time to get it right. Pay close attention to the curves and contours of the bird’s body, as well as the varying thicknesses of the feathers.
Step 5: Add Feathers and Texture
Now it’s time to add the intricate details of the macaw’s feathers. Start by lightly sketching the outline of the individual feathers using quick, short strokes. Blend in the strokes with a blending stump or a tortillon to create a smooth transition between the feathers. This will help add depth and texture to your drawing.
Step 6: Start Coloring
Now that you have completed the pencil sketch, it’s time to bring your macaw to life with vibrant colors! Begin by using your colored pencils to add the base colors to the bird’s body. Layer the colors gradually, starting with lighter shades and building up to the darker ones. Pay attention to the reference image for guidance on where to apply each color.
Step 7: Add Details and Highlights
Next, use your colored pencils to add the smaller details and highlights to the macaw’s feathers. Add darker shades to create depth and dimension, and use lighter colors or white to highlight certain areas, such as the edges of the feathers or areas where the light hits the bird.
Step 8: Finalize the Drawing
Take a step back and evaluate your drawing. Make any necessary adjustments to the colors, shapes, or proportions to ensure that your macaw looks realistic and vibrant. Once you are satisfied with the result, use your darkest colored pencil or a fine-tipped pen to darken the outlines and add any final details.
Conclusion
Congratulations on completing your macaw drawing! By following the steps outlined in this guide and using your creativity, you have successfully captured the beauty and intricate details of this stunning bird. Drawing a macaw may seem intimidating at first, but with practice and patience, you will be able to create breathtaking artworks.
Remember to have fun and experiment with different techniques to make your drawing unique. So keep practicing, and soon you’ll be able to draw not just macaws, but a whole variety of birds and animals. Happy drawing!