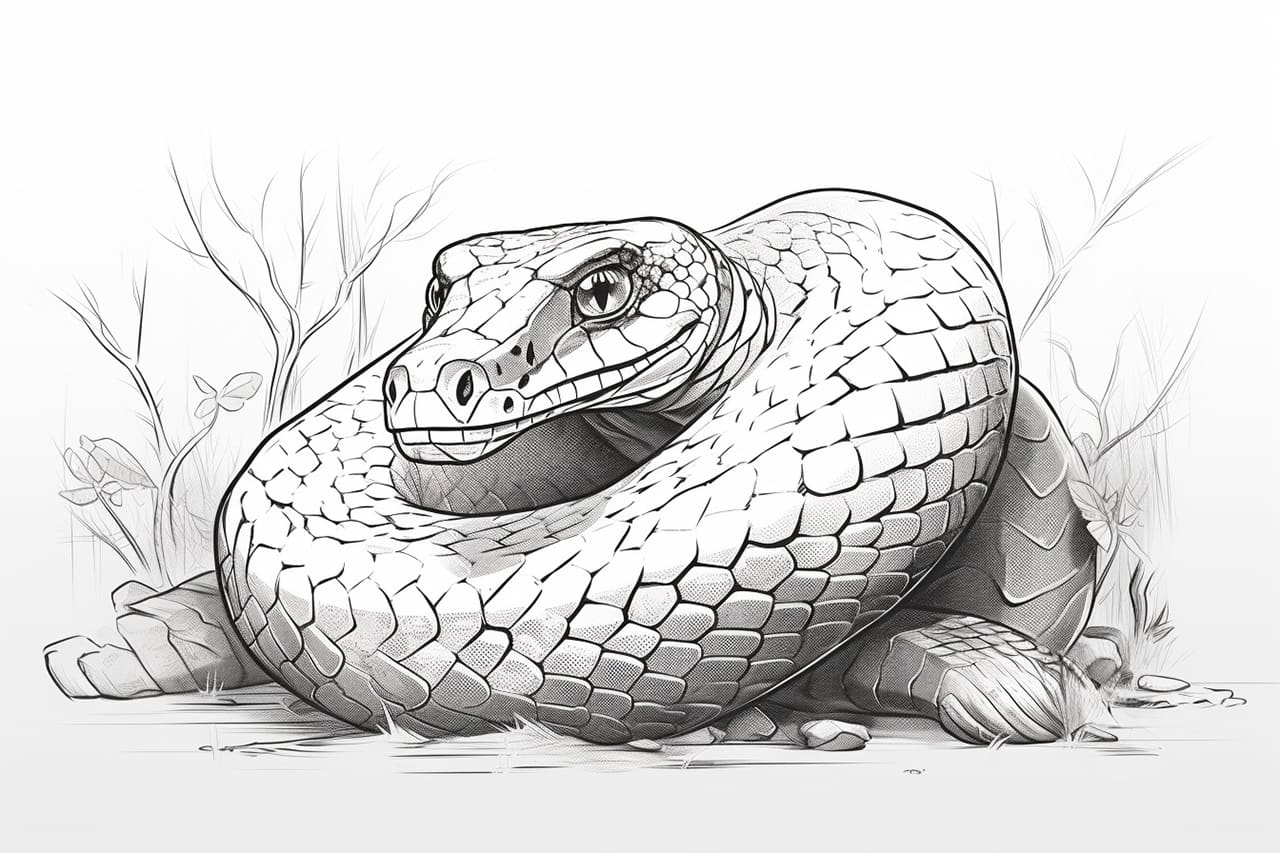
Welcome to this step-by-step guide on how to draw an anaconda! Whether you are a beginner or an experienced artist, this tutorial will help you create a realistic and captivating drawing of this impressive creature. Anacondas are known for their powerful bodies and distinctive patterns, making them fascinating subjects to depict in art. So, grab your drawing materials and let’s get started!
Materials Required
Before we begin, let’s gather the materials you will need for this drawing:
- Drawing paper: Choose a sturdy paper that is suitable for your chosen medium, such as pencil or charcoal.
- Drawing pencils: A set of pencils ranging from B (soft) to H (hard) will allow you to achieve a range of tones in your drawing.
- Eraser: Ensure you have a good quality eraser that can cleanly remove any mistakes or unwanted lines.
- Charcoal (optional): If you prefer to add depth and texture to your drawing, charcoal can be a great medium to experiment with.
- Blending tools (optional): Blending stumps or tortillions can help you achieve smooth and seamless transitions between different tones.
Now that we have everything we need, let’s dive into the steps for drawing an anaconda!
Step 1: Sketch the Basic Shapes
Start by lightly sketching the basic shapes of the anaconda using a pencil. Begin with a long, curved line for the body. Next, add a smaller circle towards one end of the body for the head. Position the head at an angle so that it appears slightly turned. Finally, sketch a longer oval shape towards the other end of the body for the tail.
Step 2: Refine the Head
Using the initial circle as a guide, refine the shape of the anaconda’s head. Add a curved line for the mouth and a small circle for the eye. Anacondas have a distinctively shaped head, so pay attention to the details such as the placement of the nostrils and the curve of the jawline. Once you are satisfied with the overall shape, darken the outline of the head.
Step 3: Add the Body Details
Next, add the body details of the anaconda. Begin by drawing smooth, curved lines to outline the body. Anacondas have a muscular appearance, so pay attention to the contours and curves of the body. Add a few rounded bumps along the body to represent the scales. Take your time with this step to ensure the proportions and shapes are accurate.
Step 4: Draw the Tail
Refine the shape of the tail by adding more rounded bumps to represent the scales. Anaconda tails taper towards the end, so be sure to gradually reduce the size of the bumps as you approach the tip of the tail. Remember to keep a consistent style and stroke direction throughout the drawing.
Step 5: Add the Details of the Face
Now it’s time to add the details of the anaconda’s face. Start by drawing the mouth, taking care to capture its distinctive shape and curves. Add the nostrils and refine the shape of the eye, adding any necessary shading or reflections to make it more realistic. Don’t forget to darken the outline of the head to make it stand out.
Step 6: Shade the Body and Tail
To give the anaconda a three-dimensional appearance, it’s important to add shading. Start by lightly shading the body and tail using either a pencil or charcoal. Pay attention to the direction of the light source and add darker shades on the side opposite of where the light is hitting. Use smooth, even strokes to create a seamless transition between the different tones.
Step 7: Refine the Details
Take a step back and assess your drawing. This is an opportunity to refine any areas that may need improvement. Pay attention to the placement and size of the scales, ensuring they are consistent throughout the body. Add any necessary shading or highlights to enhance the depth and texture of the drawing.
Step 8: Add Final Touches
At this point, your anaconda drawing is nearly complete! Take a moment to add any final touches and make any necessary adjustments. Erase any stray lines or marks, ensuring the drawing looks clean and polished. If desired, use blending tools to smooth out any harsh lines or create subtle gradients.
Conclusion
Congratulations on completing your drawing of an anaconda! By following these step-by-step instructions, you have learned how to capture the beauty and power of this incredible creature. Remember, practice makes perfect, so don’t be afraid to keep exploring and experimenting with your artistic skills. We hope you enjoyed this tutorial and found it helpful. Happy drawing!