Are you interested in learning how to draw a bare tree? Drawing trees can be a fun and relaxing activity, and it is a great way to improve your artistic skills. In this step-by-step guide, I will show you how to create a realistic and detailed representation of a bare tree. So, grab your drawing materials and let’s get started!
Materials Required
Before we begin, let’s make sure you have all the necessary materials for this drawing. Here’s what you’ll need:
- Drawing paper: Choose a medium-weight paper that is suitable for pencil or pen drawing. A slightly textured paper will help add depth and dimension to your tree.
- Pencils: You will need a range of pencils, from H to B. The H pencils will be used for lighter shading, while the B pencils will be used for darker shading and details.
- Eraser: A kneaded eraser is ideal for this drawing, as it can be shaped and manipulated to erase small details without damaging the paper.
- Blending stump: This tool will help you blend and smooth out the shading in your drawing, giving it a more realistic and polished look.
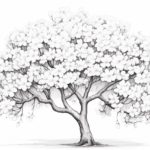
- Reference image: It’s always helpful to have a reference image to guide you as you draw. Look for a clear photograph of a bare tree that you find inspiring.
Now that you have gathered all your materials, let’s move on to the drawing process!
Step 1: Outline the Trunk and Branches
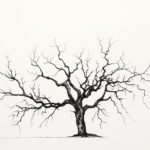
Start by lightly sketching the outline of the tree trunk and main branches. Use your reference image as a guide, paying attention to the overall shape and structure of the tree. Remember that trees can have different shapes and sizes, so don’t be afraid to be creative and add your own personal touch to the drawing.
Step 2: Add Smaller Branches
Next, add smaller branches to your tree. These branches will connect to the main branches and give your tree a more realistic appearance. Vary the thickness of the branches and their angles to create a sense of depth and randomness.
Step 3: Sketch the Twigs
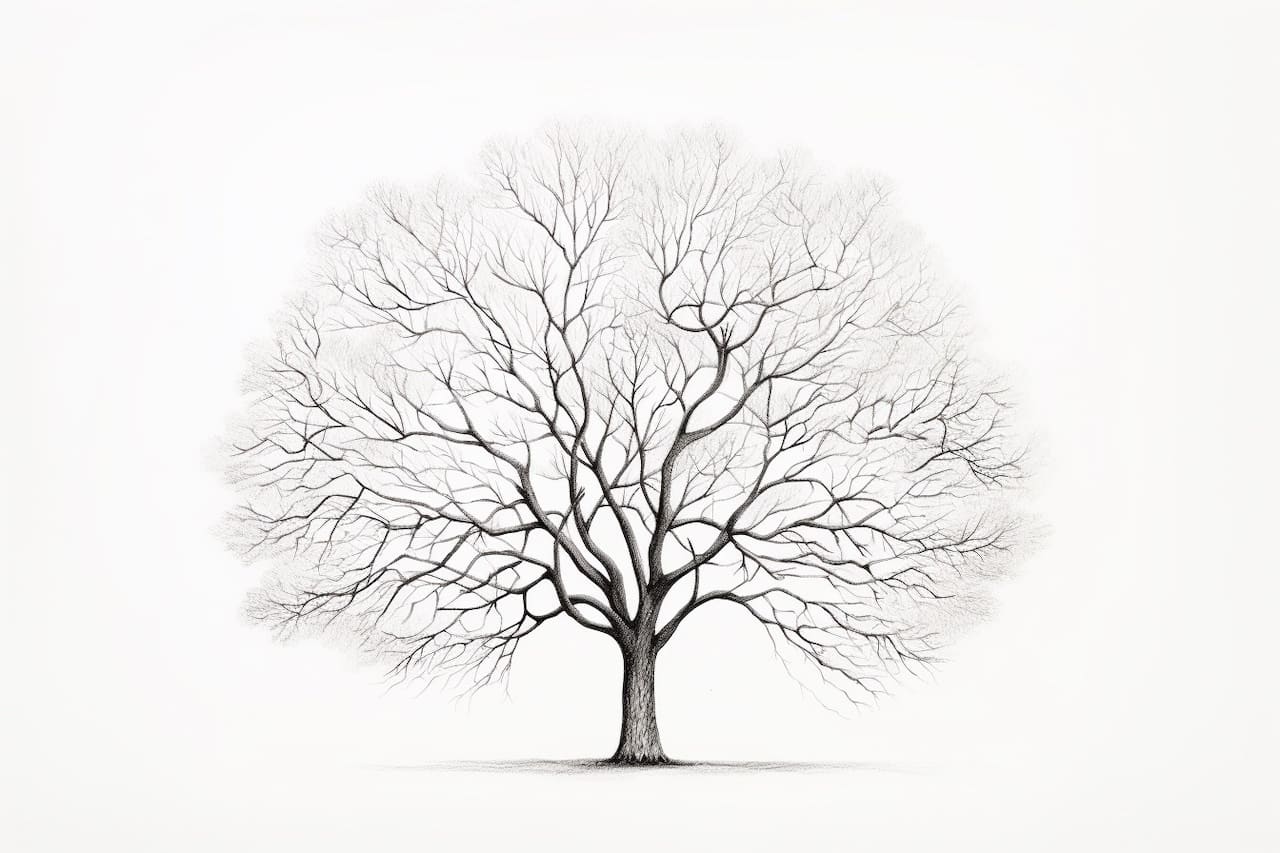
Now it’s time to add the twigs to your tree. Twigs are the smallest branches on a tree, and they can add a lot of detail and texture to your drawing. Pay close attention to the direction in which the twigs are pointing, as this will help create a sense of movement and realism.
Step 4: Shade the Trunk and Branches
Using your range of pencils, start shading the trunk and branches of the tree. Begin with the lighter pencils (H2 or H3) and gradually work your way up to the darker pencils (B3 or B4). Use small, light strokes to create a smooth transition from light to dark. Pay attention to the natural curves and contours of the wood, as this will help bring your tree to life.
Step 5: Add Texture to the Tree
To add more texture and depth to your tree, lightly shade the bark using a cross-hatching technique. This involves drawing multiple lines that intersect and overlap, creating a grid-like pattern. Vary the pressure and direction of your strokes to create a sense of roughness and variation in the bark.
Step 6: Detail the Twigs
Now it’s time to add detail to the twigs. Use a sharp pencil (B2 or B3) to gently shade and define the smaller branches. Pay attention to the thickness and direction of the twigs, as well as any knots or bumps that may be present.
Step 7: Blend and Smooth
To create a more realistic and polished look, use a blending stump to blend and smooth out the shading in your drawing. This will help soften harsh lines and create a more seamless transition between light and dark areas. Be careful not to over-blend, as this can result in a loss of texture and detail.
Step 8: Final Touches
Take a step back and assess your drawing. Are there any areas that need additional shading or detail? Use your reference image as a guide and make any necessary adjustments. Don’t be afraid to experiment and add your own artistic flair to the drawing.
Conclusion
Drawing a bare tree can be a rewarding experience. By following these step-by-step instructions and using the right materials, you can create a realistic and detailed representation of a tree. Remember to be patient and take your time with each step, and don’t be afraid to make mistakes. With practice, you will improve your drawing skills and create beautiful works of art. So, grab your drawing materials and start sketching that bare tree!