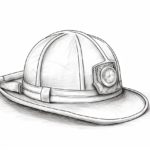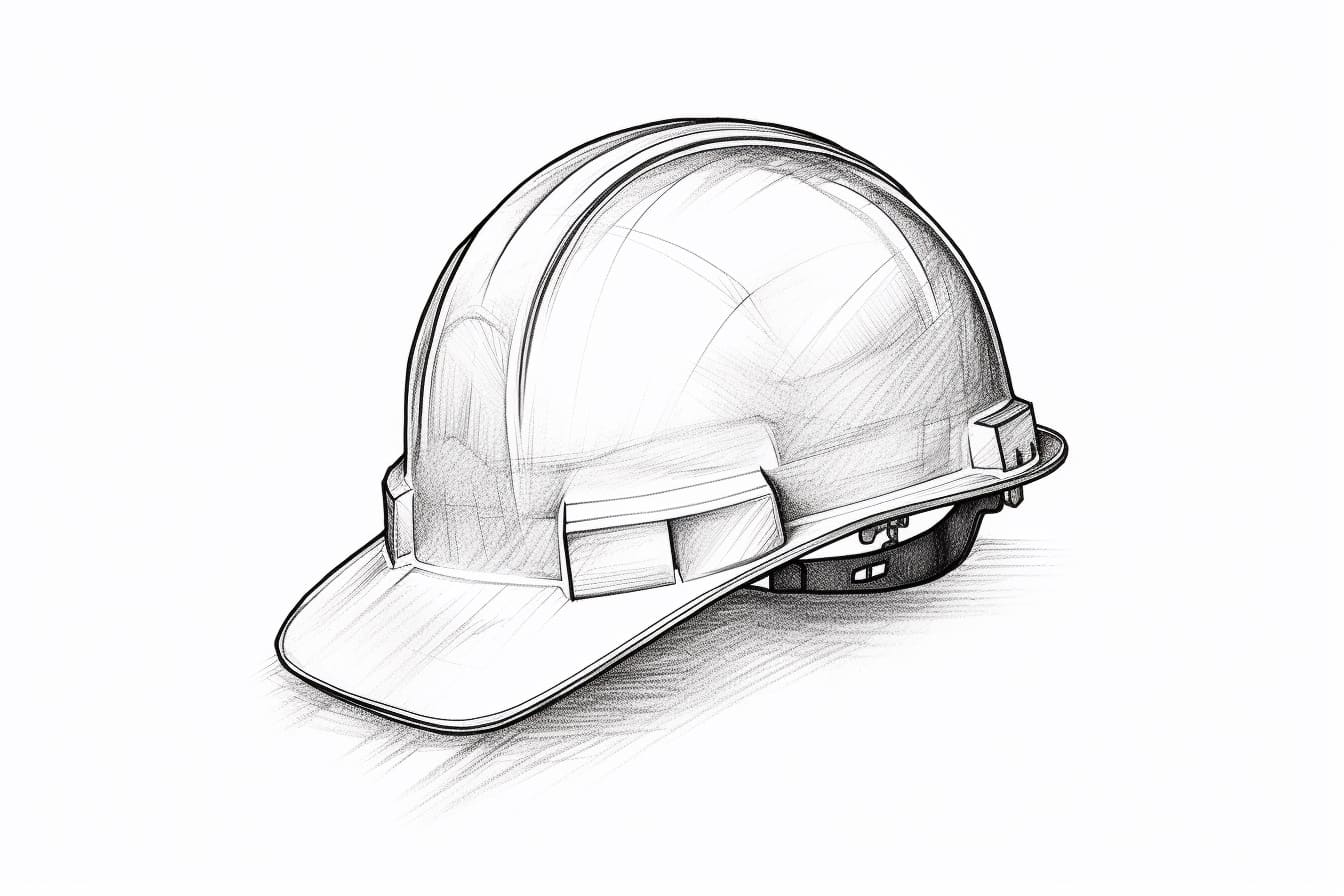
Drawing is a wonderful way to express your creativity and bring your imagination to life. In this step-by-step guide, we will explore how to draw a hard hat, a symbol of safety and protection. Whether you are a beginner or an experienced artist, follow along and have fun as we create a realistic representation of this essential piece of headgear.
Materials Required
Before we get started, let’s gather the necessary materials to draw a hard hat:
- A pencil – It is always a good idea to start with a pencil for sketching. You can use an HB or 2B pencil for this project.
- Paper – Choose a smooth and sturdy paper such as drawing paper or Bristol board. The size is up to you, but a standard 9×12-inch sheet will work well.
- Eraser – Keep a soft eraser handy for correcting any mistakes and refining your drawing.
- Fine-tip pens – Once your pencil sketch is complete, you may want to use a fine-tip pen for outlining and adding details. Select pens with different thicknesses to achieve variations in line weight.
- Markers or colored pencils (optional) – If you wish to add color to your drawing, have some markers or colored pencils ready. Traditional hard hats are typically yellow, but feel free to get creative and choose your own color scheme.
Now that we have all the materials, let’s move on to the step-by-step instructions.
Step 1: Sketch the Basic Shape
Start by lightly sketching an oval shape in the center of your paper. This will serve as the main body of the hard hat.
Step 2: Add the Brim
Extend two curved lines downward from the bottom of the oval to create the brim of the hard hat. The brim should be slightly wider than the main body.
Step 3: Define the Suspension System
Draw two vertical lines inside the oval shape, one on each side. These lines represent the suspension system, which is the part of the hard hat that rests on the wearer’s head. Connect the top of these lines with a curved line to create a rounded edge.
Step 4: Add the Top Strap
At the top of the oval, draw a horizontal line that slightly curves inward. This is the top strap of the hard hat.
Step 5: Shape the Sides
Extend two lines slightly outward from the top strap. These lines will define the sides of the hard hat.
Step 6: Form the Rear Suspension
Connect the ends of the side lines with a horizontal line. This represents the rear suspension of the hard hat.
Step 7: Refine the Shape
Take a moment to analyze your sketch. Use your pencil to refine the curves, angles, and proportions of the hard hat. Adjust any areas that may need improvement until you are satisfied with the overall shape.
Step 8: Outline with a Pen
Once you are happy with your pencil sketch, carefully outline the entire hard hat using a fine-tip pen. Start with the main body and work your way around, paying attention to the defined lines and curves.
Step 9: Add Details
With the pen, add the necessary details to make the hard hat more realistic. This may include small bolts, ventilation holes, or any other characteristic features you observe on a real hard hat. Take your time to ensure accuracy and precision in your lines.
Step 10: Erase Guidelines
Using a soft eraser, gently remove any unnecessary pencil lines that are still visible. Be cautious not to erase any of the pen lines as you go.
Step 11: Add Color (Optional)
If you want to add color to your drawing, now is the time to do so. Traditional hard hats are often yellow, but you can choose any color or even create a pattern if you prefer. Use markers or colored pencils to carefully fill in the appropriate areas, being mindful of the light and shadow to create dimension.
Step 12: Final Touches
Take a step back and evaluate your finished drawing. Make any final adjustments or add any additional details you feel are necessary. Ensure that the lines are clean and crisp, and that the colors are evenly applied if you chose to add color.
Congratulations! You have successfully drawn a hard hat. With practice, your drawing skills will continue to improve, and you will be able to draw more complex objects with ease.
Conclusion
Drawing a hard hat allows you to explore the intricacies of this essential protective gear, while also honing your artistic techniques. By following the step-by-step instructions in this guide, you can create a realistic representation of a hard hat, showcasing your creativity and attention to detail.
Remember, drawing is not just about achieving a perfect result; it is also about enjoying the process and expressing yourself. So, grab your pencil, paper, and other materials, and start drawing a hard hat today!