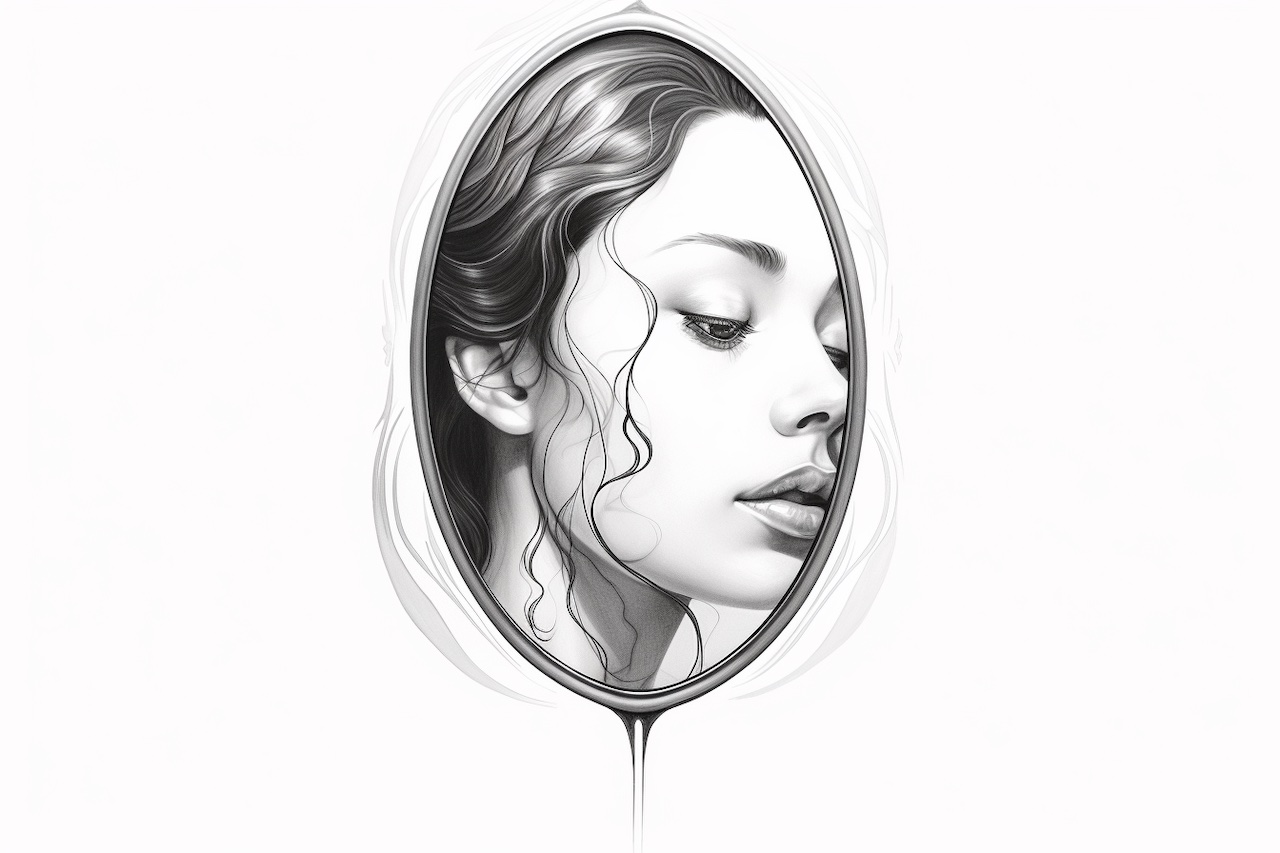
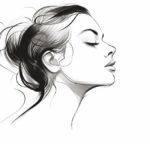
Drawing a mirror reflection can be a challenging task for many artists. Capturing the accurate reflection of objects and people in a mirror requires a keen eye for detail and an understanding of perspective. In this step-by-step guide, I will walk you through the process of how to draw a mirror reflection, helping you create stunning and realistic artwork.
Materials Required
Before we begin, make sure you have the following materials ready:
- Drawing paper: Choose a smooth and sturdy paper suitable for your medium (pencil, charcoal, etc.).
- Drawing medium: Select your preferred medium, such as a pencil, charcoal, or ink.
- Eraser: Have a good quality eraser to correct mistakes and make adjustments.
- Ruler: Use a ruler to help with precise measurements and straight lines.
- Mirror: Place a mirror in front of your drawing setup to observe the reflection accurately.
With these materials prepared, let’s dive into the step-by-step process of drawing a mirror reflection.
Step 1: Observe and Analyze the Reflection
Begin by carefully observing the scene you wish to draw, including the objects and their reflection in the mirror. Pay close attention to the angle, size, and shape of the reflection compared to the actual objects. Analyze the perspective and any distortions caused by the mirror’s surface.
Step 2: Sketch the Basic Outline
Using a light touch, sketch the basic outline of the objects and their reflection on the drawing paper. Start by drawing the objects themselves, focusing on their proportions, shapes, and position in the scene. Next, lightly sketch the reflection within the mirror, mirroring the same proportions and positions.
Step 3: Establish the Horizon Line
To ensure proper perspective, establish the horizon line in your drawing. The horizon line represents the eye level of the viewer and helps determine the position and angles of the objects and their reflection. Use a ruler to draw a straight line across your paper at the desired height.
Step 4: Add Details and Shadows
Now it’s time to add more details to your drawing, paying close attention to the reflection in the mirror. Start by refining the shapes and proportions of the objects and their reflection. Add any intricate details, such as textures or patterns, remembering to mirror them accurately in the reflection.
Next, focus on adding shadows and highlights to create depth and dimension. Observe how light interacts with the objects and their reflection, and use shading techniques to capture these nuances. Shadows in the reflection should align with the objects but may be distorted due to the mirror’s surface.
Step 5: Refine and Adjust
Take a step back and evaluate your drawing as a whole. Look for any inaccuracies in proportions, angles, or details. Make any necessary adjustments or corrections to ensure the reflection looks realistic and aligned with the objects. Use your eraser to remove any unwanted lines or smudges.
Step 6: Finalize the Drawing
Once you are satisfied with the overall look of your drawing, finalize it by adding the finishing touches. Sharpen the details, refine the edges, and make any final adjustments to the shadows and highlights. Pay close attention to the reflection, ensuring it accurately represents the objects and their surroundings.
Conclusion
Drawing a mirror reflection requires careful observation, attention to detail, and an understanding of perspective. By following these step-by-step instructions, you can create stunning and realistic artwork that captures the intricate beauty of mirror reflections. So grab your materials and get started on your next masterpiece!

