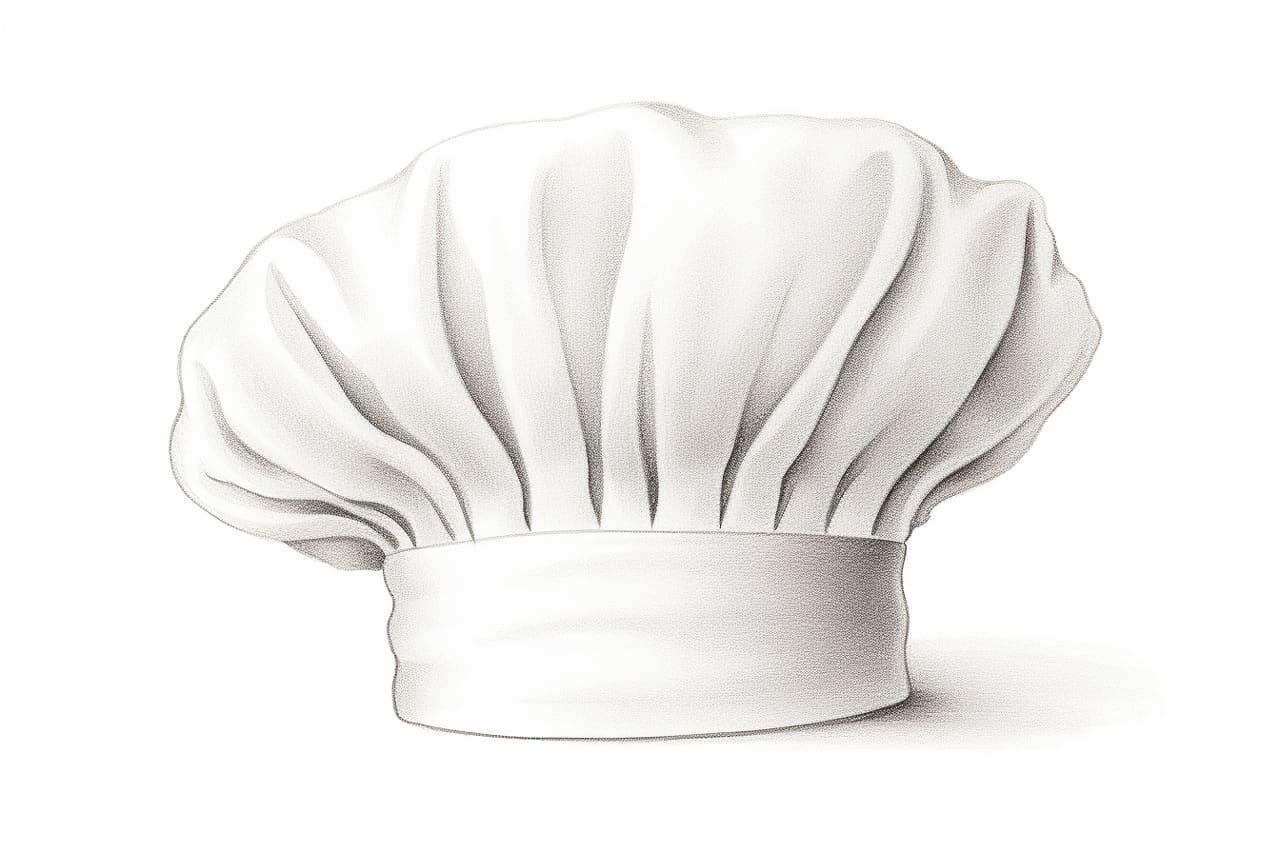
Do you love cooking or perhaps have a budding interest in culinary arts? Drawing a chef hat can be a fun and creative way to express your passion for the kitchen. Whether you want to create a chef-themed artwork or simply practice your drawing skills, this step-by-step guide will help you master the art of drawing a chef hat.
Materials Required
Before you start, gather the following materials:
- Pencil
- Eraser
- Drawing paper
- Ruler
- Compass
- Black marker or pen
- Colored pencils or markers (optional)
Now that you have your materials ready, follow these steps to draw a chef hat!
Step 1: Draw the Base of the Hat
Start by drawing a horizontal line near the middle of your paper. This line will serve as the base of the chef hat. Use a ruler to ensure that the line is straight and even.
Step 2: Add the Side Flaps
From the left and right ends of the base line, draw two diagonal lines that slant upwards and outwards. These lines will form the side flaps of the chef hat. Make sure the length of these lines is roughly the same.
Step 3: Connect the Side Flaps
At the top ends of the diagonal lines, draw two short horizontal lines. Then, connect these lines with a curved line, forming the top of the chef hat. The shape should resemble a rounded triangle or a pyramid.
Step 4: Draw the Band
Beneath the base line, draw a slightly curved horizontal line. This line will represent the band of the chef hat. Make sure the band is evenly placed and parallel to the base line.
Step 5: Add Details to the Band
On the band, draw a series of small circles or dots evenly spaced apart. These dots serve as buttons on the band and add a touch of realism to the chef hat.
Step 6: Sketch the Texture
To create a sense of texture on the fabric of the chef hat, lightly sketch a series of diagonal lines across the entire hat. These lines should be evenly spaced and slant in the same direction.
Step 7: Refine the Outline
Using your pencil, go over the lines you want to keep and darken them. This will help define the shape of the chef hat and make it stand out.
Step 8: Ink the Drawing
Once you are satisfied with the outline, use a black marker or pen to go over the pencil lines. Be careful and steady to create clean and crisp lines. Let the ink dry before erasing any remaining pencil marks.
Step 9: Erase Guidelines
Carefully erase any remaining pencil guidelines or unwanted marks within your drawing. Take your time to ensure that you only remove the pencil marks and not the inked lines.
Step 10: Add Color (Optional)
If you want to add some color to your chef hat drawing, now is the time to do so. Use colored pencils or markers to bring your artwork to life. You can choose traditional white for the hat, or get creative with different colors for a unique twist.
Congratulations! You have successfully drawn a chef hat.
Conclusion
Drawing a chef hat is a simple and enjoyable activity that can be done by anyone, regardless of their artistic abilities. By following these step-by-step instructions, you can create a chef hat drawing that showcases your passion for cooking or culinary arts. Remember, practice makes perfect, so don’t be discouraged if your first attempt doesn’t turn out exactly as you imagined. Keep practicing, and soon you’ll be able to draw a chef hat with confidence and finesse.
Whether you’re a culinary enthusiast or simply someone who loves to doodle, drawing a chef hat is a wonderful way to embrace your creativity. So grab your drawing materials and start sketching. Happy drawing!