Welcome to this step-by-step guide on how to draw a straw hat. Whether you are a beginner or an experienced artist, this tutorial will provide you with clear and concise instructions to help you create a realistic and detailed straw hat illustration. So, grab your drawing supplies, and let’s get started!
Materials Required
To complete this drawing tutorial, you will need the following materials:
- Pencil: Choose a pencil with a medium lead, such as an HB or 2B, for sketching.
- Eraser: Have an eraser on hand to correct any mistakes or guidelines.
- Paper: Use a clean sheet of drawing paper or sketchbook.
- Colored pencils or markers (optional): If desired, you can use colored pencils or markers to add a vibrant touch to your finished drawing.
Now that we have all the necessary materials, let’s begin!
Step 1: Sketch the Basic Shape
Start by lightly sketching a large oval shape in the center of your paper. This will serve as the foundation for the crown of the straw hat. Adjust the size and shape of the oval according to your preference. Don’t worry about making it perfect just yet – this is just a guide.
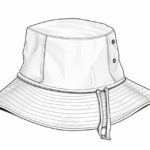
Step 2: Add the Brim
Next, draw a larger oval shape around the base of the crown. This will be the brim of the straw hat. Make sure the bottom of the brim is slightly wider than the top, as this creates a realistic look. Connect the brim to the crown by drawing curved lines on both sides.
Step 3: Refine the Shape
Use your pencil to refine the shape of the crown and the brim. Pay attention to the curvature and thickness of the lines. Make the crown slightly taller and narrower towards the top, and the brim wider and flatter towards the bottom. Erase any unnecessary guidelines from the previous steps.
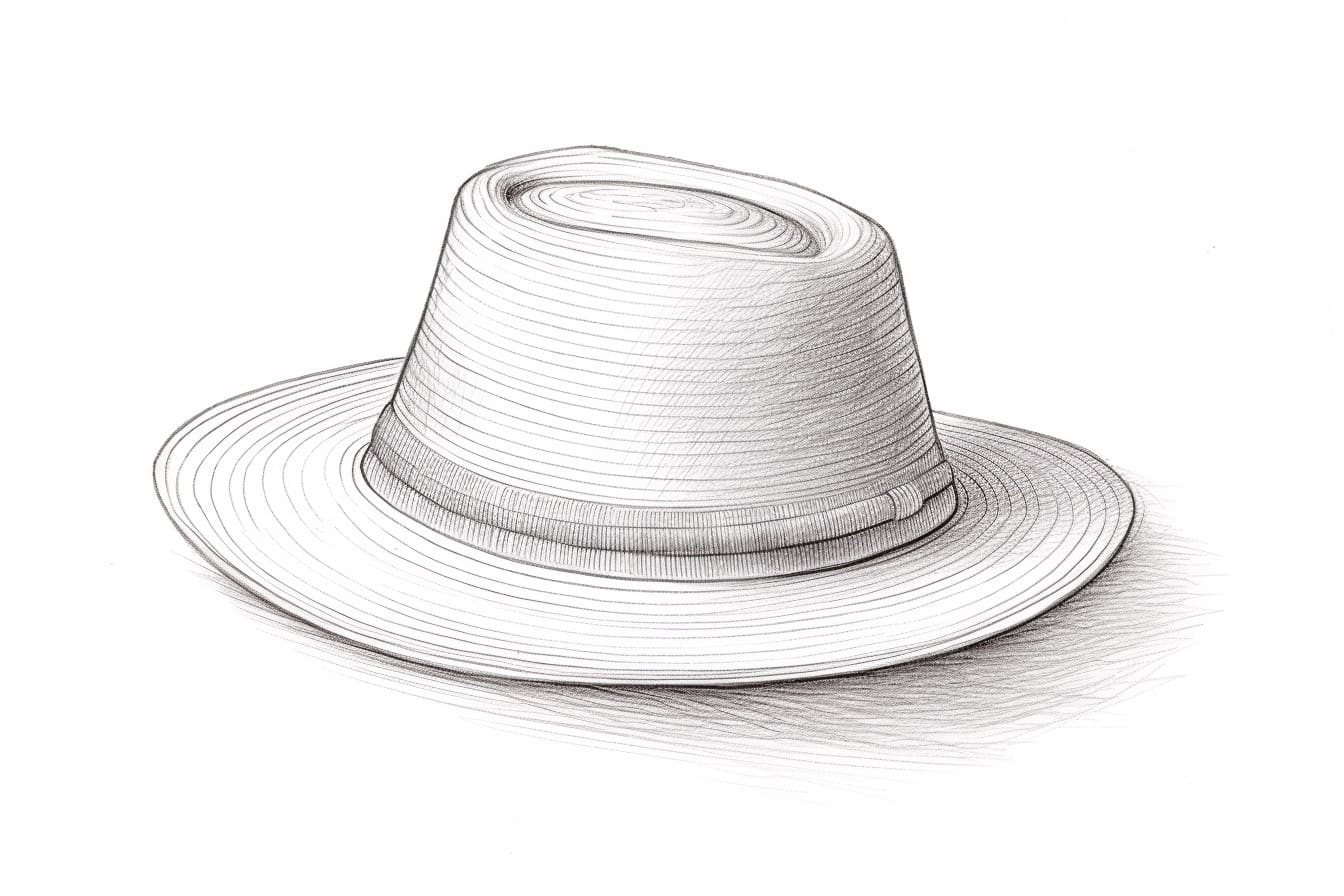
Step 4: Add Texture
To give the hat a straw-like appearance, we will add some texture. Start by drawing curved lines across the crown and brim, following the direction of the hat’s shape. These lines should be uneven and irregular, mimicking the look of straw. Vary the length and thickness of the lines to create a more realistic effect.
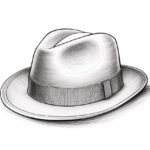
Step 5: Shade the Hat
Now, let’s add some shading to make the drawing more three-dimensional. Determine the light source in your drawing, and imagine where the shadows would fall. Use your pencil to shade the areas that would be in shadow, such as the underside of the brim and the area where the crown and brim meet. Gradually build up the shading, starting with light strokes and adding more depth as needed.
Step 6: Define the Details
To add more realism to your straw hat, focus on the details. Draw a thin band around the base of the crown to give it a finished look. You can also add additional texture and shading to the hat’s surface to enhance its appearance. Remember to take your time and observe the reference image or real straw hats for inspiration.
Step 7: Optional – Color the Hat
If you want to take your drawing a step further, you can use colored pencils or markers to add color to your straw hat. Choose earthy tones, such as yellows and browns, to mimic the natural color of straw. Gradually layer colors and blend them together to achieve a realistic shading effect.
Conclusion
Congratulations on completing your straw hat drawing! Through this step-by-step tutorial, you have learned how to create a detailed and realistic illustration of a straw hat. Remember to practice regularly to improve your skills and try experimenting with different styles and techniques. With time and patience, you will continue to develop your artistic abilities. We hope you enjoyed this tutorial and found it helpful in your artistic journey!