Drawing a jacket can be a fun and creative way to express your artistic skills. Whether you are a beginner or an experienced artist, this step-by-step guide will help you create a realistic and stylish jacket in no time. In this article, we will cover the materials needed, basic shapes and proportions, as well as shading and detailing techniques. So grab your drawing supplies and let’s get started!
Materials Required
Before we begin, gather the following materials:
- Pencil: Start with a medium to soft pencil, such as a 2B or 4B, for sketching and shading.
- Eraser: A kneaded eraser works best for lifting graphite and creating highlights.
- Paper: Choose a smooth and sturdy paper, such as drawing paper or Bristol board, for best results.
- Ruler: A ruler will help you achieve straight and accurate lines.
- Reference Image: Find a picture of a jacket that you would like to draw. You can use a fashion magazine, online image search, or even take a photo of a jacket you own.
Now that you have all your materials ready, let’s move on to the steps of drawing a jacket.
Step 1: Sketch the Basic Shape
Start by lightly sketching an outline of the jacket using basic shapes. For example, you can use rectangles for the body and sleeves, and circles or ovals for the buttons. Pay attention to the proportions and overall silhouette of the jacket. Keep the lines faint at this stage, as you will be refining and adding details later.
Step 2: Define the Collar and Lapels
Next, add details to the collar and lapels of the jacket. Depending on the style, collars and lapels can vary greatly in shape and size. Use your reference image to accurately depict these elements. Pay attention to the folds and creases in the fabric, as they will add realism to your drawing.
Step 3: Add the Sleeves and Cuffs
Extend the basic shapes for the sleeves and cuffs, and begin to define their form. Pay attention to the way the sleeves hang from the shoulders and how they taper towards the wrists. Add folds and wrinkles in the fabric to make the jacket appear more realistic.
Step 4: Refine the Body of the Jacket
Now it’s time to refine the body of the jacket. Add more definition to the shoulders, waist, and any other details specific to the style of jacket you are drawing. Take your time to get the proportions right and make adjustments as necessary.
Step 5: Draw the Buttons and Buttonholes
Draw the buttons and buttonholes on the jacket. Buttons can be simple circles or more intricate designs, depending on the style. The buttonholes should be evenly spaced and aligned. Use a ruler if needed to achieve straight lines and consistent spacing.
Step 6: Add Shading and Texture
To make your jacket drawing appear more realistic, add shading and texture to create the illusion of fabric. Start by identifying the light source in your reference image, and shade accordingly. Use lighter strokes for areas that catch more light, and darker strokes for areas in shadow. Pay attention to the folds, creases, and texture of the fabric, and replicate them in your drawing.
Step 7: Refine the Details
Take a step back and carefully examine your drawing. Make any necessary refinements to the proportions, shapes, and details of the jacket. Pay attention to small details such as stitching, pockets, or any other unique elements that make the jacket stand out. Use your reference image as a guide to ensure accuracy.
Conclusion
Drawing a jacket is a great way to practice your drawing skills and create a stylish piece of artwork. By following these step-by-step instructions, you can learn how to accurately depict the shape, details, and textures of a jacket. Remember to take your time, be patient, and observe the reference image closely. With practice, you will be able to draw jackets with ease and even add your own creative touches. So, grab your pencils and start sketching your favorite jacket today!
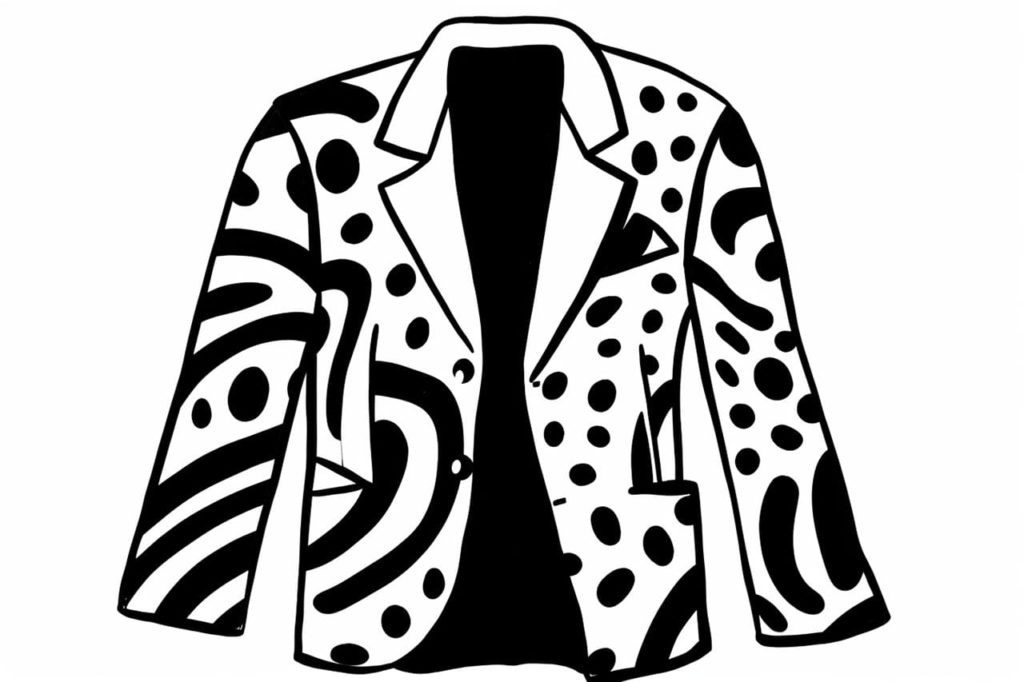
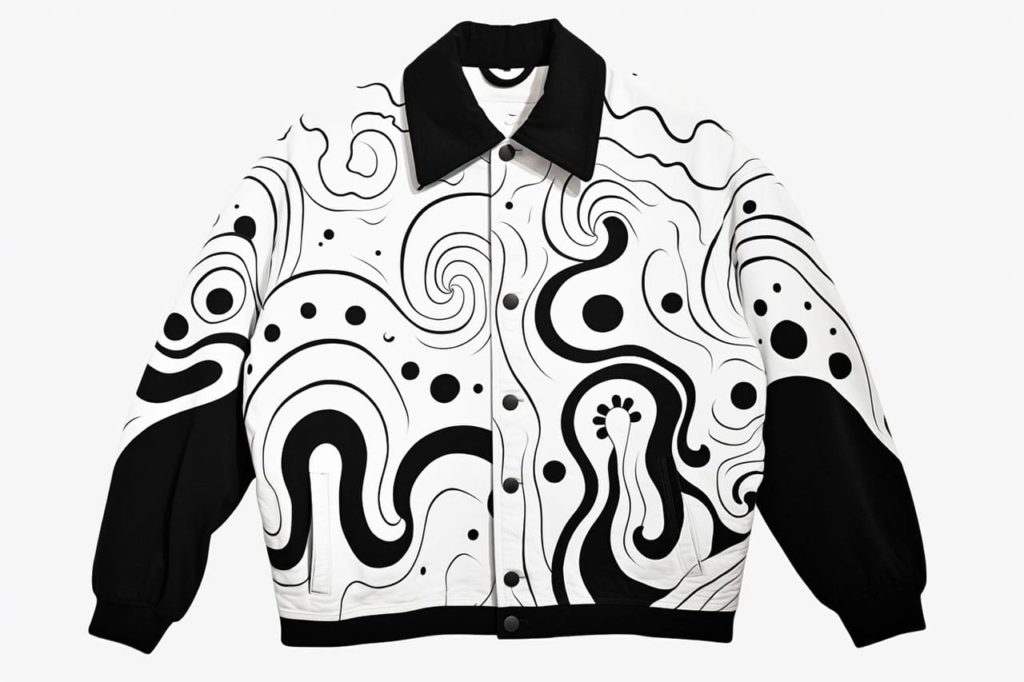
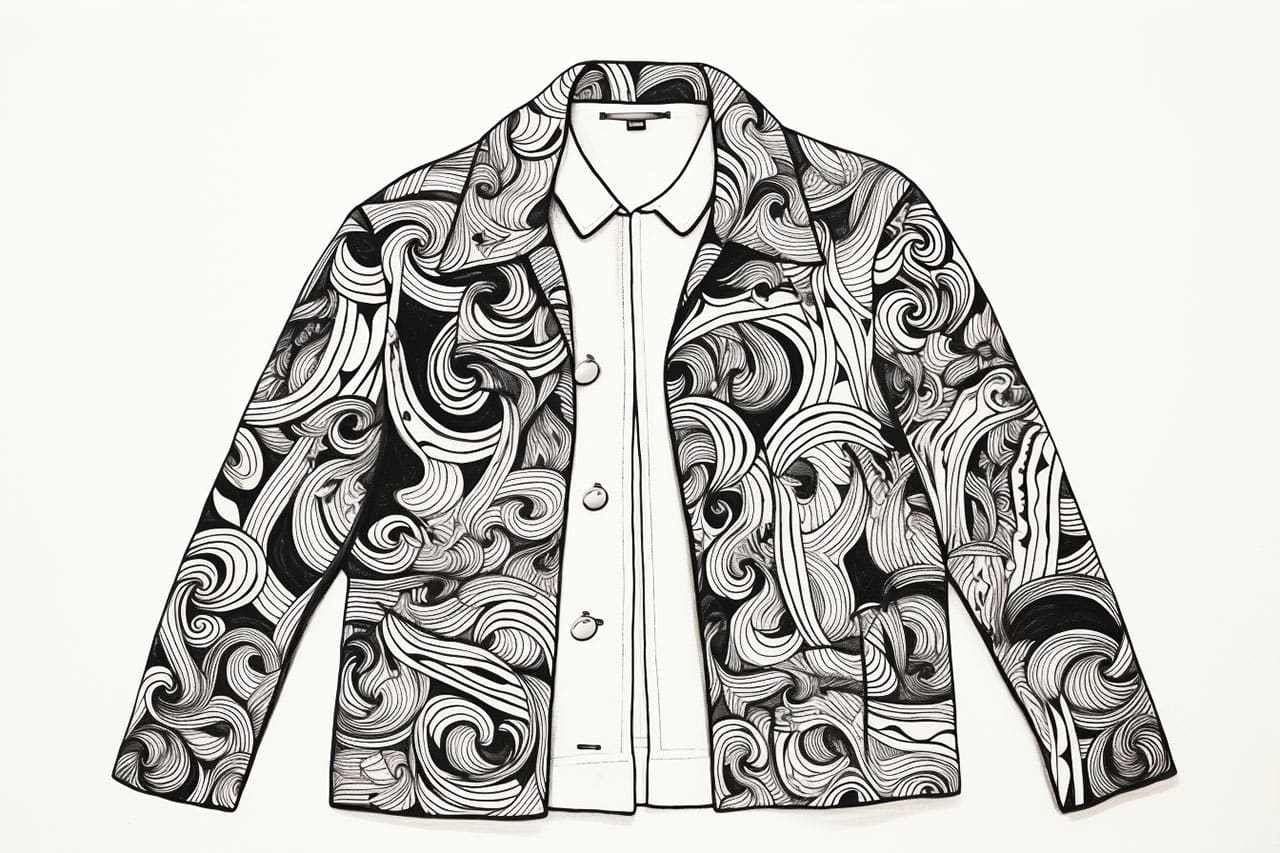
Gallery of Jacket Drawings