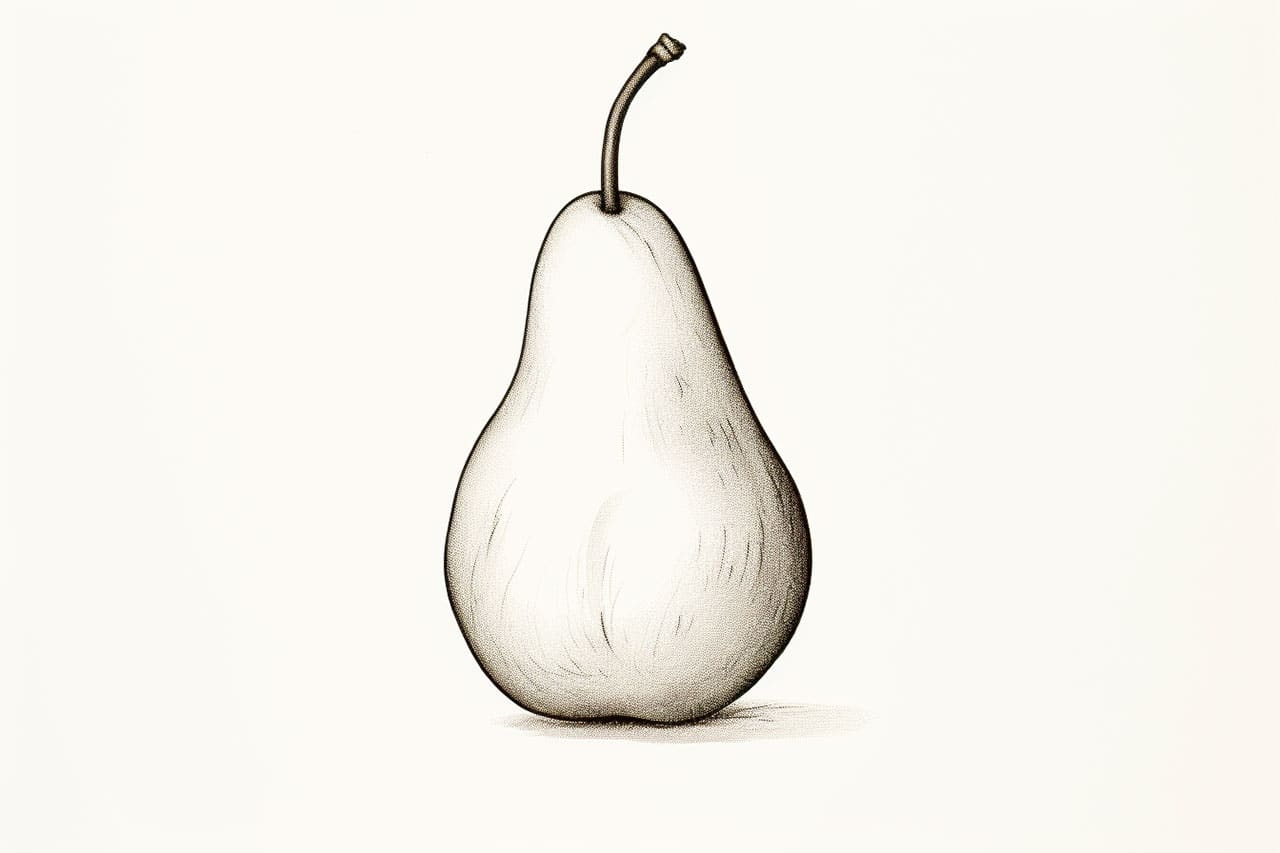
Do you have a passion for drawing and want to improve your skills? Drawing is a great way to express your creativity and bring your imagination to life. In this tutorial, we will guide you through the step-by-step process of how to draw a pear. By following these simple instructions, you will be able to create a beautiful and lifelike representation of this delicious fruit. So, let’s get started!
Materials Required
Before we begin, make sure you have the following materials on hand:
- Pencil: Use a medium-soft graphite pencil, such as a 2B or 4B, for sketching and shading.
- Eraser: A kneaded eraser is recommended for easy removal of unwanted lines and smudges.
- Paper: Choose a smooth, heavyweight paper that can handle graphite shading.
Now that you have your materials ready, let’s begin the drawing process.
Step 1: Outline the Basic Shape
Start by lightly sketching a vertical oval shape in the center of your paper. This will be the outline of the pear. Make sure the oval is slightly wider at the bottom than at the top, as pears have a characteristic shape with a larger bottom.
Step 2: Add the Stem
Extend a thin, curved line upward from the top of the oval to create the stem of the pear. The stem should be slightly diagonal and taper towards the end.
Step 3: Define the Contours
To give the pear more definition, sketch a simple curve on each side of the oval, following its contours. These lines will represent the rounded sides of the fruit.
Step 4: Refine the Shape
Now it’s time to refine the shape of the pear. Add more curves and contours to make it appear more three-dimensional. Pay attention to the curves and slopes of the fruit as you add these details.
Step 5: Shade the Pear
To make the pear appear more realistic, we need to add shading. Start by identifying the light source in your drawing. The light source will determine where the highlights and shadows fall on the fruit. For example, if the light is coming from the right side, the left side of the pear will be in shadow.
Using your pencil, begin shading the areas of the pear that are in shadow. Apply more pressure on the pencil to create darker shades. Use a lighter touch for the areas that receive more light. Gradually build up the shading, paying close attention to the contours and curves of the fruit.
Step 6: Add Texture
To add texture to the pear, create small, irregular shapes on the surface of the fruit. These can be tiny curved lines, dots, or small circles. The texture will make the pear look more realistic and organic.
Step 7: Highlight and Blend
Now it’s time to add highlights to the pear to make it appear shiny and three-dimensional. Use your eraser to carefully lift off some of the graphite in areas that receive direct light. This will create bright spots on the surface of the fruit.
Next, use a blending tool, such as a paper stump or a tortillon, to lightly blend the shading and highlights. This will soften the transitions between light and shadow, giving the pear a smoother and more realistic appearance.
Step 8: Final Details
Add the final touches to your pear drawing by refining the shape, adjusting the shading, and adding any necessary details. Use your eraser to clean up any stray lines or smudges. Pay attention to the overall composition and make any necessary adjustments to achieve the desired look.
And voila! You have successfully drawn a realistic pear. With practice, your drawing skills will continue to improve, and you’ll be able to tackle more complex subjects.
Conclusion
Drawing a pear is a great exercise to practice your observation skills and improve your ability to capture the realistic form of objects. By following the step-by-step instructions in this tutorial, you can create a beautiful representation of this delicious fruit. Remember to be patient with yourself and keep practicing. With time and dedication, you will be able to create stunning works of art. Happy drawing!