Drawing a palm leaf may seem challenging at first, but with a few simple steps, you can create a beautiful and realistic representation. Whether you’re an experienced artist or just starting out, this step-by-step guide will help you master the art of how to draw a palm leaf. So grab your drawing materials and let’s get started!
Materials Required
Before we begin, make sure you have the following materials:
- Pencil: Start with a pencil to sketch out the basic shape of the palm leaf and make any necessary adjustments.
- Eraser: An eraser will come in handy to remove any unwanted lines or mistakes.
- Paper: Use a clean sheet of paper or a sketchbook to draw your palm leaf.
- Colored pencils or markers (optional): If you want to add color to your drawing, have some colored pencils or markers ready.
Now that you have your materials ready, let’s begin drawing a palm leaf!
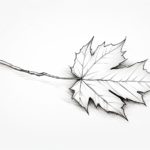
Step 1: Start with the Center Line
Begin by drawing a long, vertical line slightly tilted to the side. This will serve as the center line of your palm leaf. It should be taller than the actual height of the leaf, as we will be extending the lines later.
Step 2: Add the Main Vein
Starting from the top of the center line, draw a slightly curved line extending downwards. This line represents the main vein of the palm leaf. Make sure it follows the curvature of the center line.
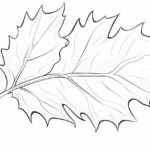
Step 3: Draw the Side Veins
Next, draw several smaller curved lines extending from the main vein. These lines will represent the side veins of the palm leaf. Space them out evenly and make sure they follow the curvature of the main vein.
Step 4: Create the First Set of Leaflets
At the top of the main vein, draw a small curved line extending to the left. Then, mirror this line on the right side to create the first set of leaflets. These leaflets will become the outer layer of the palm leaf.
Step 5: Add More Leaflets
Continue adding leaflets on both sides of the main vein, gradually increasing in size as you move down the center line. Make sure the leaflets become wider towards the bottom of the palm leaf. Remember to keep them curved and follow the natural flow of the main vein.
Step 6: Shape the Leaflets
To give the leaflets a realistic appearance, add small curved lines within each leaflet to represent the smaller veins. These lines should radiate from the outer edge of the leaflet and connect to the main vein.
Step 7: Refine the Shape
Now that you have the basic structure of the palm leaf, take a moment to evaluate the overall shape and make any necessary adjustments. Look for any areas that may need to be refined or reshaped. Use your eraser to remove any unwanted lines or smudges.
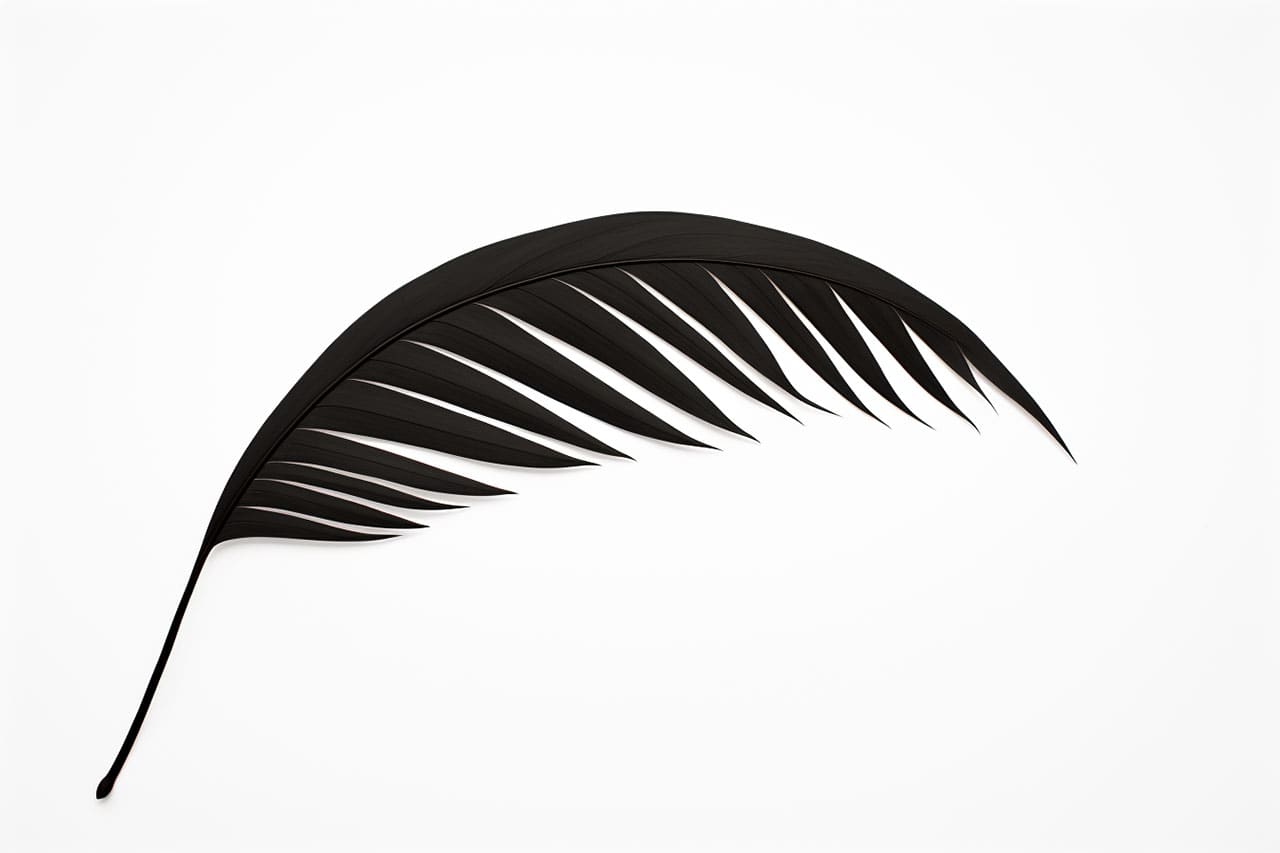
Step 8: Add Texture
To add texture and depth to your palm leaf, draw small lines along the main vein and the side veins. These lines should be parallel to each other and extend outwards from the center line. Vary the length and thickness of the lines to create a more realistic effect.
Step 9: Optional – Add Color
If you prefer a colored drawing, this is the time to bring out your colored pencils or markers. Use shades of green to fill in the leaflets and the veins. You can also add a touch of yellow or brown to add depth and make your drawing more vibrant.
Conclusion
Congratulations! You have successfully learned how to draw a palm leaf. By following these step-by-step instructions, you can create a realistic representation of this beautiful and iconic leaf. Remember to take your time and practice regularly to enhance your drawing skills. So grab your pencil, paper, and artistic spirit, and start creating stunning palm leaf drawings today!