Welcome to this step-by-step guide on how to draw a cylinder! Drawing three-dimensional shapes can be challenging, but with a little practice and guidance, you’ll be able to create realistic and impressive drawings. In this article, we will explore the process of drawing a cylinder from scratch, using simple geometric principles.
Materials Required
Before we get started, let’s make sure you have everything you need to draw a cylinder:
Now that we have our materials, let’s begin the process of drawing a cylinder.
Step 1: Draw the Base Circle
To start, draw a perfect circle at the center of your paper. You can use a compass or simply trace the circular edge of a circular object like a coin or bottle cap. The size of the circle will determine the size of your cylinder, so choose accordingly.
Step 2: Add the Height of the Cylinder
From the center of the circle, draw a vertical line downwards. This line represents the height of the cylinder. Decide how tall you want your cylinder to be and draw the line accordingly.
Step 3: Connect the Base and the Top
Now, draw another circle on top of the vertical line, parallel to the base circle. This circle should be identical in size to the base circle, creating a cylindrical shape. Make sure the top circle aligns perfectly with the bottom one.
Step 4: Draw the Vertical Lines
Next, draw two vertical lines connecting the outer edges of the base and top circles. These lines should be parallel to each other and straight. They will serve as the sides of the cylinder.
Step 5: Add Depth to the Cylinder
To give your cylinder a three-dimensional appearance, add depth by drawing two diagonal lines. Start from the top edge of one of the vertical lines and connect it to the corresponding edge of the other vertical line. Repeat this process for the other side. These lines will create the illusion of depth.
Step 6: Erase Unnecessary Lines
Now that the basic shape of your cylinder is complete, take a moment to erase any unnecessary construction lines. Remove any leftover guidelines that were used to create the circles and initial lines. Clean up the drawing to make it neater and easier to work with.
Step 7: Shade the Cylinder
To make your drawing appear more realistic, add shading to the cylinder. Determine the direction of the light source and shade accordingly. Use your pencil to create darker tones on one side of the cylinder, representing the areas that are away from the light source. Leave the opposite side lighter, mimicking the effect of light hitting the cylinder.
Conclusion
Congratulations! You have successfully learned how to draw a cylinder step by step. By following these instructions and practicing regularly, you will improve your drawing skills and be able to create various cylindrical objects in no time. Remember, drawing takes time and patience, so don’t be discouraged if your first attempts don’t turn out perfect. With dedication and practice, you’ll be able to achieve incredible results.
Now, pick up your pencil, grab some paper, and start creating beautiful cylindrical drawings. Enjoy the process and let your imagination run wild!
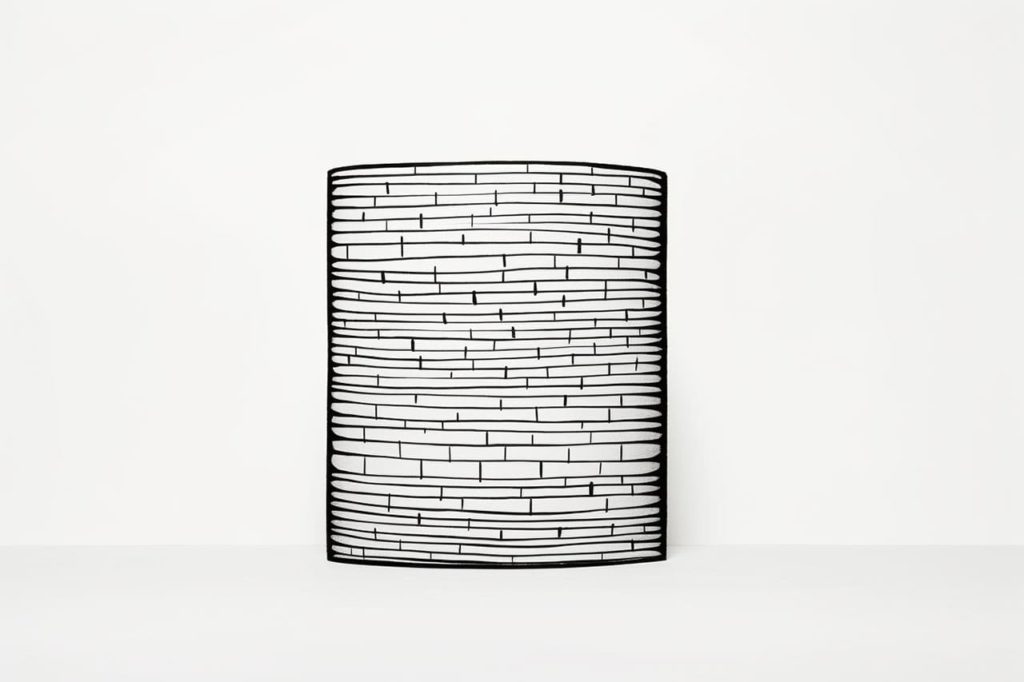
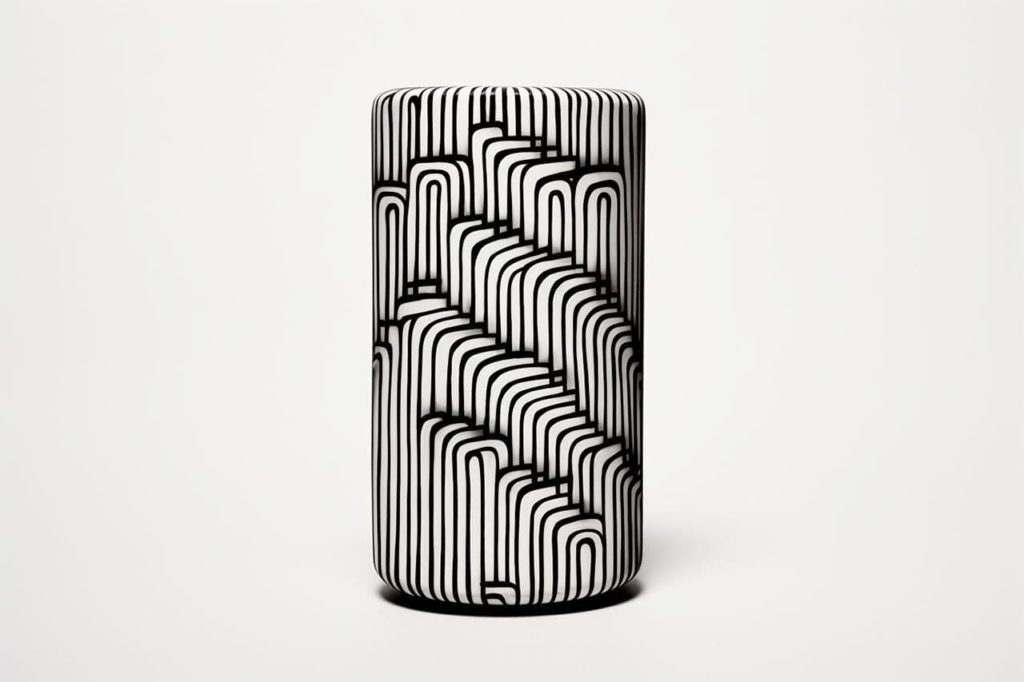
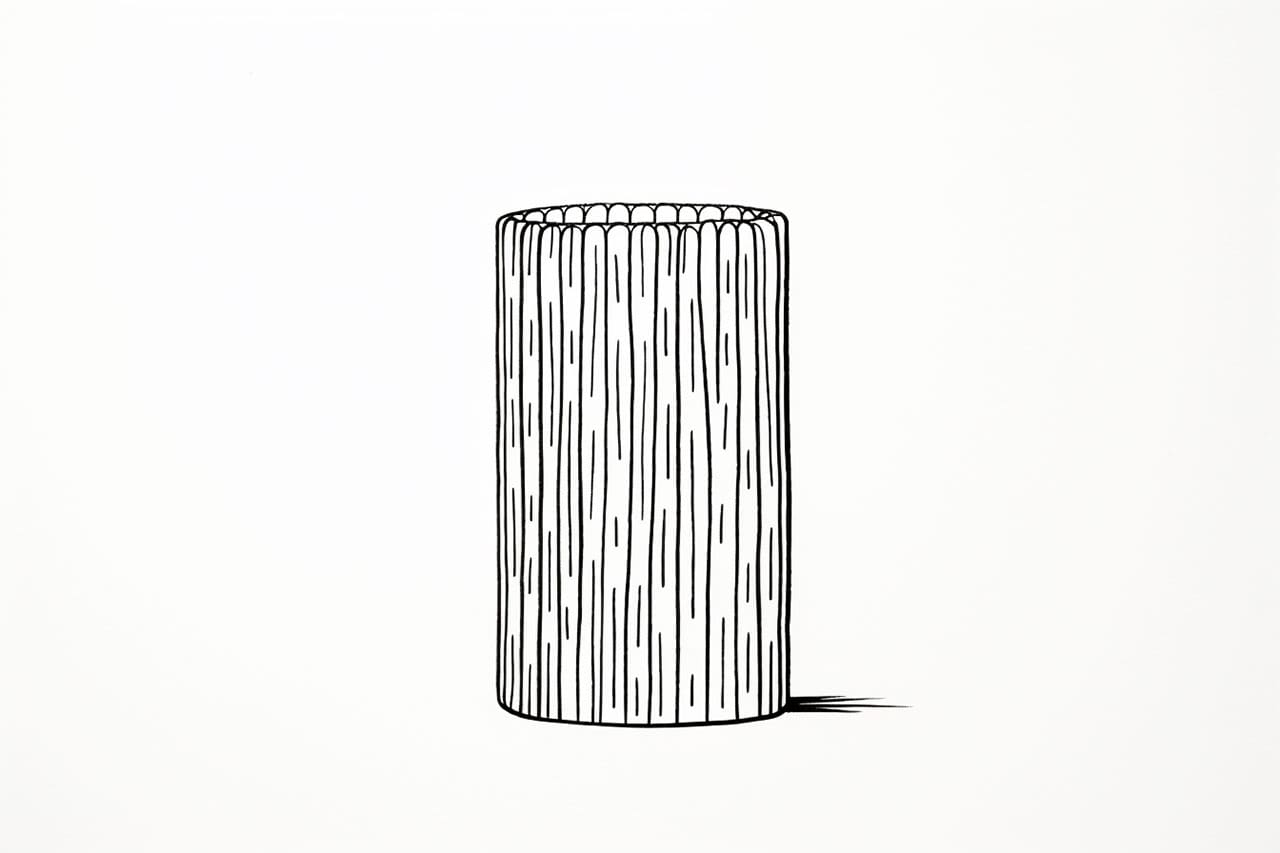
Gallery of Cylinder Drawings