Welcome to this step-by-step guide on how to draw a beautiful and realistic hill. Whether you are an aspiring artist or simply looking for a fun and relaxing activity, learning how to draw a hill can be a great way to express your creativity. In this tutorial, we will go through the process of creating a stunning landscape with rolling hills. So, grab your drawing materials and let’s get started!
Materials Required
Before we begin, make sure you have the following materials ready:
- Pencil: A medium or soft graphite pencil is ideal for creating shadows and texture.
- Eraser: A good quality eraser will come in handy for correcting any mistakes or lightening areas.
- Paper: Choose a smooth and heavyweight paper that can handle different drawing techniques.
- Drawing board: It’s recommended to work on a drawing board or a firm surface to prevent the paper from wrinkling.
Now that you have all your materials ready, let’s dive into the step-by-step instructions for drawing a hill.
Step 1: Sketch the Basic Outline
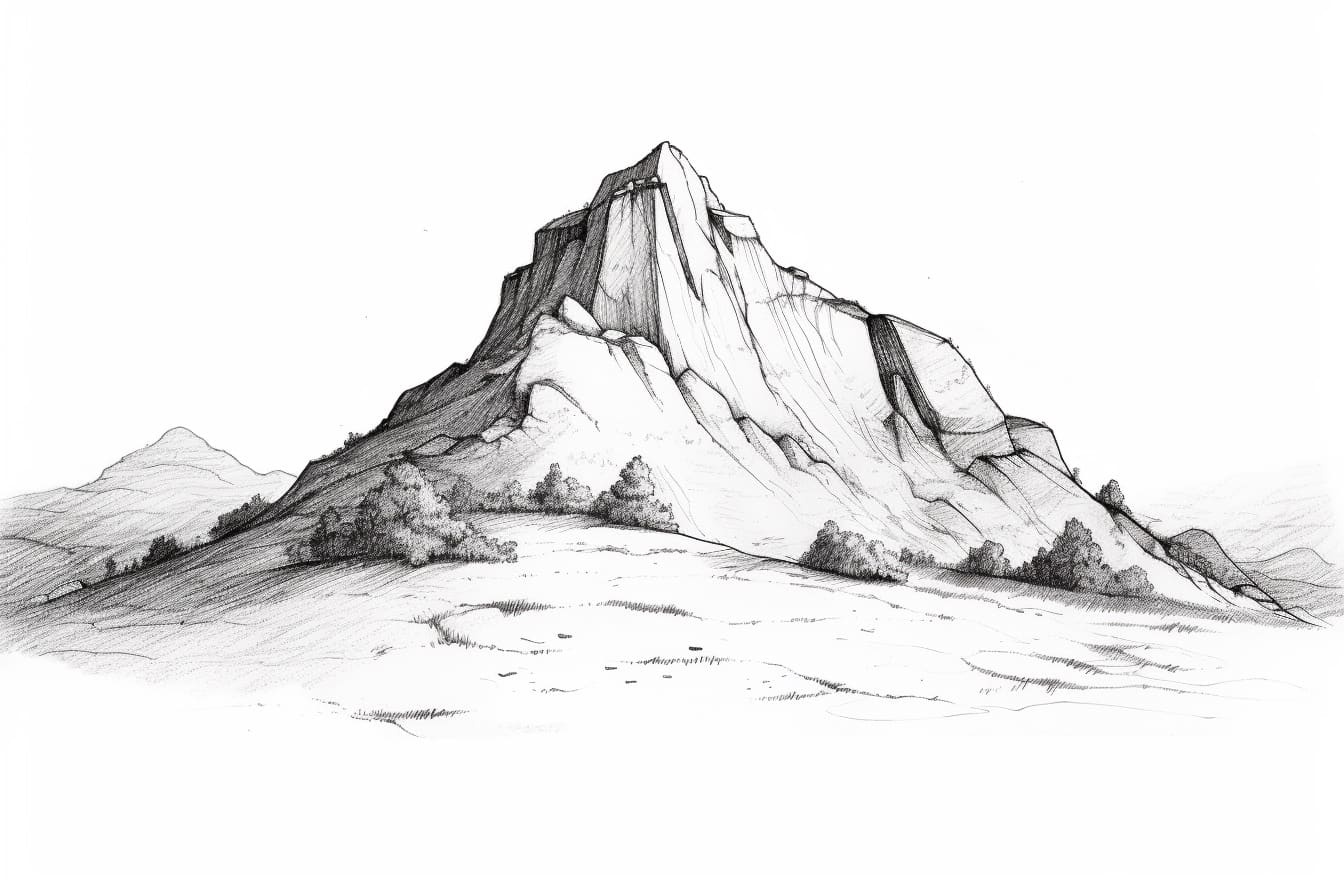
Start by lightly sketching the basic outline of the hill using your pencil. Think about the shape and size you want your hill to be. Keep your lines loose and free-flowing, as we will refine them later on.
Step 2: Add Contour Lines
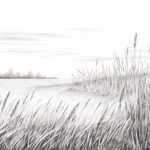
Next, add contour lines to define the shape and curves of the hill. Contour lines are simply lines that follow the natural curves of an object. Observe the reference image or imagine the way a hill would slope and add these lines accordingly. Vary the thickness and spacing of the lines for a more realistic effect.
Step 3: Add Texture
To create texture on the hill, use short, curved lines or hatching. These lines can follow the shape of the hill or be random, depending on the effect you want to achieve. Use your pencil to shade areas that are in shadow, creating depth and dimension. Remember to keep your strokes light and build up the shading gradually.
Step 4: Add Grass and Vegetation
Now, let’s add some grass and vegetation to make the hill come alive. Use short, flicking strokes with your pencil to create the illusion of grass. Vary the length and direction of the strokes to make it look more natural. You can also add small bushes or trees along the slope of the hill to add interest and depth.
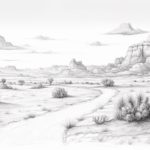
Step 5: Define the Horizon Line and Sky
To complete the landscape, define the horizon line where the sky meets the ground. This can be a straight line or slightly curved depending on the perspective you want to achieve. Use your pencil to shade the sky area lightly, leaving it mostly white to create a sense of brightness and space.
Step 6: Add Details and Finalize
Take a step back and assess your drawing. Add any additional details or adjustments to make the hill more realistic and visually appealing. This could include adding more texture, refining the grass, or enhancing the shading. Don’t forget to erase any unnecessary lines or smudges for a clean and polished finish.
Conclusion
Congratulations! You have successfully learned how to draw a hill. You can create stunning landscapes with rolling hills by following these step-by-step instructions and using your creativity. Practice regularly to improve your skills and experiment with different drawing techniques. Drawing landscapes can be a calming and enjoyable activity that allows you to bring your imagination to life. So, grab your pencil and paper, and let your artistic journey begin!