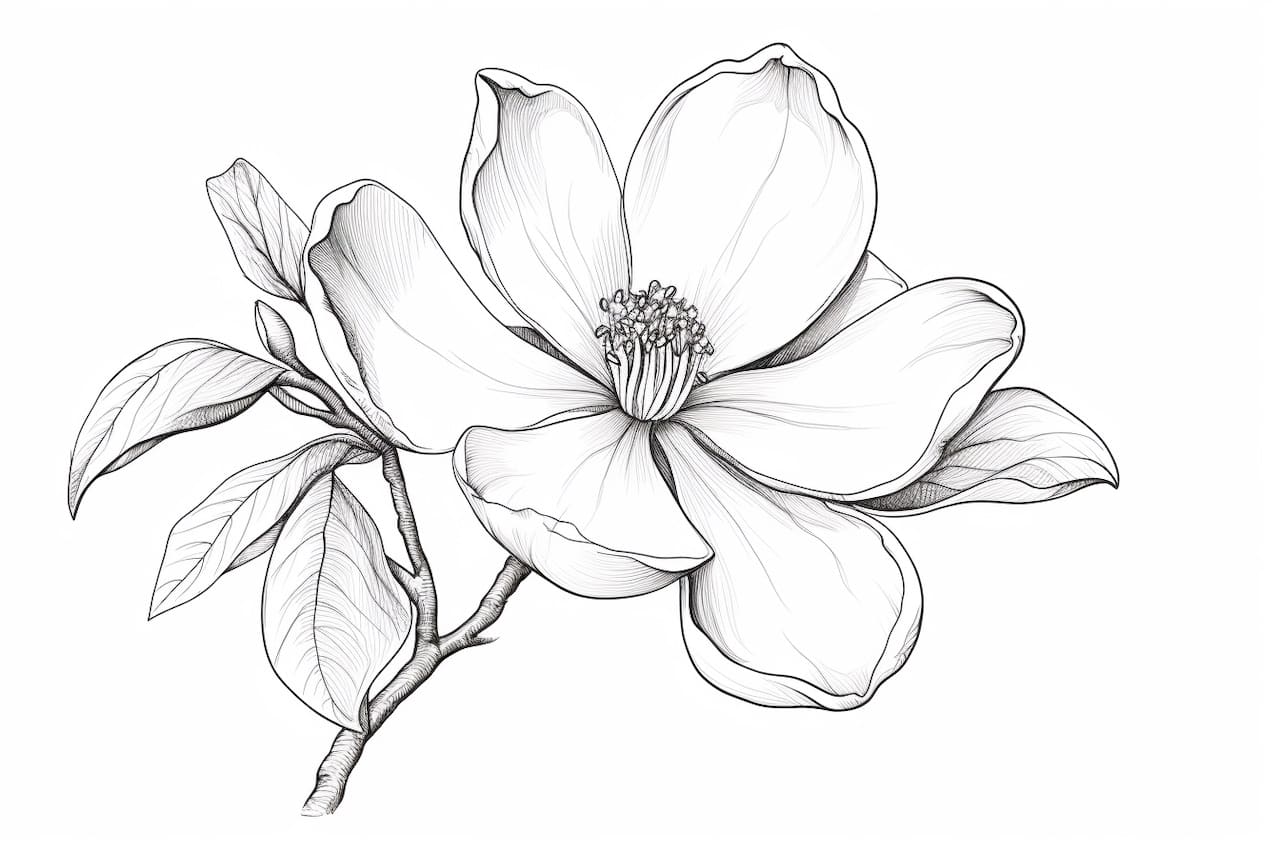
Welcome to this step-by-step guide on drawing a beautiful magnolia flower. In this tutorial, we will break down the process into easy-to-follow steps, enabling you to create a stunning representation of this elegant flower. Whether you are a beginner or an experienced artist, this guide will help you capture the essence of the magnolia in your artwork.
Materials Required
Before we begin, gather the following materials:
- Drawing paper or sketchbook
- Pencil (preferably a mechanical pencil for precise lines)
- Eraser
- Fine-tip markers or pens (optional for outlining)
- Colored pencils or markers (optional for adding color)
Now that you have the necessary materials, let’s get started on drawing a magnificent magnolia!
Step 1: Draw the Basic Outline
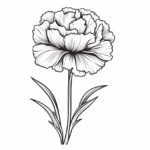
To begin, lightly sketch the basic shape of the magnolia flower using your pencil. Start by drawing a medium-sized oval for the center of the flower. Then, add two large, elongated teardrop shapes on either side of the oval to represent the petals.
Make sure to leave some space between the petals to give your flower a natural and realistic appearance. Take your time with this step, as it will serve as the foundation for your magnolia drawing.
Step 2: Add Petal Details
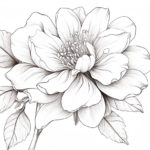
Now that we have the overall shape of the magnolia, let’s add some details to the petals. Magnolia petals are known for their beautiful curves and rounded ends. Begin by drawing curved lines along the edges of each petal, following the shape you sketched in the previous step.
Next, add smaller curved lines within each petal to give them texture and depth. Pay attention to how the petals overlap and intertwine, as this will create a more realistic representation of the flower.
Step 3: Draw the Center and Stamens
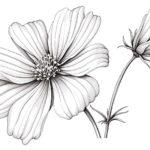
Moving on to the center of the magnolia, draw a small circle within the oval shape we initially sketched. This circle represents the pistil of the flower. From the pistil, extend several curved lines outward to form the stamens.
Magnolia stamens typically have a cone-like shape, with a small bulb at the top. Take your time to draw the stamens evenly around the pistil, paying attention to their placement and size.
Step 4: Refine the Petals
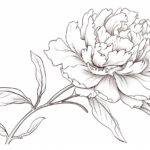
Now that we have the basic structure of the magnolia, it’s time to refine the petals and add more details. Start by erasing any unnecessary guidelines from the previous steps. Then, go over the petals with your pencil, enhancing the curves and contours.
Add subtle lines and shading to create a sense of depth and realism. Remember to vary the pressure of your pencil to achieve different values and textures. Take your time with this step, as it will greatly impact the final result.
Step 5: Outline the Drawing
After you are satisfied with the pencil sketch, you can choose to outline your drawing with a fine-tip marker or pen. This step is optional but can help emphasize the details and give your artwork a polished look.
Carefully trace over the pencil lines, taking care not to smudge the ink. You can choose to vary the thickness of the lines for added interest. Once you have outlined the entire drawing, let the ink dry completely before erasing any remaining pencil marks.
Step 6: Add Color (Optional)
If you wish to add color to your magnolia drawing, now is the time to do so. Using colored pencils or markers, carefully select shades that closely resemble the colors of a magnolia flower.
Start by lightly layering the base color on each petal, gradually building up the intensity. Pay attention to the subtle variations in color and shading that occur naturally within the flower. Add darker tones to the areas where shadows would fall, and lighter tones to highlight the petals.
Step 7: Final Touches
Once you have added color (or if you prefer to leave your drawing in black and white), it’s time for the final touches. Take a step back and assess your artwork. Are there any areas that could use additional shading or detail?
Use your pencil or colored pencils to refine any areas that need attention. Add subtle highlights, deepen shadows, and sharpen the overall details to bring your magnolia flower to life.
Conclusion
Congratulations on completing your magnolia flower drawing! By following these step-by-step instructions, you have learned how to create a beautiful representation of this elegant flower. Whether you choose to leave your artwork in black and white or add color, your magnolia drawing is sure to make a stunning addition to your portfolio.
Remember, practice is key when it comes to improving your artistic skills. Keep exploring different drawing techniques, experiment with various materials, and most importantly, enjoy the process of creating art. With time and dedication, you will continue to develop your own unique artistic style.
Happy drawing, and may your artistic journey be as beautiful as a blossoming magnolia!