Welcome to this step-by-step tutorial on how to draw a pillar! Whether you are an aspiring artist or just looking to improve your drawing skills, this guide will take you through the process of creating a realistic and detailed pillar on paper. So grab your pencils, erasers, and paper, and let’s get started!
Materials Required
Before we begin, gather the following materials:
- Drawing paper
- Pencils in various grades (HB, 2B, 4B, and 6B recommended)
- Erasers (kneaded and vinyl erasers)
- Ruler
- Blending stump or cotton swabs
Now that you have everything you need, let’s dive into the step-by-step process of drawing a pillar.
Step 1: Outline the Shape
Start by lightly sketching a vertical line on your paper to represent the central line of the pillar. This line will be your guide as you construct the shape of the pillar.
Next, draw a rectangle around the central line to create the base of the pillar. Make sure the sides of the rectangle are parallel to each other and the central line.
Step 2: Add Depth and Dimension
To create a three-dimensional appearance, it’s important to add depth and dimension to the pillar. Start by drawing vertical lines at regular intervals along the height of the pillar. These lines should be evenly spaced and parallel to the central line.
Next, sketch the top and bottom edges of the pillar, connecting the vertical lines. Make sure the lines converge slightly towards the top and bottom to create a sense of perspective.
Step 3: Refine the Shape
Now that you have the basic outline of the pillar, it’s time to refine the shape and add more details. Use your ruler to straighten any uneven lines and make the edges of the pillar crisp and clean.
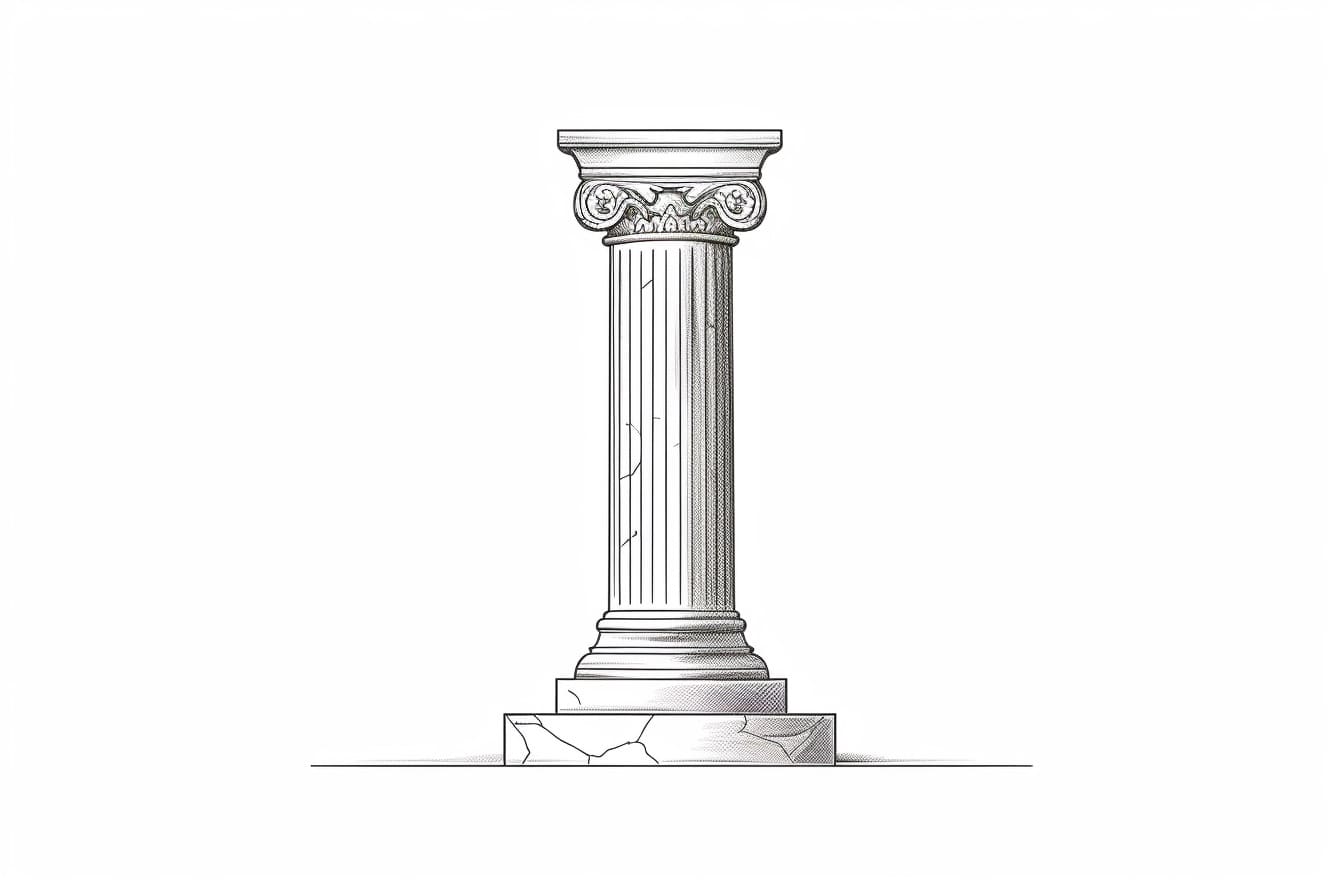
Next, draw the capital (top part) of the pillar. Depending on the style of the pillar you want to create, this could be Ionic, Corinthian, or Doric. Research the specific style you prefer and draw the appropriate capital.
Step 4: Add Texture and Details
To make the pillar look more realistic, it’s important to add texture and details. Start by lightly sketching horizontal lines across the entire surface of the pillar. These lines will represent the ridges and grooves found in the texture of stone.
Next, draw additional lines along the vertical lines to create a sense of depth and shadow. Shade these lines using a softer pencil grade, such as 4B or 6B, to create contrast and enhance the three-dimensional effect.
Step 5: Refine and Shade
Now it’s time to refine the details and add shading to give your pillar a realistic appearance. Use your erasers to lighten any areas that need highlighting, such as the edges and protruding parts of the pillar.
Next, use a blending stump or cotton swab to blend the shading and soften the transitions between light and dark areas. This will create a smoother and more polished look for your drawing.
Step 6: Finalize the Drawing
Take a step back and assess your drawing so far. Make any necessary adjustments and refine the details until you are satisfied with the result. Pay attention to the overall proportions, perspective, and lighting of the pillar.
Once you are happy with the drawing, darken the lines and shadows to create a finished look. Use a soft pencil grade, such as 4B or 6B, for the final touches.
Conclusion
Congratulations! You have successfully learned how to draw a pillar. By following these step-by-step instructions, you have created a realistic and detailed drawing of a pillar. Taking the time to practice and refine your drawing skills will only improve your artistic abilities further. So keep exploring and experimenting with different subjects and techniques. Happy drawing!