Welcome to this step-by-step guide on how to draw a bullet. Whether you are an aspiring artist looking to improve your drawing skills or simply want to learn a new skill, this tutorial will teach you how to create a realistic and detailed bullet drawing. By following these easy-to-follow instructions, you’ll be able to draw a bullet that looks impressively lifelike. So, let’s get started!
Materials Required:
Before we begin, gather the following materials:
- Pencil
- Eraser
- Paper
- Ruler
- Fine-tipped pen or marker (optional)
Step 1: Start with a Basic Shape
Begin by lightly sketching a long, narrow rectangle standing vertically on your paper. This will serve as the main body of the bullet. You can use a ruler to help you create straight and symmetrical lines.
Step 2: Add Details to the Bullet Body
To make the bullet look more three-dimensional, sketch a smaller rectangle on the top of the main body, leaving a small gap in between. This will represent the indentation at the tip of the bullet.
Step 3: Define the Bullet Tip
On the top of the bullet, draw a curved shape. Start from the base of the top rectangle and then gently curve upwards, gradually tapering to a point. This will form the tip of the bullet.
Step 4: Create the Bullet Casing
Below the main body of the bullet, draw a slightly larger rectangle that extends a little beyond the bottom edge of the bullet. This rectangle represents the casing of the bullet. Make sure it is aligned with the main body and equal in width.
Step 5: Add the Base of the Bullet
To complete the bullet shape, draw a rounded shape at the bottom of the bullet casing. This will represent the base of the bullet. Ensure that it is centered and proportionate to the rest of the drawing.
Step 6: Refine the Details
Take a closer look at your sketch and refine any rough edges or lines. Clean up any unnecessary marks and make sure the proportions of the different parts of the bullet are accurate. Erase any remaining construction lines.
Step 7: Shade the Bullet
To make the bullet drawing more realistic, add shading to create depth. Identify the light source and imagine where the shadows would fall. Start shading the areas that are furthest away from the light source, gradually building up the shading to create a smooth transition from light to dark.
Step 8: Add Highlights
Using an eraser, carefully lift off some of the graphite to create highlights on the bullet. These highlights will make the drawing appear more three-dimensional and reflective.
Step 9: Enhance the Details
To make the bullet drawing look more polished, you can go over the outline with a fine-tipped pen or marker. This will create a clean and defined look. Be careful not to overdo it and maintain a balance between the shaded areas and the outlined edges.
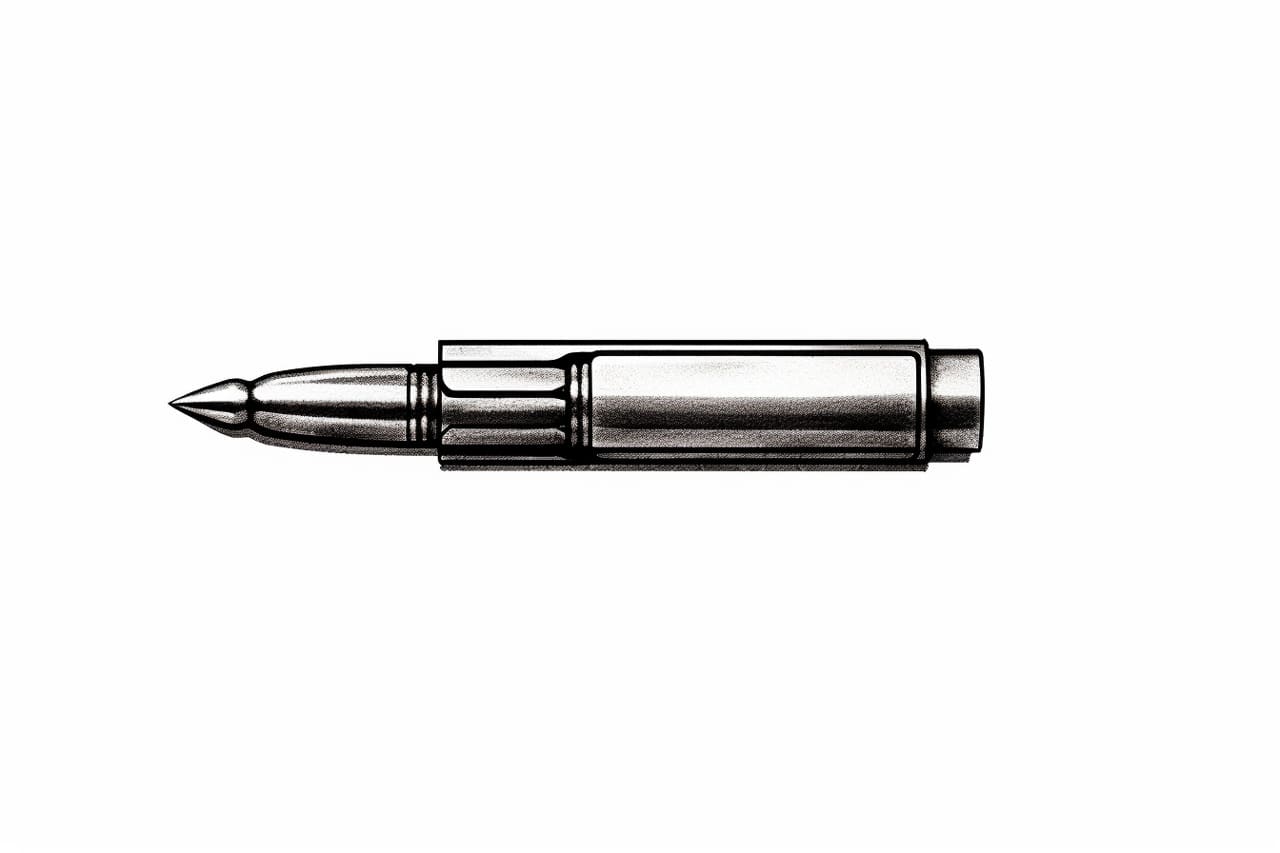
Conclusion
Congratulations! You have successfully drawn a realistic and detailed bullet. By following the step-by-step instructions in this tutorial, you have learned how to create a lifelike representation of a bullet. With your newfound drawing skills, you can now apply them to other subjects and continue to improve your artistic abilities. Keep practicing, and soon you’ll be amazed at your progress. Happy drawing!