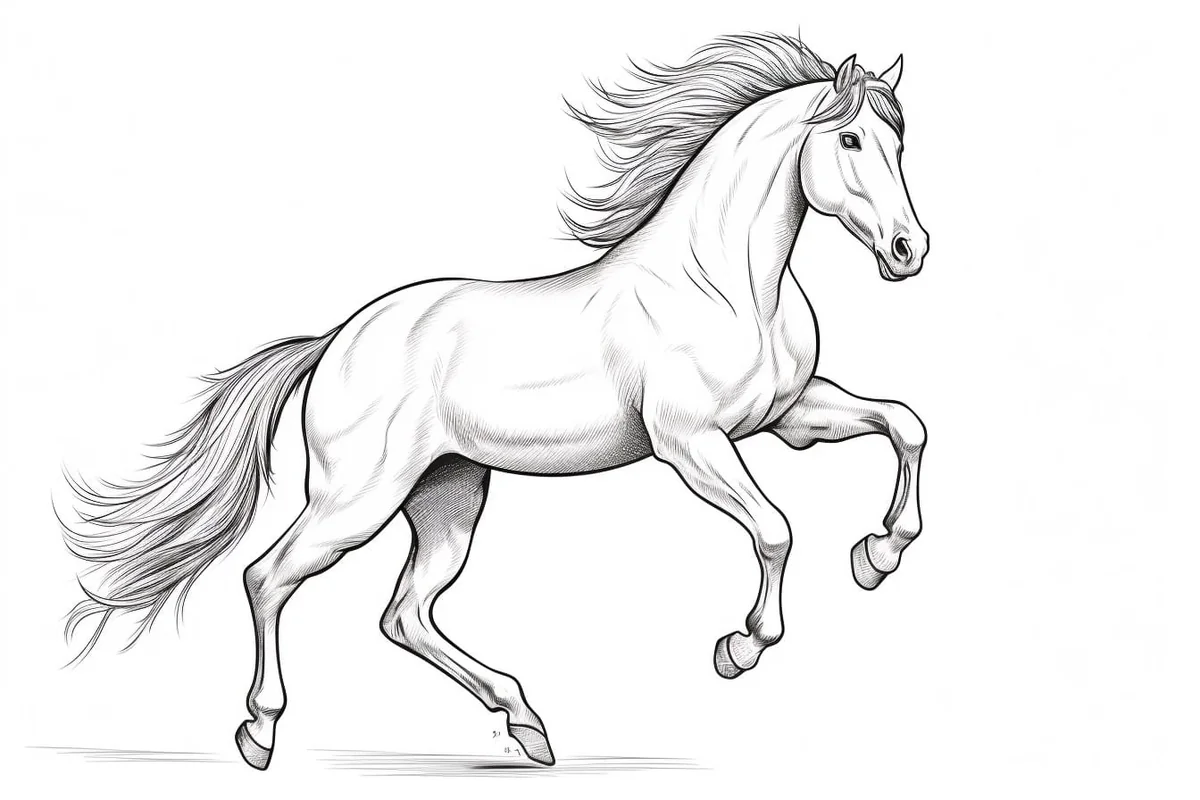
How to Draw a Mustang Horse in 6 Simple Steps
Learn how to draw with this step-by-step tutorial.
Materials You'll Need
- Drawing paper
- Pencil (HB or 2B)
- Eraser
- Blending stump
Welcome to our comprehensive guide on how to draw a Mustang horse! If you've ever been captivated by the beauty and strength of these magnificent animals, you're in the right place. This tutorial is designed to cater to all skill levels, whether you are an experienced artist seeking to refine your technique or a newbie eager to learn the basics of horse drawing.
In this step-by-step guide, you'll discover a systematic approach to capturing the essence of the Mustang. From the initial sketch to the final touches, each section is filled with clear instructions and helpful tips to ensure your drawing journey is both enjoyable and educational. The Mustang horse, with its powerful build and dynamic features, presents a wonderful opportunity to explore form, shading, and detail in your artwork.
So, gather your drawing supplies and prepare to embark on an artistic adventure. Together, we will unlock the secrets of illustrating this iconic breed, allowing you to translate the wild beauty of the Mustang onto paper. Let's dive in!
Materials Required
Before we begin, let's gather all the materials you'll need to complete this drawing:
-
A pencil: Use a graphite pencil with a medium or soft lead for sketching and shading. It's always a good idea to have an eraser handy as well.
-
Drawing paper: Choose a high-quality paper that is suitable for sketching and shading. The size is up to you, but a standard 8.5x11 inch or A4 paper should work well.
-
Reference image: Find a clear and detailed reference image of a Mustang horse to use as a visual guide throughout the drawing process.


Now that you have everything ready, let's move on to the steps!
Step 1: Basic Shapes
Start by lightly sketching the basic shapes that make up the body of the Mustang horse. Begin with an oval shape for the head, followed by a larger oval for the body. Connect these two ovals with a curved line to indicate the neck. Add a smaller oval shape for the hindquarters and connect it to the body with another curved line. Finally, draw guidelines for the legs and tail to establish proportions.
Step 2: Outline and Details
Using the basic shapes as a guide, start outlining the main features of the Mustang horse. Begin with the head, paying attention to the placement of the eyes, nostrils, and mouth. Then, carefully outline the neck, body, and hindquarters, following the curve of the initial shapes. Refine the legs, making sure to capture the elegant shape and musculature. Add the tail, flowing gracefully from the hindquarters.
Step 3: Facial Features
Focus on the details of the horse's face. Start by defining the shape of the eyes, giving them a gentle almond shape. Add the eyelids, making sure to leave a highlight in each eye for a realistic effect. Sketch the ears, taking note of their size and position. Then, draw the nostrils and the mouth, paying attention to the horse's unique structure. Finally, add a few simple lines to suggest the mane.
Step 4: Shading and Texture
Now it's time to add depth and dimension to your drawing by shading and adding texture. Start by identifying the light source in your reference image. This will determine where the highlights and shadows fall on the horse's body. Use your pencil to gradually build up layers of shading, starting with light strokes and gradually darkening as needed. Pay close attention to the contours of the horse's muscles and the texture of its coat.
Step 5: Refine and Add Details
Take a step back and assess your drawing so far. Look for any areas that need refinement or additional details. Make any necessary adjustments to the proportions, shape, or shading. Add more definition to the muscles, paying attention to the contours and curves. Take your time to capture the unique characteristics of the Mustang horse, such as its strong build and flowing mane.
Step 6: Final Touches
Now that you've completed the main features of the Mustang horse, it's time to add the finishing touches. Use your eraser to carefully lighten any guidelines or stray lines that are still visible. This will give your drawing a clean and polished look. Take a moment to evaluate the overall composition and make any final adjustments if needed. Congratulations, you've successfully drawn a Mustang horse!
Tip: To capture the unique anatomy of the Mustang horse, start with light, flowing lines to sketch the overall proportions before adding details. Focus on breaking down the horse into basic shapes: use ovals for the body and circles for the joints to help maintain proper anatomy. Pay close attention to the horse's distinctive muscular structure, particularly around the shoulders and hips—these areas are crucial for conveying strength and movement. Consider using a softer pencil, like a 2B or 4B, for shading to achieve a more natural look, and don't be afraid to blend with a blending stump or your finger to soften edges. Lastly, take frequent breaks to step back and assess your work from a distance; this will help you see any imbalances and make adjustments accordingly, ensuring your Mustang horse has both grace and power in its stance.
Conclusion
Drawing a Mustang horse may seem challenging, but with the right techniques and practice, you can create a beautiful representation of this majestic creature. Remember to take your time, observe the reference image closely, and pay attention to the details. By following the step-by-step instructions in this guide, you'll be able to capture the grace and power of the Mustang horse on paper. So grab your drawing materials and let your creativity soar!
Fun Facts About Mustang Horses
-
Mustangs are free-roaming horses of the American West, descended from horses brought to the Americas by Spanish explorers in the 16th century.
-
Although often called "wild," mustangs are technically feral horses, meaning they descended from once-domesticated horses that adapted to life in the wild.
-
The word "mustang" comes from the Spanish word mestengo, meaning "stray" or "ownerless."
-
Mustangs are incredibly hardy, able to survive in harsh desert, mountain, and prairie environments by finding sparse grasses, water holes, and shelter.
-
A mustang's size and shape can vary widely, but they are typically strong, compact, and agile, making them excellent survivors and stunning subjects for art.
-
Mustang herds are led by a dominant mare, who guides the group to food and water, while a stallion protects the herd from predators and rivals.
-
Mustangs have become powerful symbols of freedom, adventure, and the untamed spirit of the American West, often appearing in paintings, movies, and books.
-
The Bureau of Land Management (BLM) oversees mustang herds today, managing their populations to protect both the horses and their ecosystems.
-
Mustangs often form strong family bonds, staying with their herd for life and communicating through body language, whinnies, and nickers.
-
The beauty, endurance, and independent spirit of the mustang have made it an enduring icon of American culture and storytelling.
Suggestions for Scenes and Settings for Mustang Horse Drawings
-
Running Free Across the Plains: Draw a mustang galloping across a wide-open prairie, dust rising behind it and the horizon stretching forever.
-
Sunset Mustang Silhouette: Illustrate a lone mustang standing on a hill at sunset, its mane blowing in the wind and the sky ablaze with color.
-
Mustang Herd Charge: Picture a small herd of mustangs thundering toward the viewer, muscles flexing and hooves kicking up dust clouds.
-
Mountain Mustang Trail: Show a mustang climbing a rocky mountain path, with jagged peaks and swirling mist in the background.
-
Waterhole Gathering: Create a peaceful scene of mustangs drinking at a small, reflective waterhole, surrounded by sagebrush and golden grasses.
-
Desert Escape: Draw a mustang running across sandy terrain, cacti and desert flowers scattered in the distance under a bright blue sky.
-
Stormy Sky Sprint: Imagine a mustang racing ahead of a looming storm, dark clouds and lightning making the wild run even more dramatic.
-
Gentle Mustang Moment: Depict a mustang standing quietly in a grassy meadow, maybe nuzzling a foal or another horse in the herd.
-
Spirit of the West Fantasy: For a magical twist, add glowing elements—like a mane of fire or starry dust trailing behind the galloping mustang.
-
Historical Mustang Scene: Create an old-world setting with Native American riders or early pioneers observing mustangs as symbols of nature's wild spirit.


