Welcome to this step-by-step tutorial on how to draw a caveman. In this guide, we will break down the process of drawing a caveman into simple and easy-to-follow steps. By the end of this tutorial, you will have a fantastic drawing of a caveman to show off to your friends and family. So, let’s get started!
Materials Required
Before we begin, let’s gather the materials you’ll need for this drawing:
- Paper: You can use any type of paper, but a regular sketchpad or drawing paper works best.
- Pencil: A graphite pencil of 2B or 4B is recommended for sketching the initial outlines.
- Eraser: A kneaded eraser or a regular rubber eraser will be handy for correcting any mistakes.
- Colored pencils or markers (optional): If you want to add some color to your drawing, you can use colored pencils or markers.
Now that you have all the materials ready, let’s move on to the steps to draw a caveman.
Step 1: Basic Outline
Start by drawing a circle for the caveman’s head. This circle will serve as a framework for the rest of the drawing. Next, draw a slightly curved line below the circle for the caveman’s body. Remember, cavemen were often portrayed with a strong and robust physique, so make the body slightly wider and muscular.
Step 2: Facial Features
Now, let’s work on the facial features of the caveman. Draw two small circles within the head circle for the eyes. Place them slightly apart to give the caveman a more human-like appearance. Below the eyes, draw a small curved line for the caveman’s nose. Add a slightly curved line beneath the nose for the mouth. Keep the mouth open to give the caveman a primal expression.
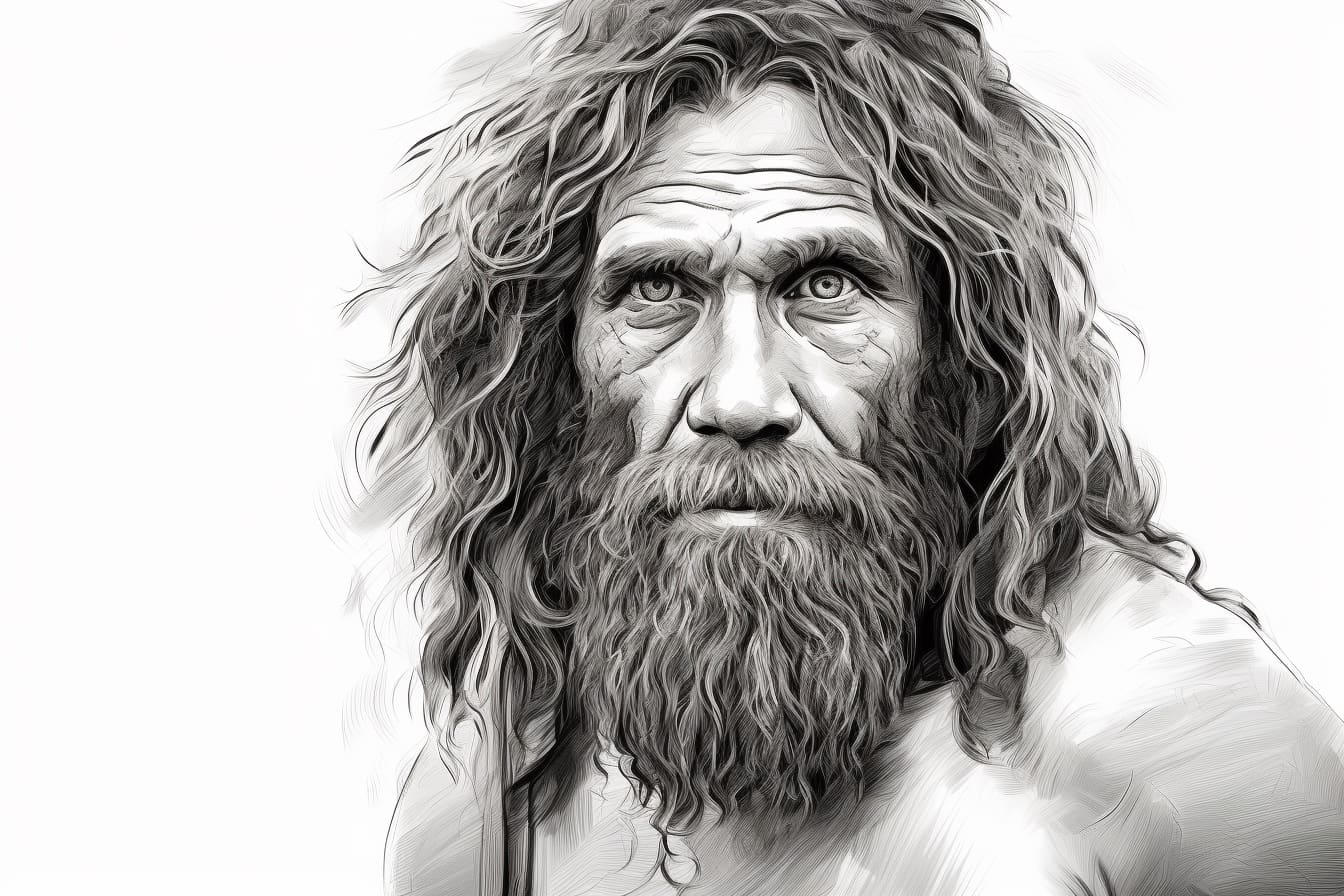
Step 3: Hair and Beard
Cavemen are often depicted with long, unkempt hair and beards. To draw the hair, add a series of short, spiky lines around the head circle. Make sure the hair extends beyond the head to give it a wild look. For the beard, draw a few vertical lines below the mouth, extending them downward to resemble a beard.
Step 4: Torso and Limbs
Let’s continue working on the caveman’s body. Add two lines extending from the body’s sides to create the arms. For the hands, draw circles at the ends of each arm. Remember, cavemen didn’t wear clothes, so keep the arms and hands exposed. Next, draw two lines extending from the bottom of the body for the legs. At the end of each leg, draw circles for the feet.
Step 5: Clothing and Accessories
Although cavemen are often portrayed without clothes, you can add some simple clothes and accessories to give your drawing a unique touch. For example, you can draw a simple loincloth or a necklace made of bones. Be creative and add any other details you think will enhance your caveman’s appearance.
Step 6: Refine the Drawing
Now that you have the basic outline, it’s time to refine the details of your caveman drawing. Go over the pencil lines with a darker pencil or pen to make them more defined. Add more details to the facial features, such as eyebrows, wrinkles, or scars, to give your caveman a more realistic and rugged look. Don’t forget to erase any unnecessary guide lines.
Step 7: Coloring (Optional)
If you want to add some color to your drawing, now is the time! Use colored pencils or markers to bring your caveman to life. Experiment with different colors and shading techniques to create depth and dimension. You can use earthy tones for the skin, such as browns or pale yellows, and add vibrant colors for the hair or any accessories your caveman is wearing.
Conclusion
Congratulations! You have successfully completed this tutorial on how to draw a caveman. By following these step-by-step instructions, you have created a beautiful and unique drawing of a caveman. Feel free to continue practicing and adding your personal touch to enhance your drawing skills. Remember, drawing is all about creativity and self-expression. Have fun and enjoy the process!