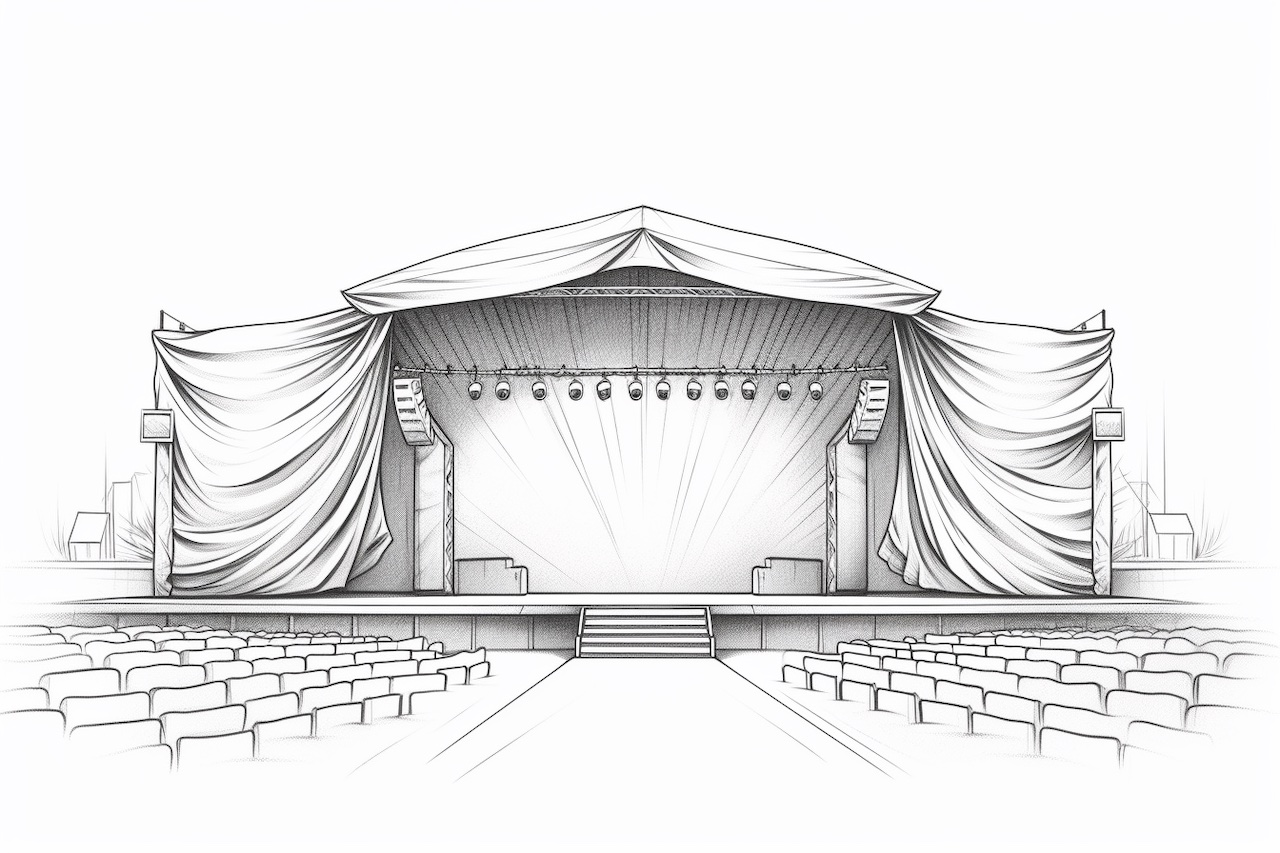
Welcome to this step-by-step guide on how to draw a stage! Whether you’re an aspiring artist or just looking to have some fun with drawing, learning how to create a stage can be a great way to explore perspective, symmetry, and depth. In this article, we will break down the process into easy-to-follow steps, so grab your drawing materials and let’s begin!
Materials Required
Before we dive into the drawing process, let’s make sure you have all the necessary materials on hand:
- Drawing paper: Choose a high-quality paper that is suitable for the medium you’ll be using. It should have enough thickness to withstand multiple layers of ink or pencil.
- Pencils: A range of graphite pencils will be useful for sketching and adding details. Consider using pencils of different hardness, such as HB, 2B, 4B, and 6B, to achieve a variety of tones.
- Eraser: Have a good eraser ready for correcting mistakes and refining your drawing.
- Ruler: A ruler will help you create straight lines and maintain proper perspective.
- Compass: Depending on the design of your stage, you may need a compass for drawing circular shapes.
- Fine-tip pens: Ink pens with different line weights, such as 0.3mm, 0.5mm, and 0.8mm, will come in handy for outlining and adding details.
Now that you have all the necessary materials, let’s move on to the step-by-step process of drawing a stage.
Step 1: Sketch the Basic Shapes
Begin by lightly sketching the basic shapes that will form the foundation of your stage. Start with a horizontal line near the bottom of the page to represent the floor. Then, draw two vertical lines on the sides to establish the sides of the stage. These lines should be parallel and evenly spaced. You can use a ruler to ensure precision. Finally, add a horizontal line above the floor line to create the stage’s back wall.
Step 2: Add Depth and Perspective
To add depth and perspective to your stage, we need to create a vanishing point, which represents the viewer’s eye level. Decide on a point on the horizon and draw a dot or a small “x” there. This will be your vanishing point. Draw diagonal lines from each corner of the stage floor to the vanishing point. These lines will converge and create the illusion of depth.
Step 3: Define the Stage Elements
Now that you have the foundation and perspective in place, it’s time to define the various elements of the stage. Draw two diagonal lines from the top corners of the stage to the vanishing point. These lines will help you determine the height of the stage’s backdrop. Extend the vertical lines on the sides of the stage to create the side walls.
Step 4: Add Details to the Backdrop
The backdrop is an essential element of any stage. To make it more interesting, add some details. You can draw curtains, windows, or any other architectural elements that fit the style you’re going for. Remember to use the vanishing point as a guide to maintain proper perspective.
Step 5: Sketch the Stage Floor
The stage floor can be as simple or as complex as you like. For a basic design, draw a few lines to represent wooden panels or tiles. You can also experiment with different patterns or textures to make it more visually appealing. Use the vanishing point to ensure that the lines follow the perspective established earlier.
Step 6: Add Props and Accessories
To bring your stage to life, add props and accessories that suit your artistic vision. These could include curtains, furniture, lighting fixtures, or any decorative elements that enhance the atmosphere of your stage. Remember to consider perspective and scale to create a realistic composition.
Step 7: Refine and Add Details
Now that the main elements of the stage are in place, it’s time to refine your drawing and add finer details. Use a sharper pencil or fine-tip pens to define the outlines and enhance the textures of the various elements. You can also add shading and highlighting to create depth and dimension.
Conclusion
Congratulations, you’ve successfully learned how to draw a stage! By following these step-by-step instructions, you have explored the fundamentals of perspective, symmetry, and depth. Remember that drawing is a skill that improves with practice, so don’t be afraid to experiment and be creative with your designs. Now go grab your materials and start creating captivating stages in your artwork!


