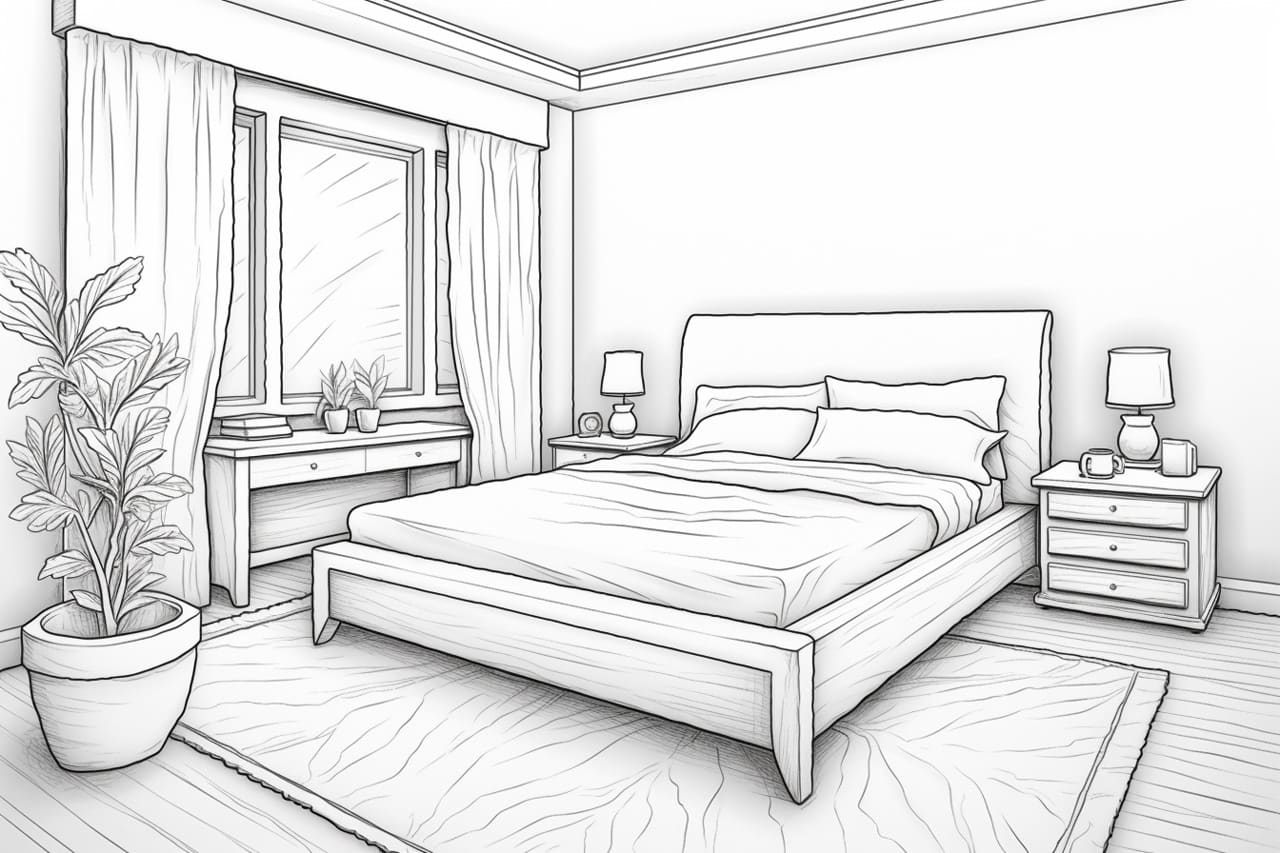
Welcome to this step-by-step guide on how to draw a bedroom. Whether you are an aspiring artist or simply looking to enhance your drawing skills, this tutorial will provide you with the guidance needed to create a realistic and inviting bedroom scene on paper. So let’s grab our pencils, pens, and paper, and get started!
Materials Required
To begin with, gather the following materials:
- Drawing paper: Ensure that the paper is of good quality and suitable for the drawing medium you plan to use.
- Pencils: Have a range of graphite pencils with different hardness (e.g., 2H, HB, 2B, 4B) to achieve varying shades and textures.
- Erasers: Keep a soft eraser for light corrections and a kneaded eraser for more extensive adjustments.
- Ruler: Use a ruler to create straight lines and maintain symmetry in your drawing.
- Pens: If you prefer using ink pens, have a range of thicknesses available to add detail and definition.
- Optional materials: Colored pencils or markers can be used to add color to your drawing if desired.
With all your materials in place, let’s move on to the next steps!
Step 1: Outline the Room
Start by lightly sketching the basic outline of the room using a pencil. Decide on the perspective and size of your bedroom. Use the ruler to draw straight lines for the walls and any architectural elements such as windows or doors. Remember to consider vanishing points if you want to create a sense of depth in your drawing.
Step 2: Add Furniture
Next, draw the main furniture pieces in the bedroom. Begin with larger items like the bed, wardrobe, or dresser. Use simple shapes to outline each piece and consider their placement within the room. Pay attention to proportions and perspective to ensure a realistic representation.
Step 3: Sketch Details
Now it’s time to add more detail to your bedroom. Start by drawing smaller items such as bedside tables, lamps, or decorations. Take your time to capture the shape, texture, and any intricate features of these objects. Use lighter pencil strokes for a more realistic look, adding depth and shading to create a three-dimensional feel.
Step 4: Define Lighting and Shadows
Proper lighting and shadows can greatly enhance the realism of your drawing. Observe the direction of light sources within the room and sketch the highlights and shadows accordingly. Pay attention to how shadows interact with objects and surfaces to create depth and dimension.
Step 5: Texture and Patterns
In this step, focus on adding texture and patterns to your bedroom. Whether it’s the wood grain on the furniture or the fabric patterns on the curtains or bedspread, carefully observe and recreate these details in your drawing. Use different shading techniques to depict the various textures realistically.
Step 6: Refine and Add Final Details
Now that the basic structure of your bedroom is complete, it’s time to refine and add the final touches. Take a step back and assess your drawing as a whole. Make any necessary adjustments to proportions, lines, or shading. Add any additional elements such as wall art, rugs, or plants to further enhance the ambiance of the room.
Conclusion
Congratulations! You have successfully learned how to draw a bedroom. By following these step-by-step instructions and paying attention to details, you can create a realistic and inviting bedroom scene. Remember to practice regularly to improve your drawing skills and don’t be afraid to experiment with different styles and techniques.
So, grab your drawing materials and start creating your very own bedroom masterpiece. Happy drawing!

