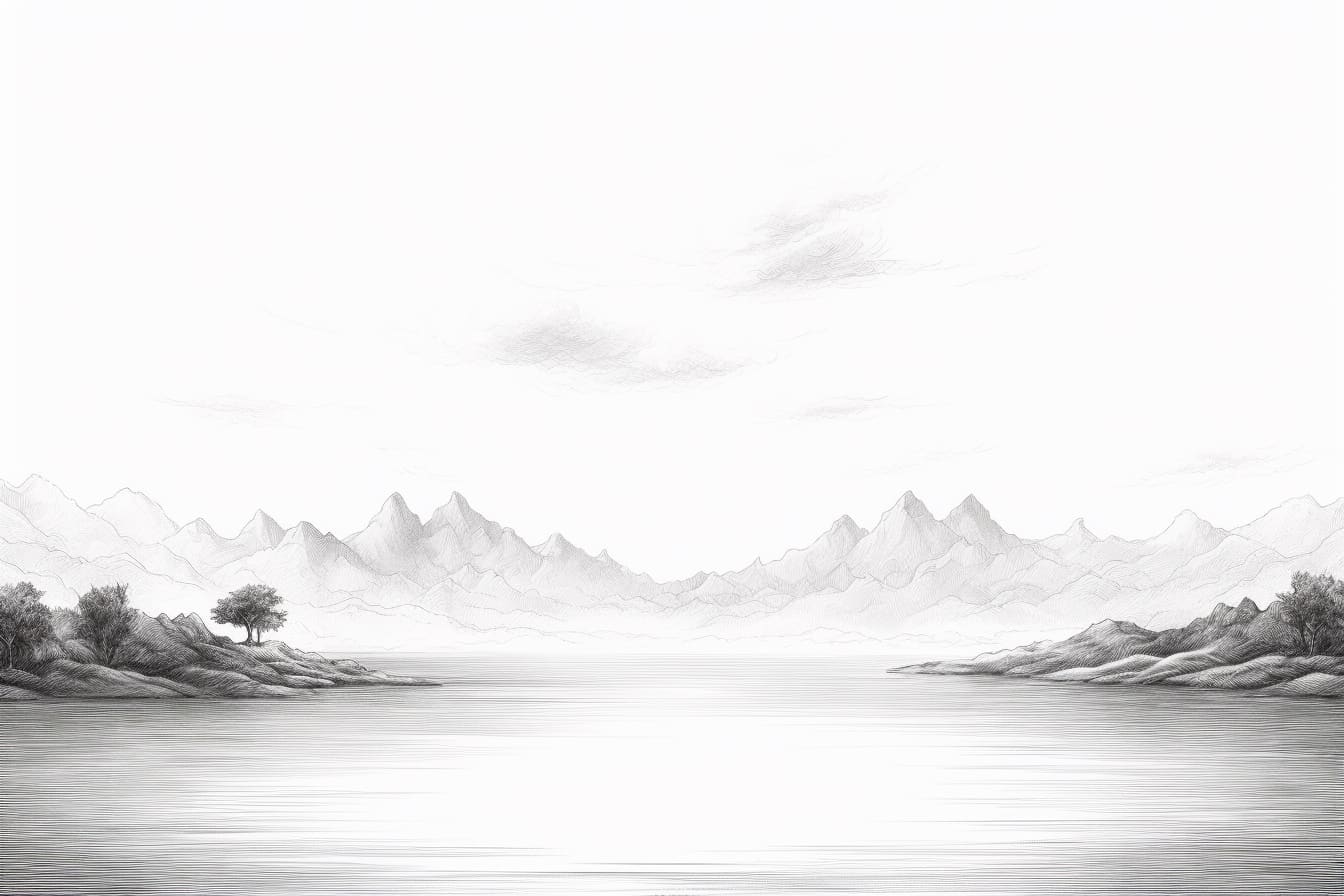
In this step-by-step guide, we will explore the art of how to draw a horizon. Whether you are a beginner or an experienced artist, mastering the technique of drawing a horizon can greatly enhance the depth and realism of your landscapes. In this tutorial, we will break down the process into simple steps, helping you to create a stunning horizon in no time. So, grab your drawing materials, and let’s get started!
Materials Required
Before we dive into the steps, let’s gather the materials you will need:
- Drawing paper or sketchbook
- Pencil (preferably HB or B)
- Eraser
- Ruler
- Optional: Colored pencils or paints for adding color to your horizon
Now that we have our materials ready, let’s begin drawing the horizon.
Step 1: Start with a Clean Sheet of Paper
Begin by preparing your drawing surface. Make sure your paper is clean and free from any smudges or marks. If necessary, use an eraser to remove any unwanted guidelines or sketches.
Step 2: Position Your Horizon Line
The horizon line defines the viewer’s eye level and determines the perspective of your landscape. Use your ruler to draw a straight line across the paper at your desired height. This line will separate the sky from the ground.
Step 3: Determine the Vanishing Point
The vanishing point is the point on the horizon where parallel lines appear to converge. It helps create the illusion of depth in your drawing. Choose a spot on your horizon line and mark it as your vanishing point.
Step 4: Add Guidelines
To create a more realistic drawing, add horizontal guidelines extending from the vanishing point. These guidelines will help you position objects in your landscape accurately. Use your ruler to draw these lines, making them extend as far as you need.
Step 5: Sketch the Foreground
Start sketching the foreground elements of your landscape. These can be trees, rocks, or any other objects that appear close to the viewer. Use light, loose lines to outline their basic shapes, keeping in mind the perspective defined by the vanishing point.
Step 6: Depict Middle Ground Elements
Move on to the middle ground, which includes objects that are farther away but still closer to the viewer than the background. Use slightly lighter and less detailed lines to sketch their shapes. Remember to consider the perspective established by the vanishing point.
Step 7: Draw the Background
Now it’s time to draw the background elements of your landscape, such as mountains, hills, or distant trees. These objects will appear smaller and less detailed than those in the foreground and middle ground. Use faint lines to draw their outlines, maintaining the perspective established by the vanishing point.
Step 8: Refine Your Drawing
Take a step back and assess your drawing so far. Make any necessary adjustments or additions to enhance the overall composition. Pay attention to the proportions, perspective, and details of the elements in your landscape.
Step 9: Add Texture and Detail
To make your horizon more visually appealing, add texture and detail to your landscape. Use your pencil to carefully shade and add depth to different areas, such as the foliage on trees or the texture of rocks. This will add dimension and bring your drawing to life.
Step 10: Optional – Add Color
If you prefer a colored horizon, you can use colored pencils or paints to add vibrancy to your drawing. Take your time and carefully apply the colors, paying attention to the light source and how it affects the various elements in your landscape.
Conclusion
Congratulations! You have successfully learned how to draw a horizon. By following these steps and practicing regularly, you will continue to improve your artistic skills and create breathtaking landscapes. Remember, the key is to pay attention to perspective, proportions, and adding details to bring your drawing to life. So grab your pencils, go out into the world, and capture the beauty of the horizon on paper.


