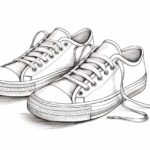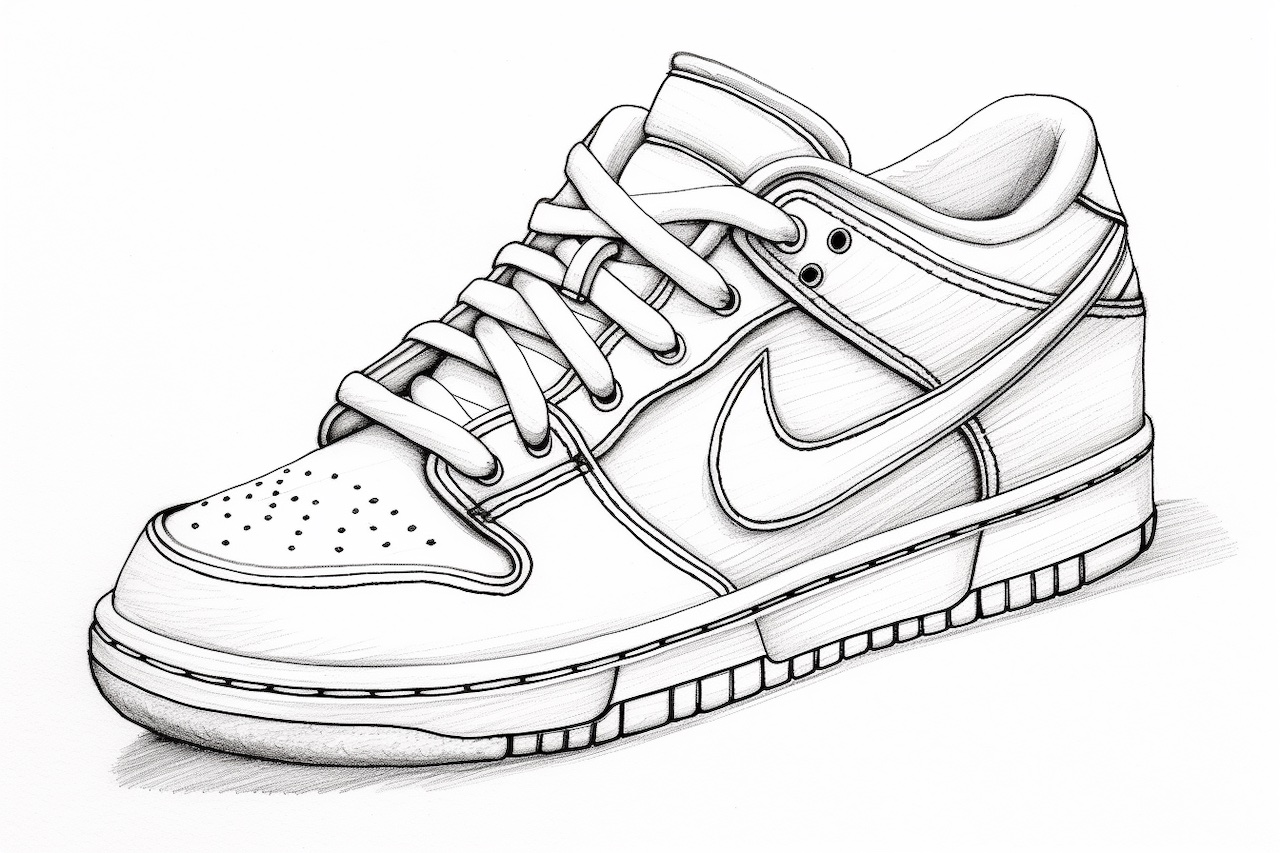
Welcome to this step-by-step guide on how to draw a Nike shoe. Whether you are an aspiring artist or just looking for a fun drawing project, this tutorial will help you create a detailed and realistic representation of a Nike shoe. Nike is known for its iconic footwear designs, and mastering the art of drawing a Nike shoe will not only allow you to showcase your artistic skills but also provide a great opportunity to explore different textures and shapes. So, let’s get started!
Materials Required
Before we dive into the steps, let’s make sure you have all the necessary materials to complete this drawing. Here’s a list of what you’ll need:
- Drawing paper
- Pencil
- Eraser
- Fine-tip black marker or pen
- Colored pencils or markers (optional)
Now that you have all your materials ready, let’s start creating your Nike shoe masterpiece!
Step 1: Outline the Shoe Shape
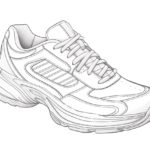
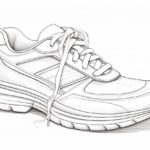
Start by lightly sketching a rough outline of the Nike shoe using your pencil. Begin with a basic shape that represents the overall structure of the shoe. Pay attention to the proportions and curves, as they are important to capture the unique design of the Nike shoe. Take your time with this step and make any necessary adjustments until you are satisfied with the shape.
Step 2: Add Details to the Shoe
Now that you have the basic shape, it’s time to add more details to your drawing. Look closely at the reference image of the Nike shoe you are drawing and notice the smaller elements that make up the design. These can include things like laces, stitching, logos, and any other distinctive features. Use your pencil to lightly sketch these details, ensuring accuracy and proportion.
Step 3: Refine the Outline
Once you have added the details, go over the outline of the shoe with your pencil, making it more defined and crisp. This step is crucial to give your drawing a polished and professional look. Pay close attention to the curves and edges of the shoe, making sure they are smooth and accurate. Erase any unnecessary lines or stray marks as you go along.
Step 4: Ink the Final Outline
Now that you are satisfied with the outline, it’s time to go over it with a fine-tip black marker or pen. This will give your drawing a bold and finished appearance. Be careful and deliberate with your lines, tracing over the pencil outline carefully. Take your time and work patiently to ensure clean and smooth lines. Once you have inked the entire outline, let it dry completely before moving on to the next step.
Step 5: Shade and Add Texture
To make your Nike shoe drawing more realistic, it’s time to add shading and texture. Start by identifying the areas of the shoe that are in shadow and use your pencil or colored pencils to add shading. Pay attention to the light source and create gradual transitions from light to dark. Use light, feathered strokes to mimic the texture of the shoe’s material, whether it’s leather, fabric, or something else. Study the reference image and observe how the light falls on different parts of the shoe to achieve a convincing result.
Step 6: Enhance the Details
Once you have shaded the shoe, it’s time to enhance the details to make them pop. Use your fine-tip black marker or pen to go over the previously sketched details, such as the stitching, logos, and any other elements that need to stand out. This will make them more defined and prominent in your drawing. Take your time and work patiently to ensure precision and clarity.
Step 7: Add Color (optional)
If you prefer a colored drawing, feel free to add color to your Nike shoe. Use colored pencils or markers to carefully add hue and saturation to different areas of the shoe. Refer to the reference image to match the colors accurately or get creative and add your own personal touch. Experiment with different color combinations to make your Nike shoe drawing unique and eye-catching.
Conclusion
Congratulations! You have successfully learned how to draw a Nike shoe. By following these step-by-step instructions, you have created a detailed and realistic representation of this iconic footwear. Remember to take your time and practice regularly to improve your drawing skills. With dedication and patience, you will continue to develop your artistic abilities. So go ahead and showcase your artwork with pride! Thank you for joining us in this creative journey of drawing a Nike shoe.