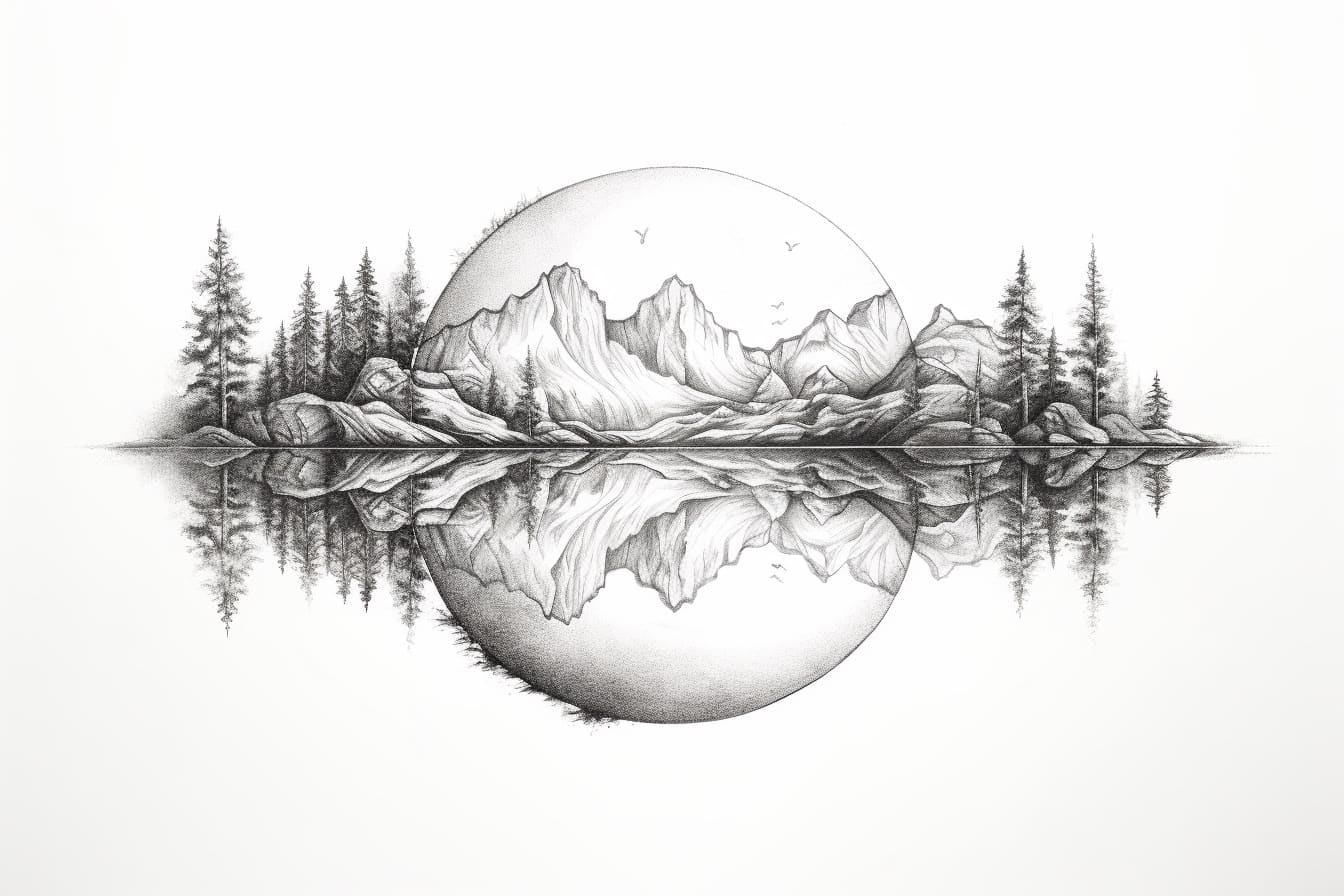
Drawing a reflection can add a touch of realism and depth to your artwork. Whether you’re drawing a still life, a landscape, or a portrait, mastering the art of creating reflections will take your drawing skills to the next level. In this step-by-step guide, we will explore the process of how to draw a reflection and provide you with the tips and techniques you need to create stunning and lifelike reflections in your drawings.
Materials Required
Before we dive into the process of drawing reflections, let’s gather the necessary materials:
- Drawing paper
- Pencil set (ranging from light to dark)
- Eraser
- Blending tools (such as a blending stump or cotton swabs)
- Reference image (optional but recommended)
Now that we have our materials ready, let’s begin!
Step 1: Observe and Plan
To create a realistic reflection, start by carefully observing the subject and its surroundings. Consider the source of light, the objects reflecting on the surface, and the shape and position of the reflection itself. Planning and understanding these details will help you execute the drawing with precision and accuracy.
Step 2: Sketch the Basic Shapes
Using a light pencil, lightly sketch the basic shapes of the subject and its reflection. Focus on the main outlines and contours, ensuring that the reflection aligns accurately with the subject. Remember to keep the lines light and faint, as they will be refined and adjusted in later steps.
Step 3: Establish Light and Shadow
Identify the light source and determine the areas of light and shadow in both the subject and its reflection. Use a darker pencil to shade the areas of shadow, gradually building up the tonal values. Pay close attention to the direction and intensity of the light, as this will greatly impact the appearance of the reflection.
Step 4: Refine the Details
Once you have established the overall light and shadow, focus on refining the details. Gradually darken the lines and contours, adding depth and dimension to both the subject and its reflection. Take your time and work patiently, paying attention to the subtle nuances that make the reflection appear realistic.
Step 5: Blend and Smooth
To achieve a seamless transition between the subject and its reflection, use blending tools like a blending stump or cotton swabs. Use light, circular motions to blend the tones and create a soft, smooth transition. Remember to blend both the subject and its reflection, ensuring that they appear unified and connected.
Step 6: Add Reflection Effects
To enhance the realism of the reflection, consider adding additional effects such as ripples, distortions, or water droplets. These subtle details can elevate your drawing and create a more convincing illusion of a reflection. Use a light touch and build up the effects gradually, ensuring that they complement the overall composition.
Step 7: Finalize and Evaluate
Take a step back and evaluate your drawing as a whole. Compare the subject and its reflection, ensuring that they are visually coherent and aligned. Make any necessary adjustments to the tonal values, details, or proportions. Once you are satisfied with the result, finalize the drawing by darkening the lines and adding any finishing touches.
Conclusion
Drawing reflections can be a challenging yet rewarding endeavor. By carefully observing and understanding the interplay of light and shadow, you can create lifelike reflections that bring your drawings to life. Remember to start with a plan, refine the details, blend the tones, and add appropriate effects to achieve a realistic reflection. With practice and patience, you will enhance your drawing skills and create stunning artworks that capture the beauty of reflection.


