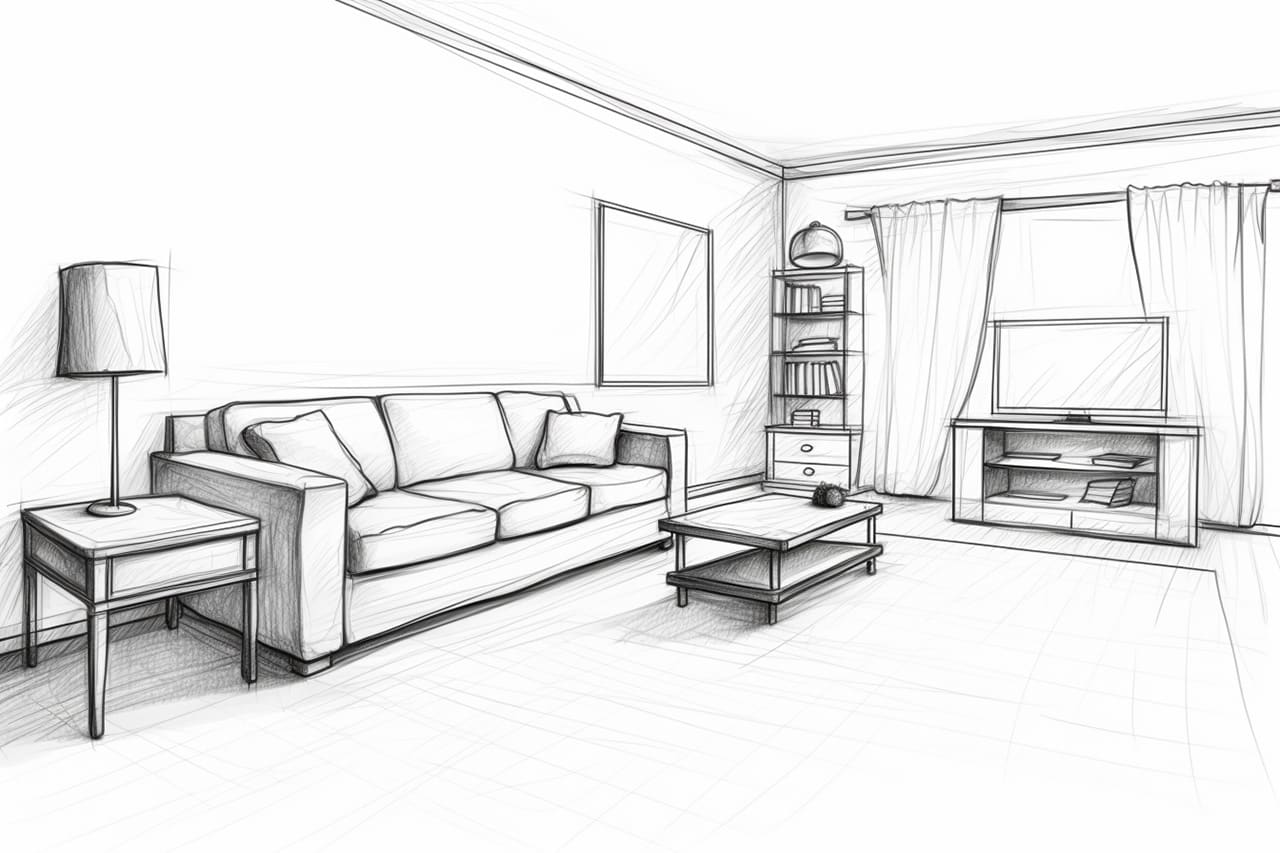
Drawing a room may seem like a daunting task, but with a little patience and practice, it can be a rewarding experience. Whether you’re an aspiring artist or simply looking to express your creativity, this step-by-step guide will help you create a realistic and detailed representation of a room. So grab your drawing materials and let’s get started!
Materials Required
Before we begin, make sure you have the following materials handy:
- Paper: Choose a sketch paper or drawing pad that works best for your preferred drawing medium.
- Pencils: Have a range of graphite pencils, from light (2H or HB) to dark (4B or 6B), to achieve a variety of tones in your drawing.
- Erasers: Keep both a kneaded eraser and a regular eraser on hand for easy corrections.
- Ruler: Use a straight edge ruler for drawing straight lines and ensuring accuracy in your perspective.
- Compass or Circle Template: If your room includes curved objects or furniture, these tools will help you draw precise circles and curves.
- Reference Image: Find a photograph or image of a room that you would like to recreate. This will serve as your guide throughout the drawing process.
Now that you have your materials ready, let’s dive into the steps involved in drawing a room.
Step 1: Start with Basic Shapes
Begin by lightly sketching the outline of the room using basic shapes, such as rectangles, squares, and circles. Focus on capturing the overall proportions and dimensions of the room. Use a light pencil pressure to allow for easy erasing and adjustments later on.
Step 2: Establish the Horizon Line
Next, draw a horizontal line across the page to establish the horizon line. This line will determine the viewer’s eye level and perspective within the room. Position it at a height that suits your desired composition and viewpoint.
Step 3: Draw the Walls and Floor
Using the basic shapes as a guide, start drawing the walls and floor of the room. Pay attention to the angles and lines that define each surface. Utilize your ruler to ensure straight lines and keep the perspective consistent.
Step 4: Add Doors and Windows
Incorporate the doors and windows into your drawing. Measure and mark their positions accurately based on your reference image. Use straight lines and correct angles to represent the frames and openings.
Step 5: Sketch the Furniture and Objects
Now that the framework of the room is in place, it’s time to sketch the furniture, objects, and any other details that make the room unique. Take your time to observe the shapes, proportions, and angles of each item. You can use basic geometric shapes as a starting point and refine them as you go.
Step 6: Include Lighting and Shadows
Lighting and shadows play a crucial role in creating depth and realism in your drawing. Observe your reference image to determine the direction of the light source and the resulting cast shadows. Use shading techniques to add depth and volume to the objects and surfaces in the room.
Step 7: Refine the Details
Now it’s time to refine the details of your drawing. Pay attention to the smaller elements, such as textures, patterns, and surface finishes. Use different pencil values to create contrast and add depth to your drawing. Take your time with this step, as it can greatly enhance the overall realism of your artwork.
Step 8: Add Color (Optional)
If you desire, you can take your drawing a step further by adding color. Use colored pencils, markers, or watercolors to bring your room to life. Remember to consider the lighting and shadows when applying color to maintain a realistic appearance.
Conclusion
Drawing a room is a wonderful way to practice your observational skills and unleash your creativity. By following these step-by-step instructions, you can create a realistic representation of a room that showcases your artistic abilities. So grab your drawing materials, refer to your reference image, and start bringing your imagined room to life on paper!


